Easy, Illustrated Instructions on How to Make a New Patio Umbrella Canopy
Page 1 | Page 2 | Page 3
After the eight panels were together, I hauled the canopy outside to check the fit on my naked umbrella skeleton.
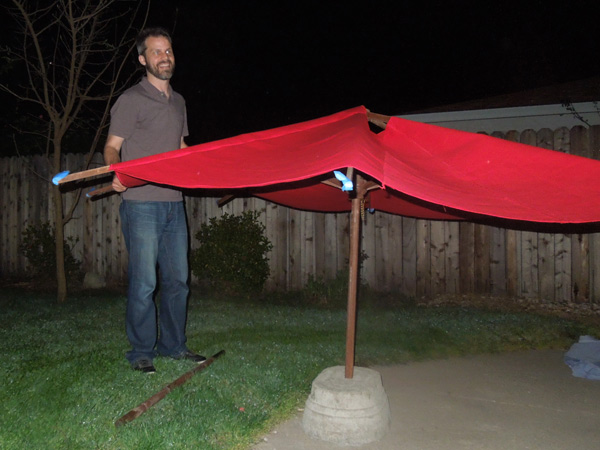
It looked like it was going to be a little tight, but I figured I'd be able to stretch the fabric if I needed to.
I'd have to attach the rib pockets to find out.
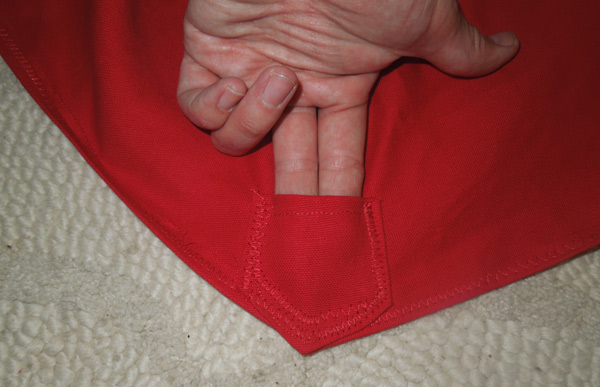
With the entire canopy together, I had to maneuver a lot of cloth around to get the pockets stitched, but when I was finished, they looked great! I mimicked the double-row of stitching from the original canopy.
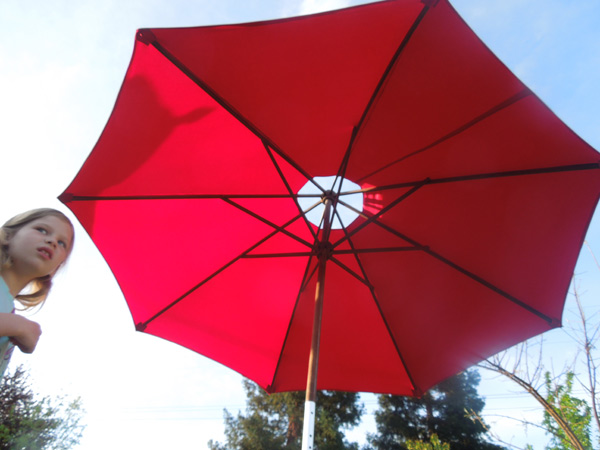
The pockets held the ribs nicely, and although my finished umbrella was a little smaller than the original, it fit beautifully! I was extremely happy with the color.
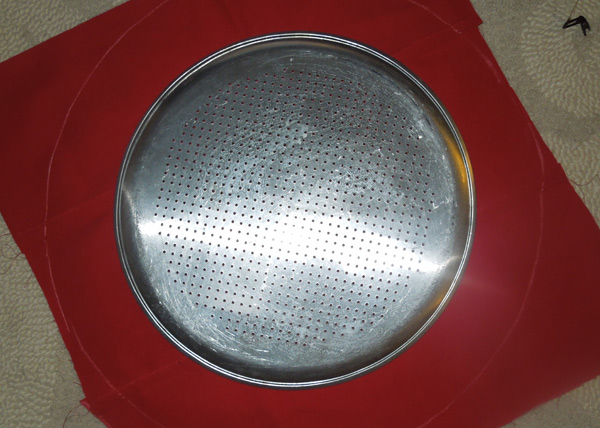
The next day I added the top circle of fabric. I don't think the circle of fabric does much for the look of the umbrella, but it probably helps to protect it from rain when the umbrella is folded. I didn't have enough fabric remaining for this final piece, so I stitched together two remnants.
I used a large pizza pan to help draw a circle with a 23" diameter.
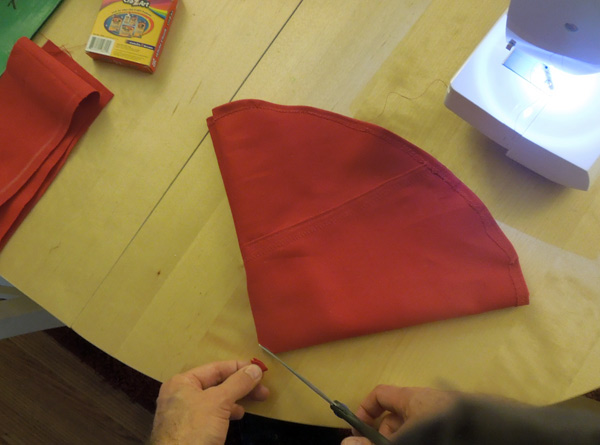
I put a hem around the edge of the circle, folded it up and cut off the center point.
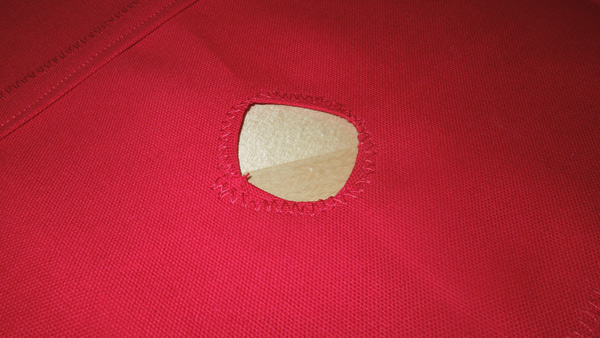
Then I folded back the edge to put a strong seam around the 1" hole. The umbrella pole has a finial which screws in through this hole.

The final assembly was to carefully center, pin and stitch the top circle into place. Be sure to give the top circle a little space when you pin it down. The circle needs a little extra space to allow for when the canopy drops as you lower the umbrella.
One way to accomplish a proper fit is to pin the top circle in place while the umbrella is open. You'll probably need a ladder to do this. Lower the umbrella to check the fit. You don't want the top circle to hold open the umbrella. When the umbrella is raised, the top circle will be a little loose. This loose fit probably helps hot air escape from under the canopy.
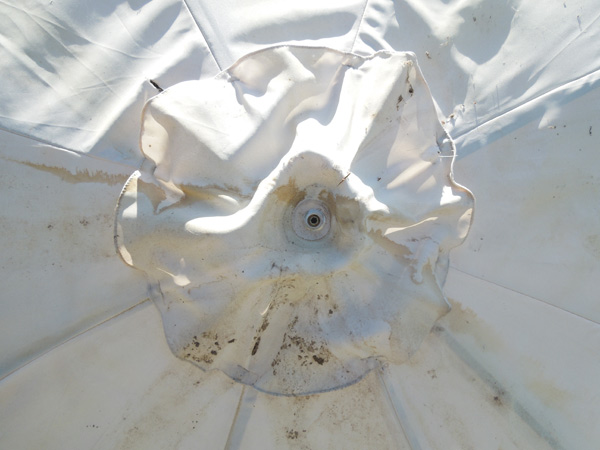
Here is another look at the filthy top circle from the original umbrella canopy. Note the looseness.
You could also leave out the top circle.
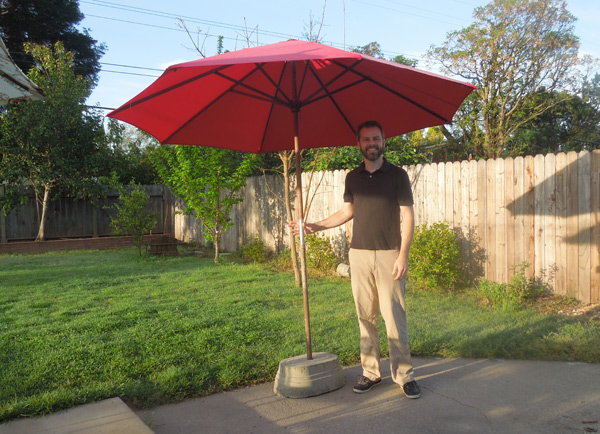
Voila! A red umbrella looks awesome! I wish I had used an even more distinctive fabric, as red ones are already available on Amazon.com.
The umbrella was a big project, not too complicated, just big. It turned out looking very good despite some wayward stitching. The fabric was about $50 and the thread was another $10, and I'm confident the heavy-duty material will enhance the look of this patio for many years.
Now I just need about four more of them.
Back to page 1 of the Easy, Illustrated Instructions on How to Make a New Patio Umbrella Canopy
Umbrellas and Shade structures at Disneyland | How to Make a Cheap, Heavy Concrete Base for a Patio Umbrella


