Easy, Illustrated Instructions on How to Make a Sign
This article was suggested by John Hargrave.
Making a sign is something that most people know how to do, but do so rarely that they don't consider or improve their methods.
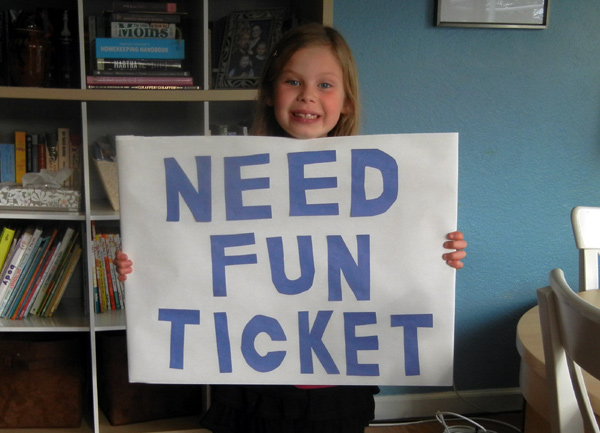
Some signs are difficult or impossible to read, some are ugly. Please consider the steps below to create a large, attractive sign for garage sales, lemonade stands, car washes, civil unrest and for locating tickets to sold out shows.
Step one: Get a board. You have to have something big and flat to make a sign. I recommend white foamcore, which is strong, lightweight and cheap. Foamcore is a quarter-inch (6 mm) thick layer of styrofoam covered with a skin of paper. I get 2x3 foot sheets at Michael's craft supplies or Walmart for about $1. Larger sheets are sometimes available.
If you don't have any money, use cardboard that you find in dumpsters behind the mall. Cardboard is brown, so it isn't as good. That sounds racist. Cardboard is fine, you just have to switch the colors of the letters.

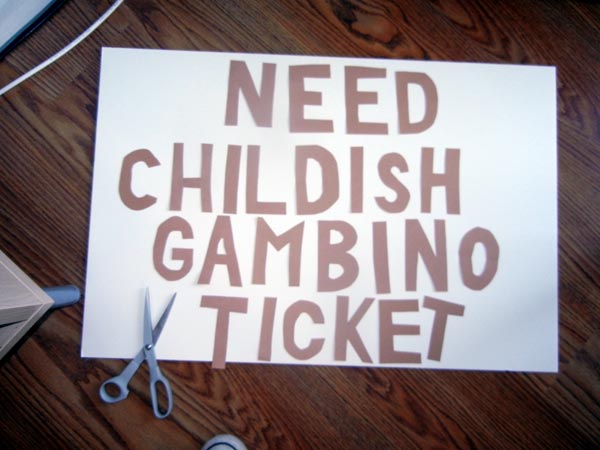
2. Plan the layout. As shown above, use a seperate piece of paper to compose your sign. Figure out which words should be large, which small, making the most of the available space, generally cramming in as many letters as possible without looking unbalanced.
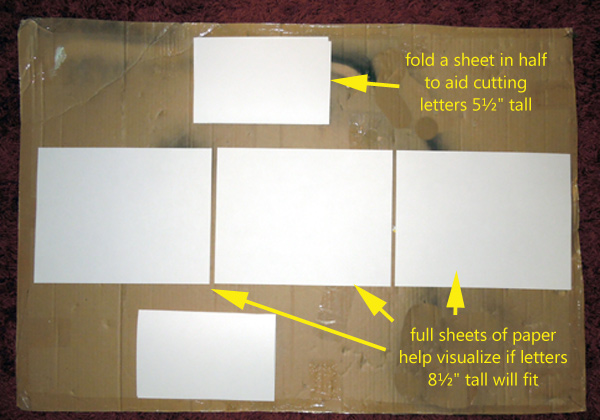

3. Cut letters out of colored paper. This is the crux of this lesson. Pens will work, thick pens will work, paints will work, but cutting letters out of colored paper is the best method. Sure, it seems like this will take longer, but what will actually take longer is painstakingly filling in bubble letters with a felt-tip marker..
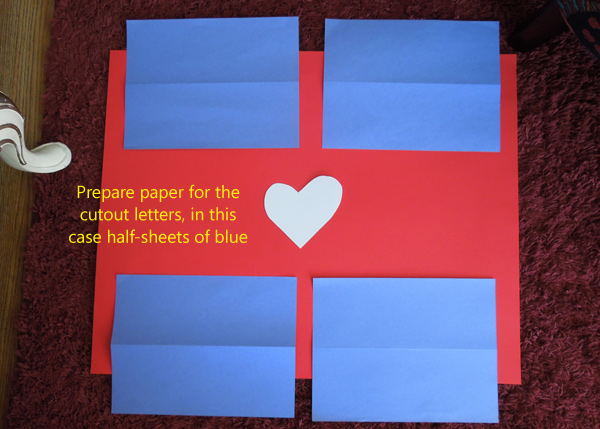
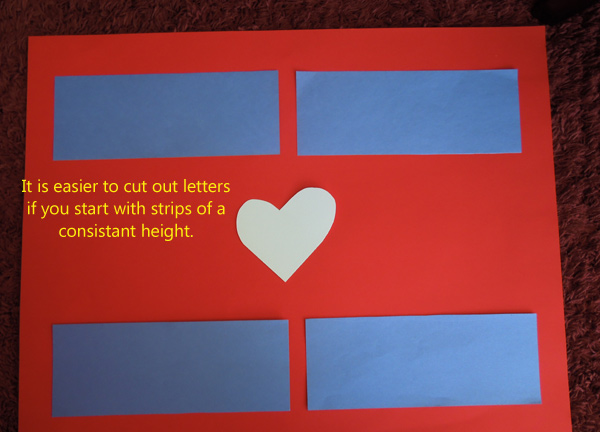
The letters don't have to be perfect. Handmade signs can be much more eye-catching than printed ones, in part because of the irregularities and quirks of the lettering.
To cut out beautiful letters, start with colored paper. Determine the intended height of the letters and carefully cut the colored paper to strips of that height. I usually use letters which are either 5 1/2" tall (half of a sheet of paper) or 4 1/4" inches tall (half the width of a piece of paper), so that I can get a lot of letters out of a single sheet of paper.
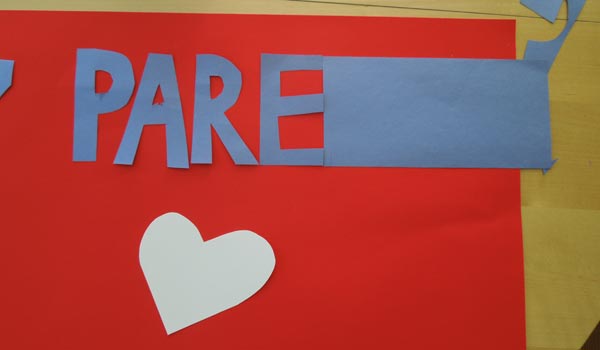
After the height is cut, slice off a chunk which is an appropriate width for your first letter. Ms and Ws are the widest letters, followed by O, G, C and Q. A bunch of the letters are about the same width, with I and J being the narrowest.
If you would like a visual guide on the shape of heavy lettering, scroll around this giant alphabet.gif or this giant alphabet pdf. These guides use the "Impact" Font, which is great for handmade signs.
With the height and width cut, snip out the rest of the letter. Like Michaelangelo sculpting David, you'll be removing anything that "isn't the letter".
Place the finished letters onto the sheet as you finish cutting them, so you can adjust your spacing and cutting if you have misjudged the size of the letters on the board. If this is your first sign, you will probably make some errors and half to make some letters twice. It's no big deal.
Spelling errors are embarrassing, but sometimes more eye-catching than spelling perfection.
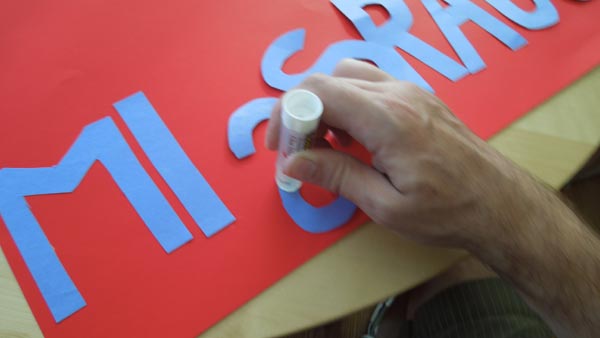
Once all the letters are cut and the layout looks acceptable, begin gluing the letters to the sheet. Use small dots of white glue or a glue stick. Remember that most letters have a front and a back, so put the glue on the correct side.
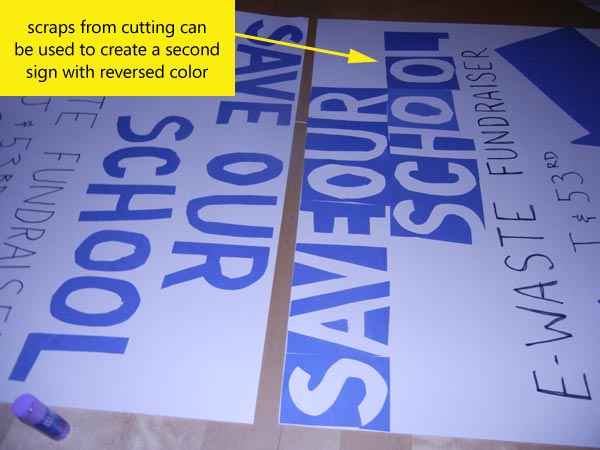
Below you can see how a cut-letter sign might look when it is finished.

And that's it. A good sign is clear, easy to read and highly legible even from long distance. This technique of sign making, including layout and hand-cut letters, requires patience, developing a new skill, but I hope I have convinced you that this style of sign is an improvement over typical hand-scrawled felt-tip pen signs.
