Easy, Illustrated Instructions on How to Make a New Patio Umbrella Canopy
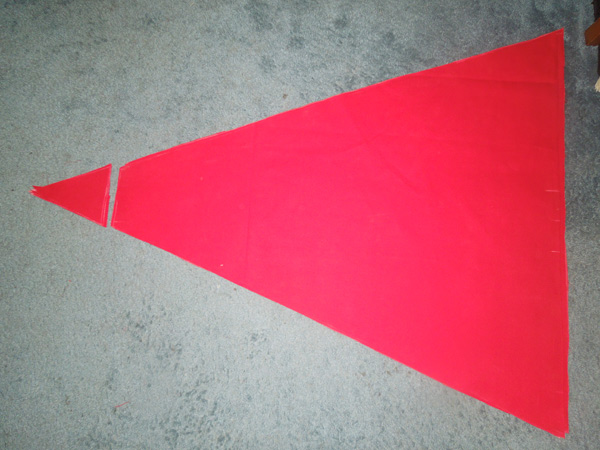
If you are uncomfortable with geometry, you might be best served by using a paper pattern for cutting your umbrella panels.
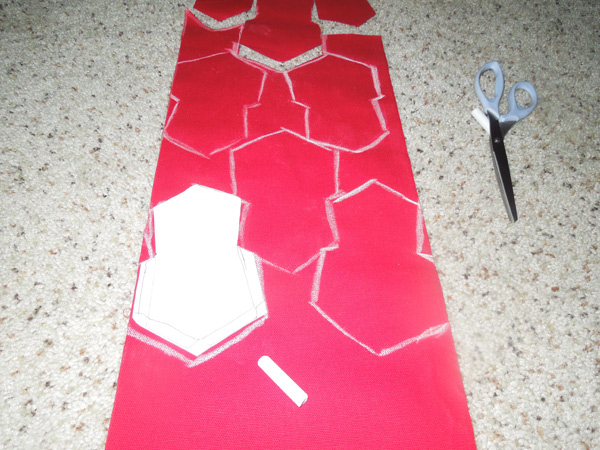
After my eight panels were cut, I made a pattern for the rib pockets, which slide onto the umbrella frame. These pockets will be sewed into place in the corners of the canopy. They need to be strong because wooden ribs might be jammed into them for the next five years

I settled on a double-pentagon shape, which folded up into a five-sided pocket. All those layers of duck cloth almost got me in trouble though, by the end, my sewing machine struggled to poke holes through them.
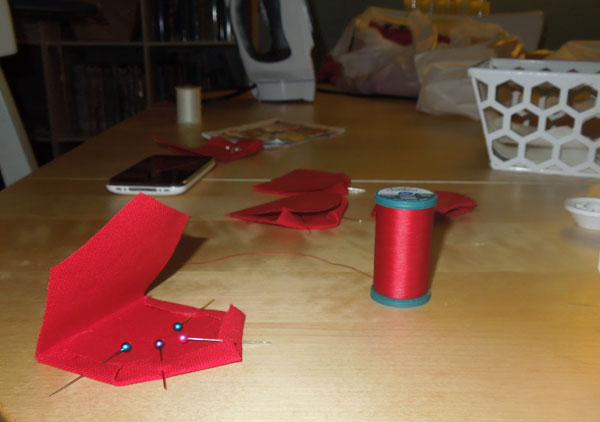
With the panels and pockets cut, I started sewing.
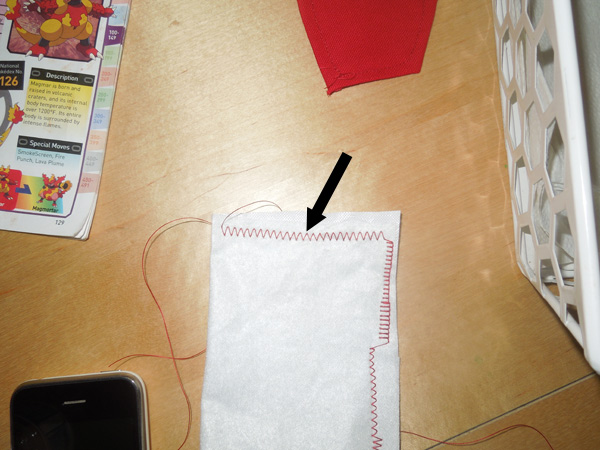
I decided to use a wide zig-zag stitch to put the umbrella together. I was already using the strongest material and thread I could find, and figured the zig-zag was an equally strong stitch.
Every edge of the pentagon rib pockets would be visible in the completed project, so I put a fold and a seam in each edge.
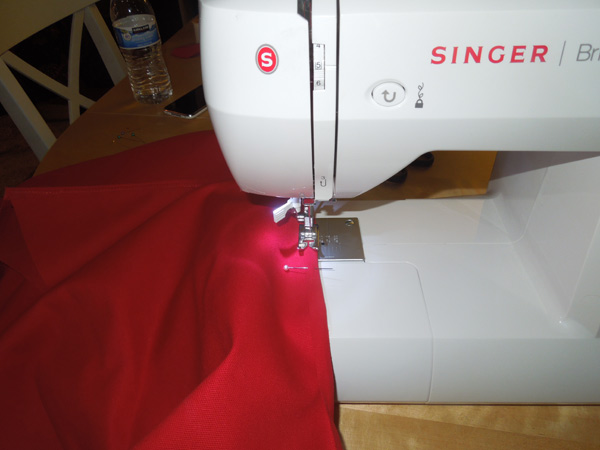
Before connecting the large panels of the umbrella together by their sides, I put a seam into the top and bottom edge of each triangle.
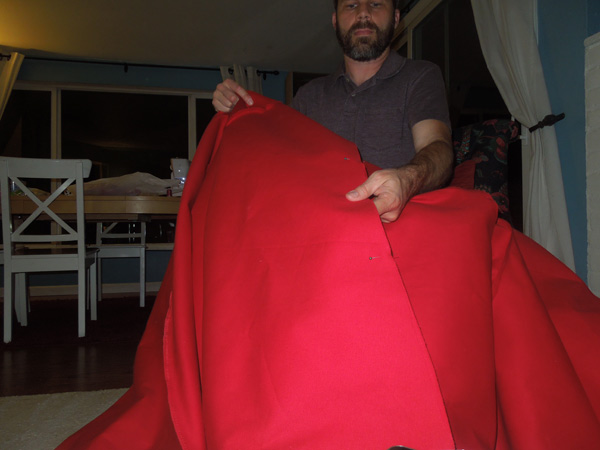
Next I pinned together the first two panels and prepared to sew them together. My fabric was reversable, but I had the seams oriented to face down when the umbrella was in use. I pinned them together with the seam edges out, because I was sewing them together stacked right on top of one another, as shown below.
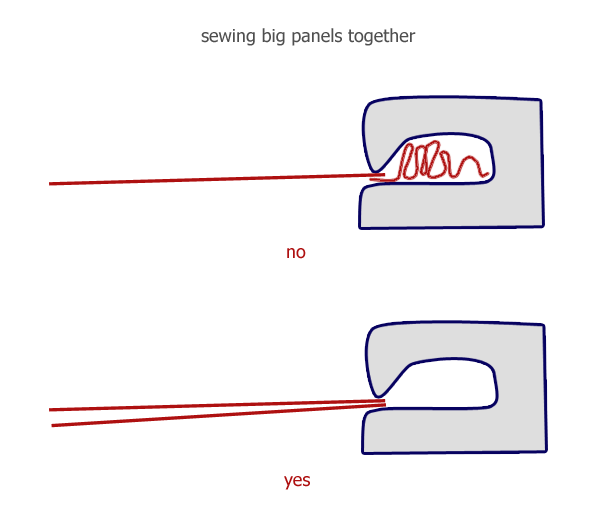
They were long seams. With four panels connected, as shown below, the umbrella was taking shape.
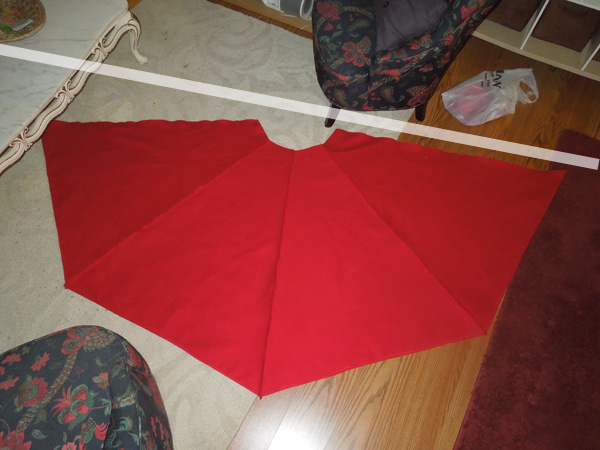
Because the completed umbrella has a cone shape, half the panels don't quite add up to half of a circle.


