


Easy, Illustrated Instructions on How to Sew a New Shade Structure Canopy for your Patio
It had been strange to calculate and add an extra five inches to every panel on this main canopy section, knowing it wasn't necessary, just decoration. After I was done, I loved the addition, and figured out that adding them had added 60" of cloth to the project, which cost $17. So, not counting labor and thread, adding scallops tacked $17 on the project.
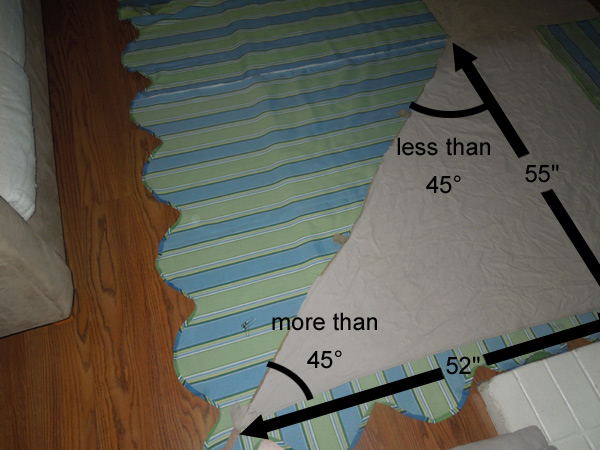
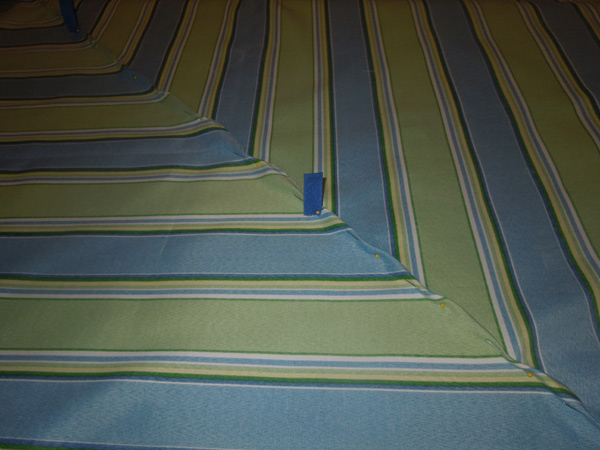
I had to make a conscious effort to not align the first two panels at a 90° angle.
Because the canopy forms a pyramid shape, they meet at unexpected angle. The bottom angle is close to 45, but it is actually the tan-1 (55/52), or 46½º. The top angle is the tan-1 (52/55), or 44½º.
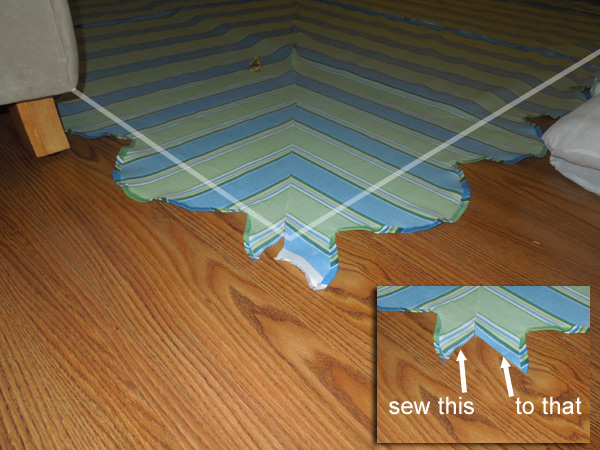
At the corners of the canopy, I had to resolve the corners where one set of scallops met another set. If you can imagine these two half-scallops hanging down, if everything worked out right, they would be hanging right next to each other. I sewed them together to form a little half-size corner scallop.
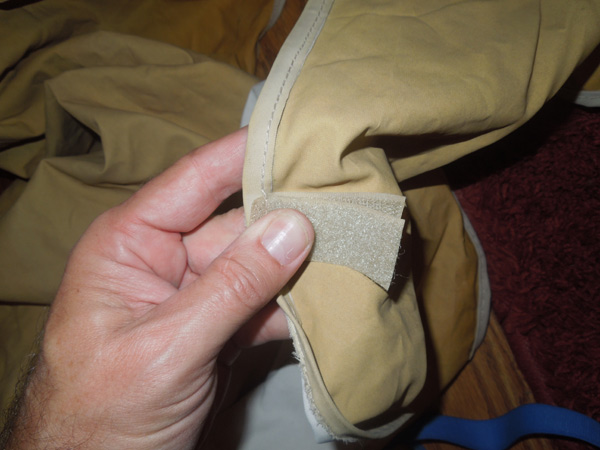
The canopy was held down by the corner pockets, and also by velcro straps which allow attachments to the shade-structure's iron frame. The original tan canopy had two sets of velcro tabs sewed into the seam down the edges. They are right on top of each other.
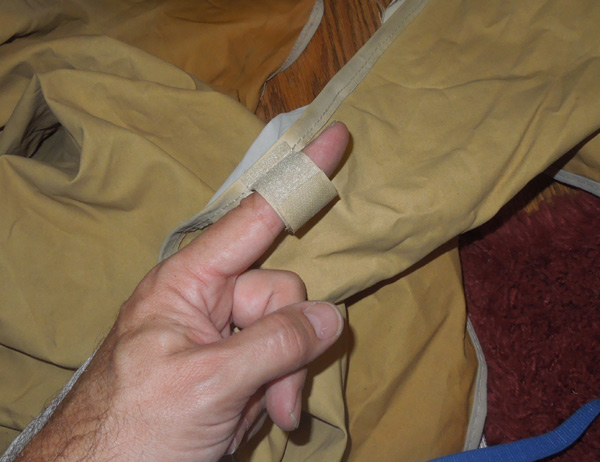
The tabs wrap around a metal rod, the hook and loop surfaces meeting each other.
I copied this arrangement to add my own tabs.
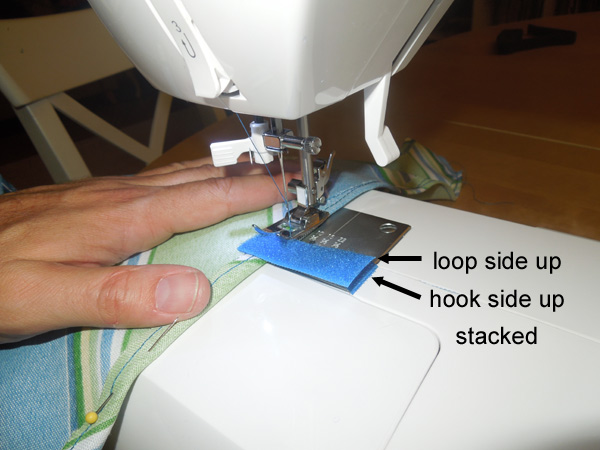
Here's a photo of sewing them into place. This was the most strenuous job for my sewing machine on this project, poking through two layers of velcro and a few layers of outdoor fabric. Next time I will probably start with a heavy-duty needle.
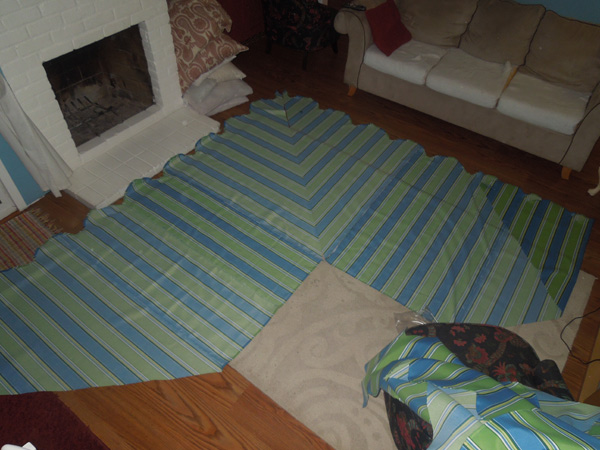
Two panels laid out, a little bit too large for the room.
By the end, I was hauling the entire load of cloth around the room, trying to align the next seam with the path of the needle. I was happy, because I was almost done!
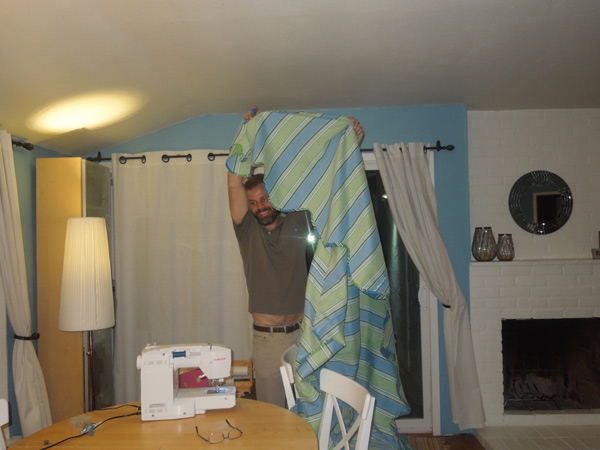
At this stage, even though I had draped the half-finished project across the frame twice, I still had a fear that the canopy wouldn't fit correctly.
The position of the corner rod pockets was critical. If they were too loose, the canopy wouldn't hold tightly on the frame. If they were too tight, I wouldn't want to be able to stretch the canopy onto the frame at all. A wiser man would probably have sewed them on with a single stitch, but I went all out, attaching them with a double row of stitching.
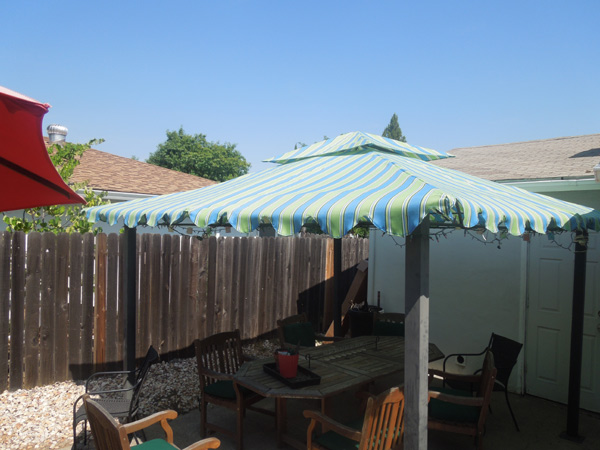
It fit! The corner rod pockets held the canopy tightly, but I didn't have to wrestle it into position. The velcro worked too. holding the seams tightly to the frame.
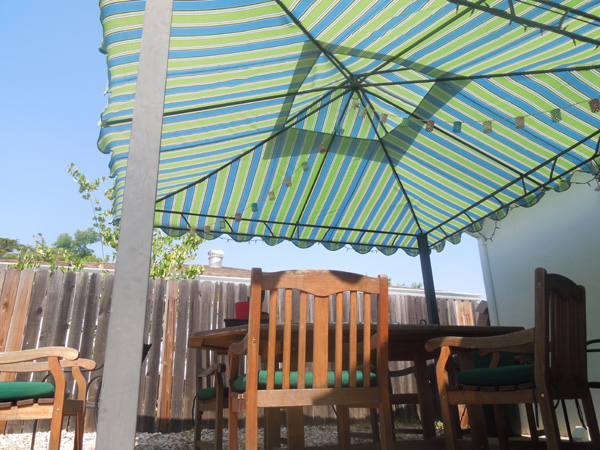
It looked really good! This was the largest thing I had built in a while. It felt great to be finished and to have the final product fit so well. I didn't save any money making my own canopy, but I am certain I've got one of the best looking shade structure canopies in town.
One motivation to finish sewing the canopy was a pending backyard party for Anna's visit to northern California. I was thrilled my new canopy could help overshadow her visit!
page 1 |
page 2 |
page 3 |
page 4