Easy, Illustrated Instructions on How to Sew a New Shade Structure Canopy for your Patio
To help with my confidence in this project, I completed the top pyramid first. It looked great!
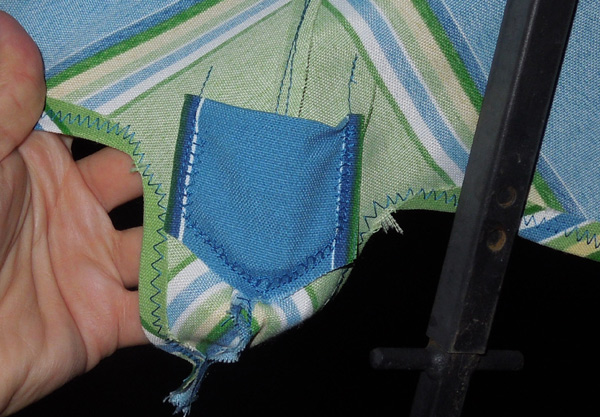
Notice the blue, diamond-shaped corner pockets holding onto the metal frame.
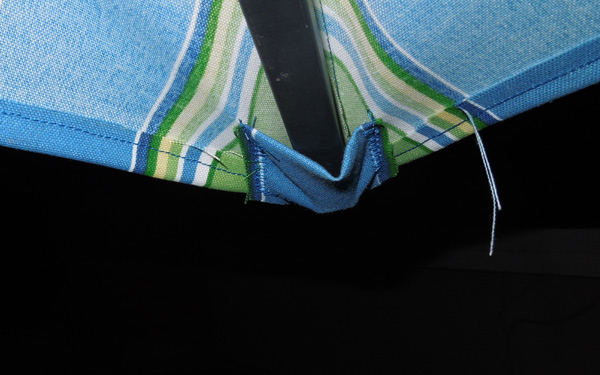
I cut and double-stitched the fabric for these pockets, anticipating that they would be subjected to considerable pressure and wear over time.
Back to the main canopy.
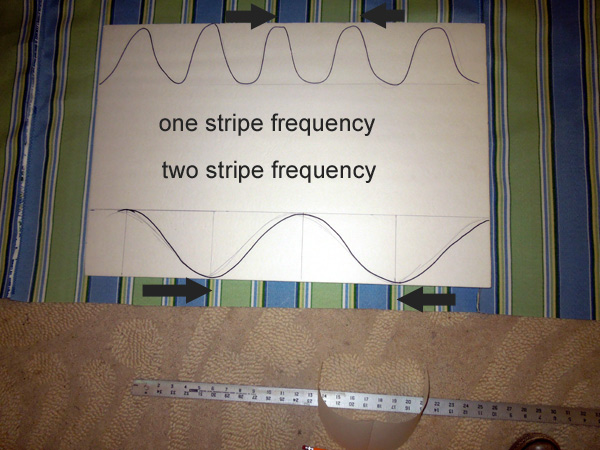
After I had assembled the four large trapezoidal panels, I tackled the question of how to space the scalloped edges. I thought they would look odd if they didn't align with the color stripes.
I prepared two options, a scallop at each green stripe and one scallop at every second stripe. The wider scallops looked better, and these test sketches made me realize that a sine-wave pattern wasn't as attractive as regular scallops.
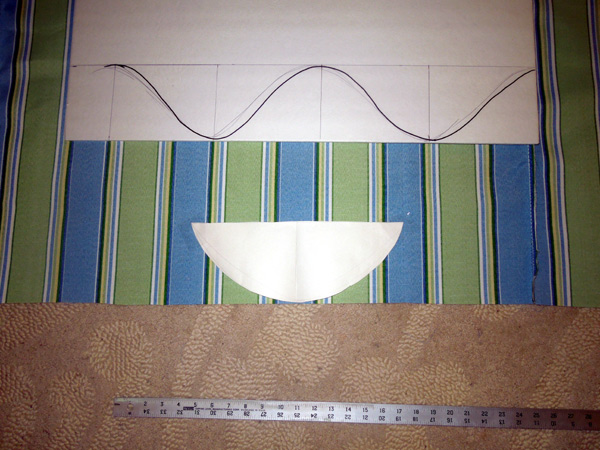
To get a symmetrical scallop shape, I folded a piece of paper in half, sketched an arc and cut it out.
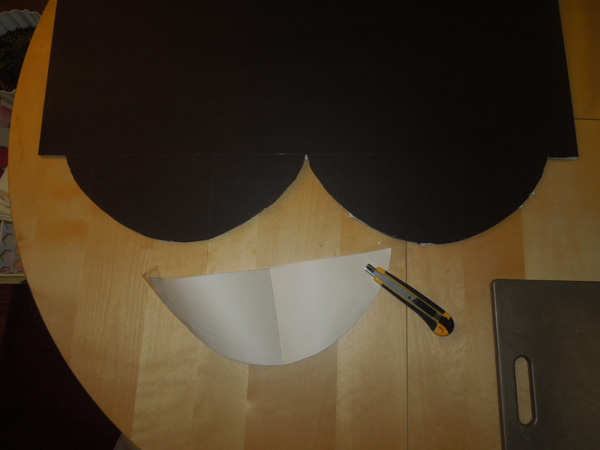
Then I transferred this pattern to a more substantial piece of foam core board so that I could use it as a stencil.
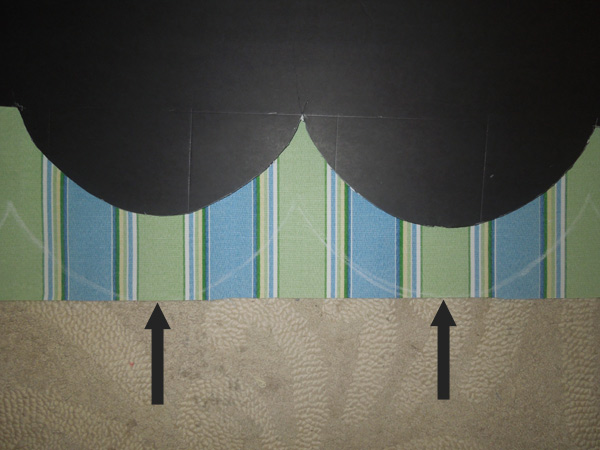
It worked like a charm. The stencil allowed me to draw perfect chalk arches onto the fabric which each ended near the center of the green stripe.
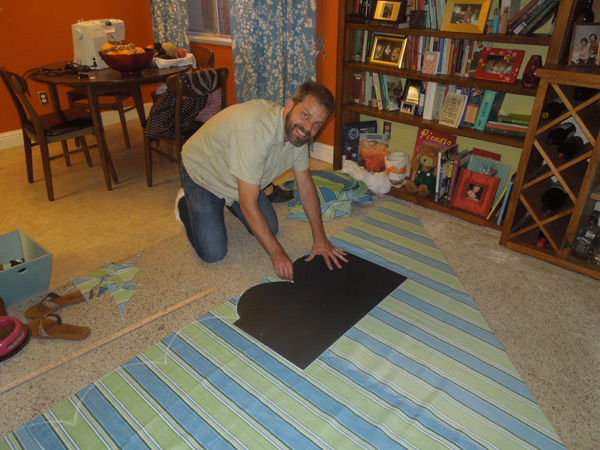
Drawing some scallops with chalk.
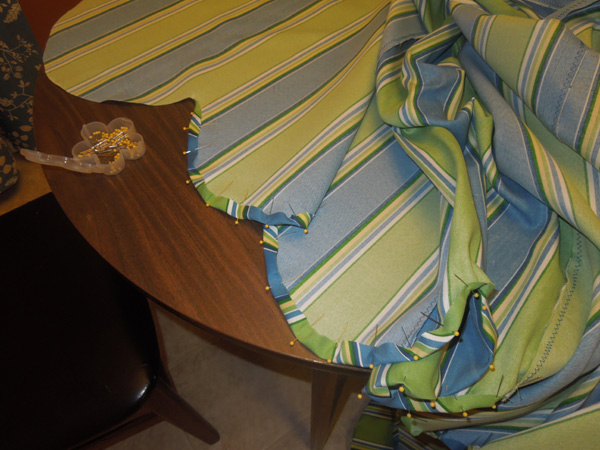
Pinned scallops.
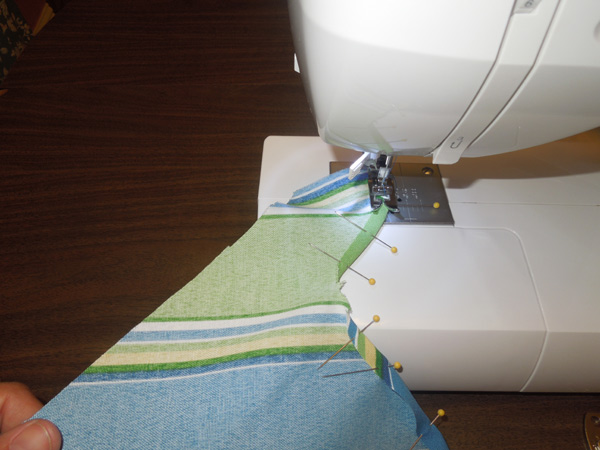
Sewing scallops. This took forever because there were four huge panels, each with 141" of scallops.
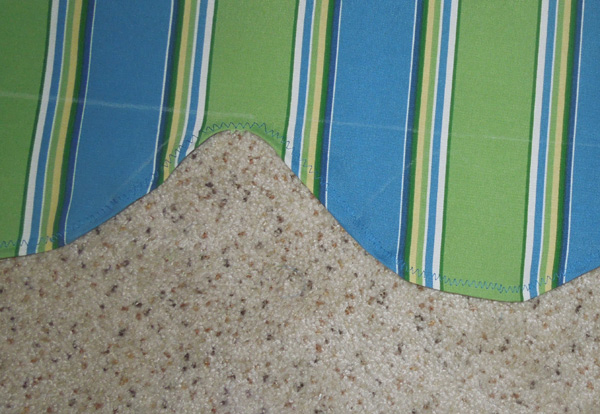
A closeup of the finished scallops and stitching. There was some puckering, but I was satisfied with how they turned out.
I couldn't wait to see this edge hanging down from a completed canopy.
Please Continue Reading Page Four of the Easy, Illustrated Instructions on How to Sew a New Shade Structure Canopy for your Patio
page 1 | page 2 | page 3 | page 4


