Easy, Illustrated Instructions on How to Change your Oil and Replace the Oil Filter in a Car
page 1 | page 2 | page 3 | page 4
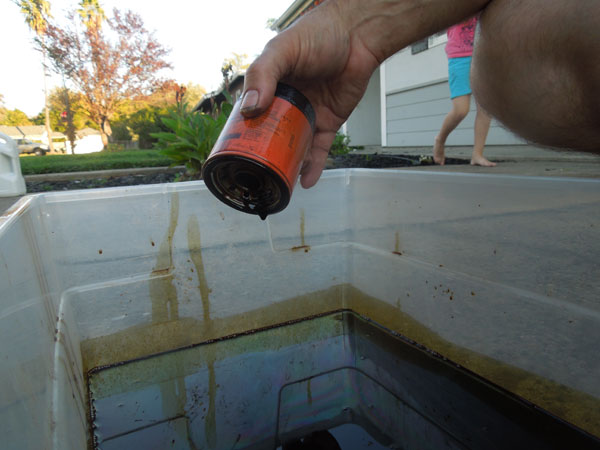
In a minute or two, all the oil will have drained, and it will be time to plug the holes and add new oil.
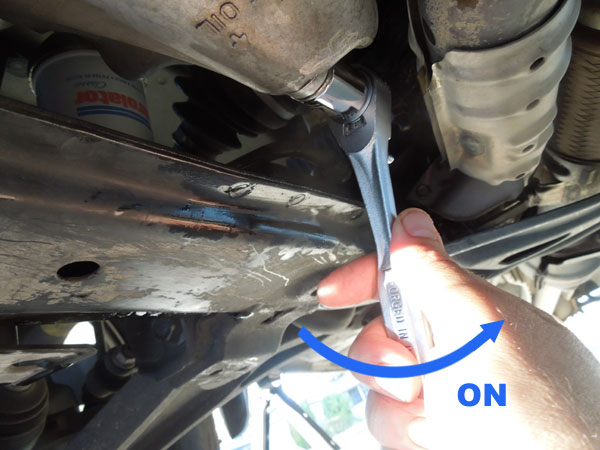
You should replace the aluminum washer on the oil plug with a new washer, but no one I know actually does this. If you don't buy a new washer, re-use the old washer. Screw the oil bolt back into the car. Wipe up any oil near the hole and tighten the bolt with the correct wrench or socket. Don't use the breaker bar to tighten it to a superhuman tightness. The recommended degree of tightness is listed in your owner's manual. It was 29 foot-pounds for my Honda Pilot.
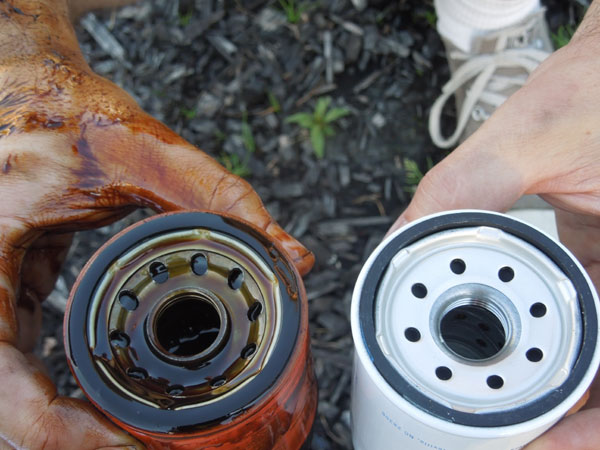
Next, you will install the new oil filter. First check to see if it looks about the same as the old oil filter. Don't despair if it is a different brand, or if it looks slightly different. Whoever installed the previous one might have made a mistake. If it looks completely different, bring both in to your auto parts store.
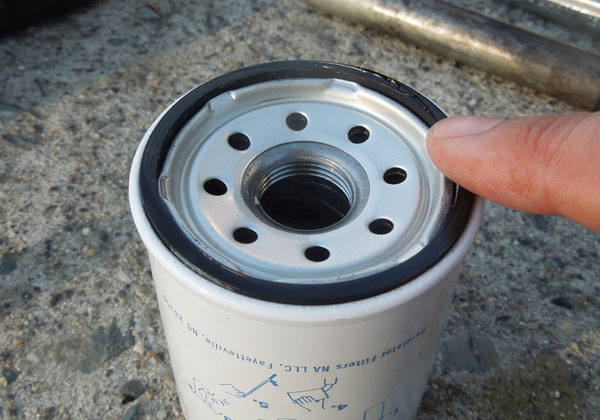
If the new filter looks right, wipe a drop of oil onto the rubber gasket of the new filter. This is important. This will help seal the connection between the filter and your car. OR it helps when you have to remove this one. I'm not sure which.
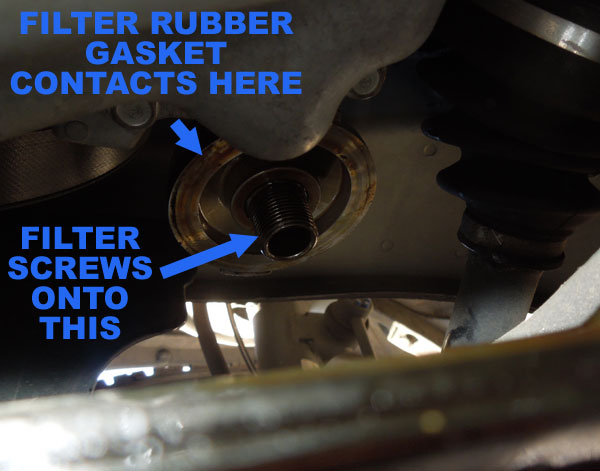
Spin the new filter onto the filter stem.
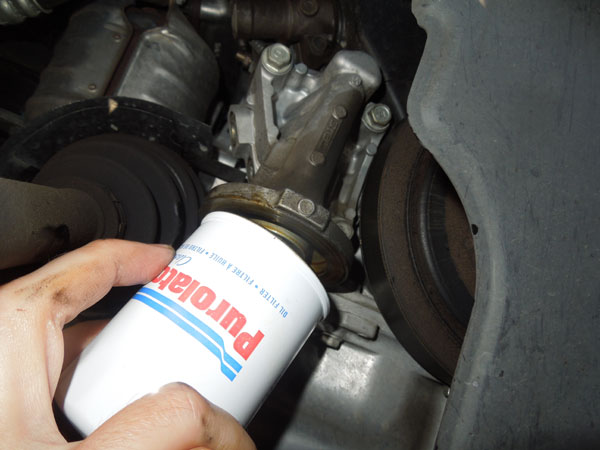
Not crooked. Straight on, as shown below.
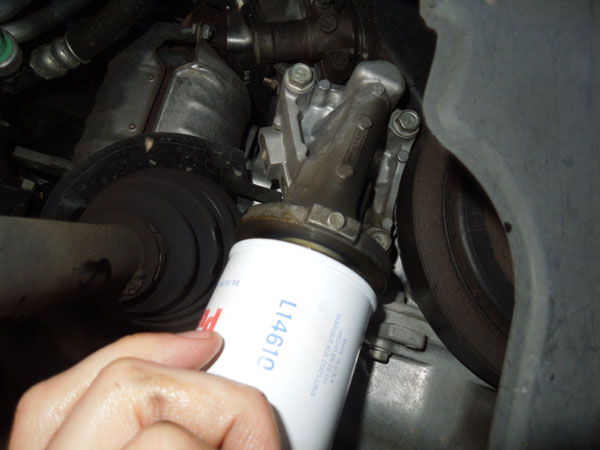
Oil filters should be installed to the proper degree of tightness, and each type of filter describes its installation as a percentage of rotation after the filter gasket first contacts its port. For example, the filter might specify that you should keep turning the filter 3/4ths or 1/2 of a turn after the gasket touches the base. Follow these instructions. When you are finished installing the filter, wipe up extra oil that splashed around when you removed the filter.
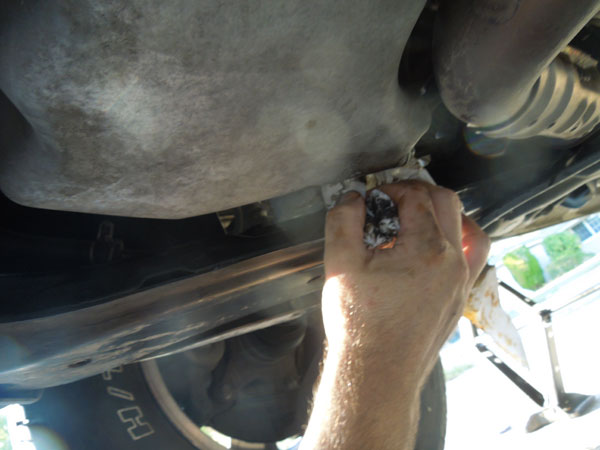
You are almost done under the car, so tidy up, slide the oil pan out and get everything out from under the car.
Please Continue Reading page 4 >
page 1 | page 2 | page 3 | page 4


