
|
|
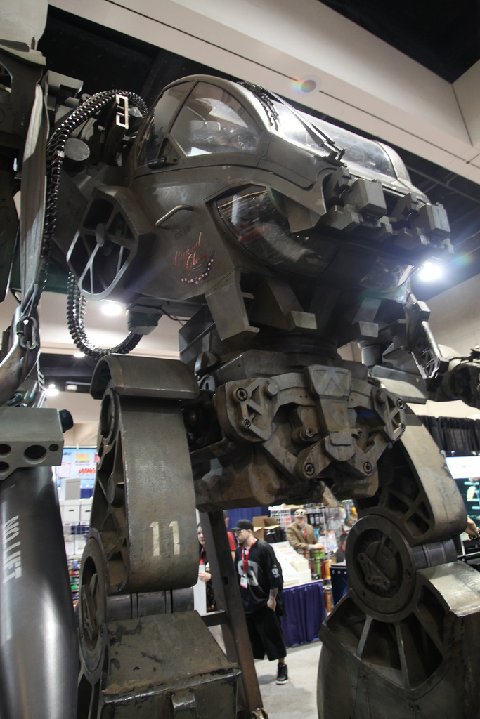
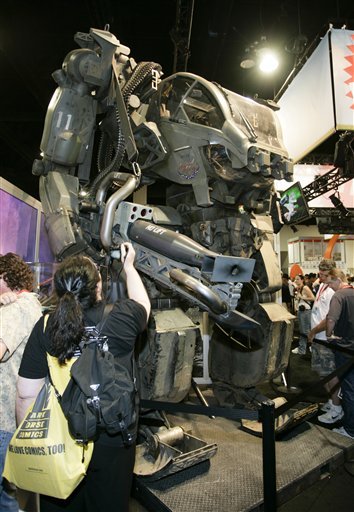
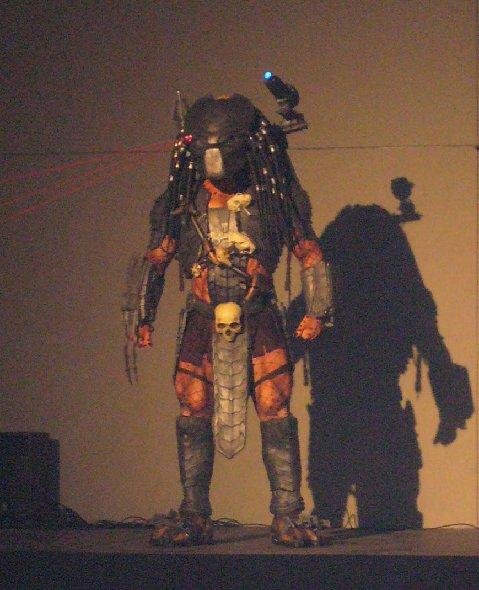
Since last Halloween several popular movies were released, including Avatar and Iron Man 2. Initially, I planned to build an AMP costume from Avatar. |
|
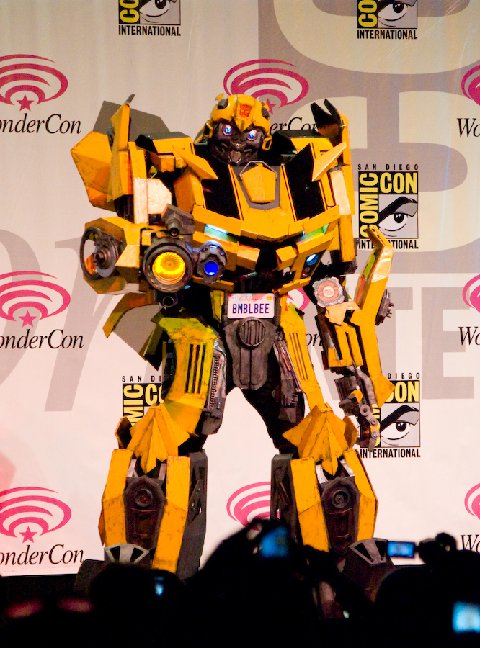
Given the success of my Predator and Bumblebee costumes from previous years (http://www.cockeyed.com/incredible/guest/bumblebee/bumblebee.shtml) I knew I'd be able to pull off an amazing AMP suit. |
Unfortunately, I got busy doing other things and was worried I'd run short on time and the AMP costume wouldn't be up to snuff by Halloween. |
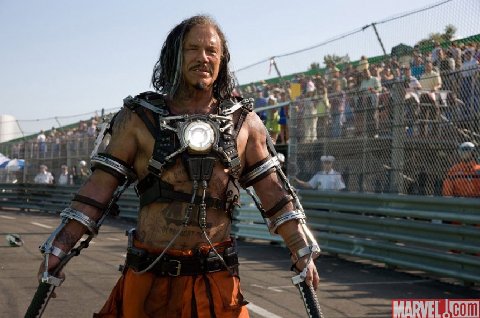
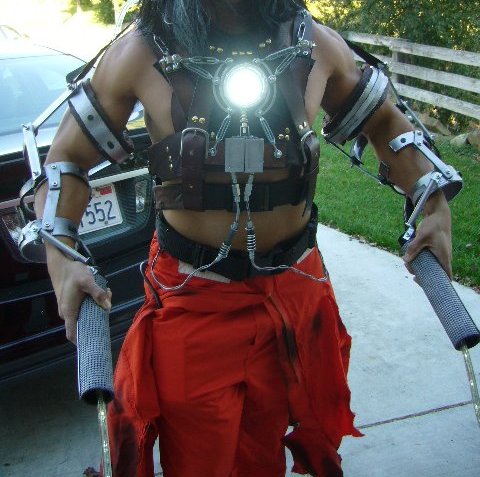
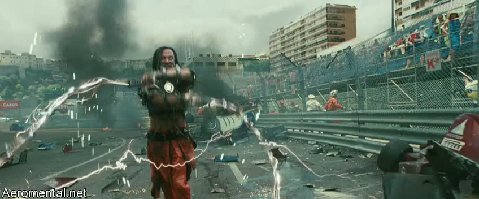
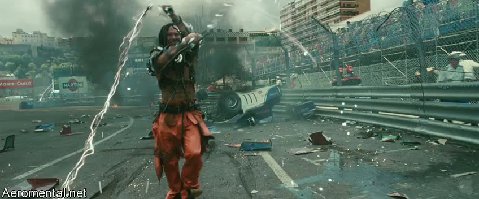
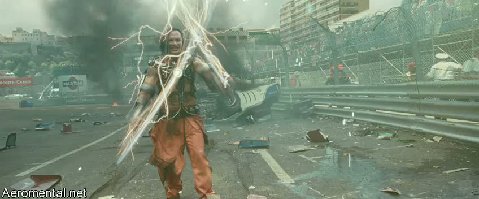
Instead, I decided to make Whiplash from Iron Man 2. Here's a clip from the movie: http://www.youtube.com/watch?v=wQZwHHk9Cy8&feature=related The character is played by Mickey Rourke who just won the Spike TV award for Best Villain for his role as Whiplash. http://justjared.buzznet.com/2010/10/17/megan-fox-mickey-rourke-scream-awards-villainous-duo/
|

|
|
 http://www.duracellpower.com/portable-power/portable-chargers/powersource-mobile-100.aspx Although one battery pack should be able to power the entire array all night, I bought two and built a second one into the backpack as backup in case the other one runs out of juice. Yes, I was kidding about building a real arc reactor.
|
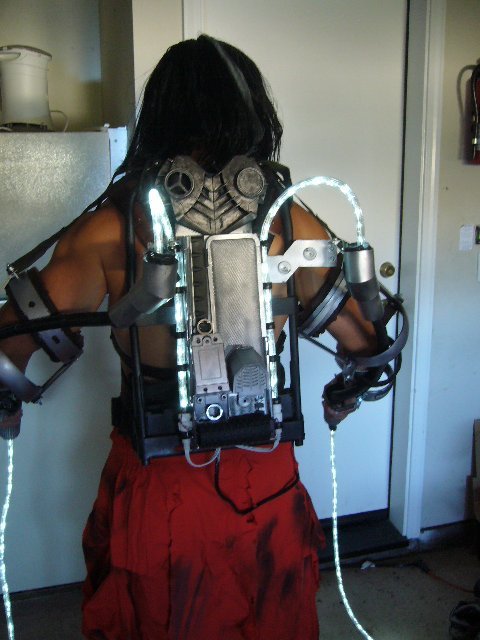
Here is an in-progress photo of the backpack.
|
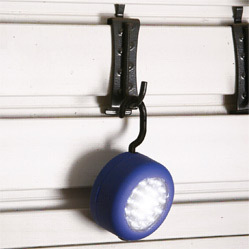
The arc reactor is a modified LED puck light: |
|
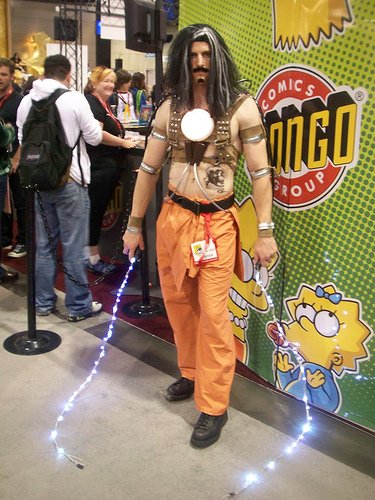
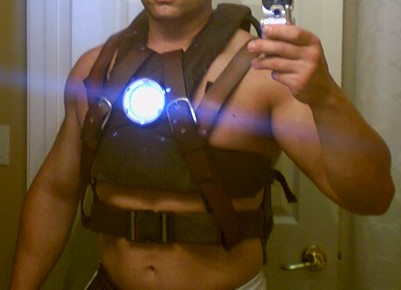
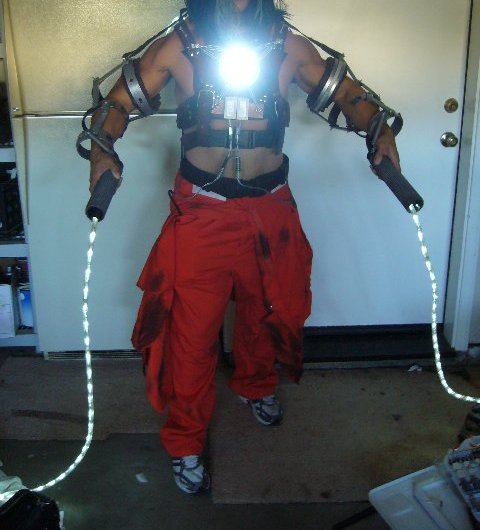
Here's another progress shot (not done yet) with my friend wearing the costume so I could see how it looks and if any adjustments needed to be made. |
 Now comes the other hard parts... the chest piece and arms! Issues: How would I mount the arc reactor? How would I mount the whips? What would I make the chest piece out of? How would I make it look real? How would I connect it to the ALICE frame? What would I make the arm armor out of? How would I hold it all together without it breaking? Here's a progress photo from before the details were added. |
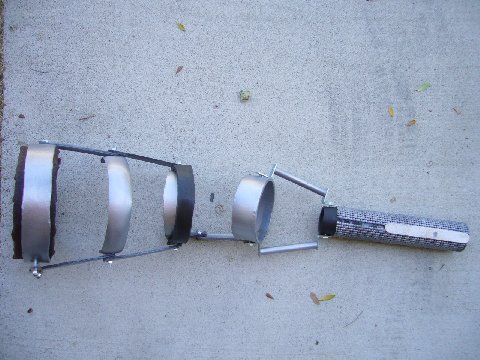
The round parts are made out of various diameters of mailing, vinyl, and carpet tubes. They're just like the little tube at the end of a roll of toilet paper, only they're bigger and thicker. They give them away for free at places like Home Depot and Fast Signs. What I did was cut cross sections of the tubes, then I covered them in vinyl applique and painted them to look like metal. I drilled holes in them and inserted bolts so I could connect them all together with the straight parts. The straight parts are made primarily of PVC pipe. Thanks to Rob, I'm now the proud owner of a heat gun, which I never had before. So I took a saw and cut various lengths of PVC pipe into quarters. I then used the heat gun to heat up the pipe, then I flattened it out with a board and let it cool. Voila! PVC sheets. From those sheets I cut the straight pieces of the arm armor. I then painted everything, bolted it all together, added details, and used Loc-tite to secure it. It's built to withstand a lot of movement like in the movie. |
|
|
|
|
|
|
Spinning Tornado Costume |
Scott's AT-ST Costume |
Balloon Hut |
Feather Pinwheel |
QR Code Costume |
Paparazzi Costume #2 |
Solid Ice Beer Caddy |
Greg's Whiplash Costume |
Lloyd Dobler Boombox Costume |
Best Costumes on the Internet |
The Money you Could be Saving with Geico Costume |
Urban Gardening |
Kindling - wooden Kindle |
Box of See's Candy Costume |
Dwight Shrute Bobblehead Costume |
The Light Sharpener - satellite dish solar cooker |
The American Idol Judges Halloween Costume |
Sudoku Costume |
The Infinite Candelabra |
Baby June, hospital childbirth |
Hero's Engine |
Devo Hats |
Fandango Costume
Dr. Octopus Costume |
Jenga Costume |
Banana Skin Coat |
Fisherman |
Hypnodisk |
California costume |
paper mache satan |
spring shoes |
metallic wings |
fire without matches |
paper mache hummingbird |
paparazzi costume |
matchstick cats |
fish costume |
ketchup packet bear |
Africa costume |
push to cross sign |
paper mache globe |
paper mache alien |
pet coffin |
paper mache Elvis
How much is Inside? |
Pranks! |
Citizen |
Photographic Height Weight Chart |
Science Club |
Incredible Stuff |
Travel |
About
Home | Contact Rob
October 21, 2010.
 I painted it, mounted it in a housing that I built, and then added details to make it look authentic.