

Disneyland Costume - page 15
back to the introduction
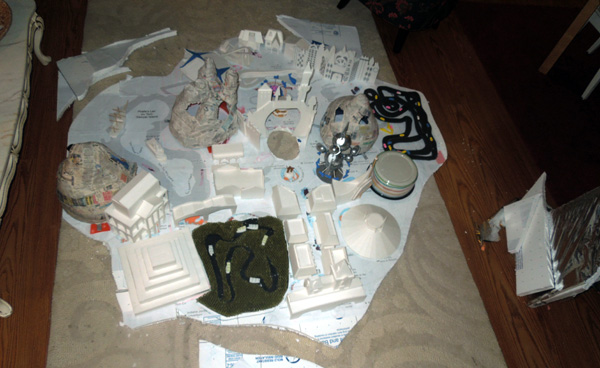
Test Layout
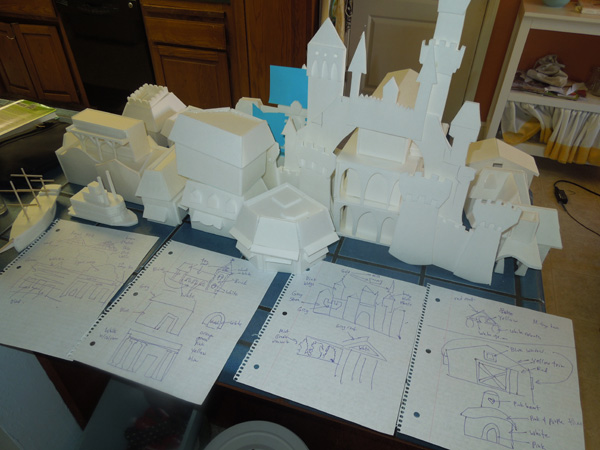
This is a complex costume. To be frank, I've been coasting on "great idea" costumes for the last ten years. Disneyland is more than a great idea, it is complicated and detailed. There are 33 different buildings to be constructed and painted.
Last year, as a tornado, I lost a contest to a giant transformer robot. The transformer was not groundbreaking achievement in engineering (as far as I could tell), but it was huge, and it was obvious that it had required many months to assemble and polish.
I want Disneyland to leave this impression, to prompt this question: "Jesus! How long did that take?!".
With all of the buildings finished, it was time to figure out the land mass, to see if everything was going to work on the styrofoam stage I had assembled. I layed the styrofoam map out on the floor and started placing attractions. Damn, there are a lot of parts to this. The map got more and more crowded, but I wasn't happy with how it was coming together. It looked cramped and junky!
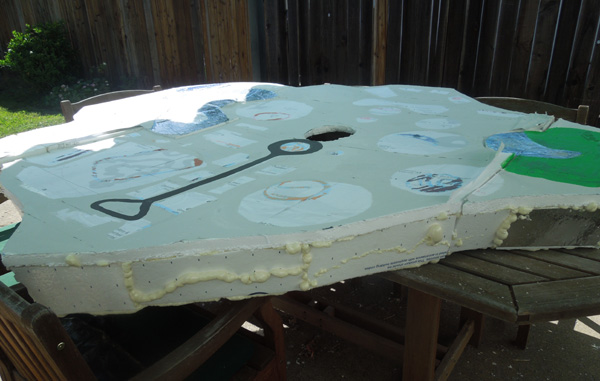
My version of Disneyland omits all of the transitional areas between disparate attractions. Hopefully it would look more appealing once I had everything smoothed out and painted. The easiest step was to mark a footprint for everything and to paint all the spaces in between. This area would generally be the pedestrian pathway, so I painted it grey.
It started to look better almost immediately.
I couldn't transport the entire platform in one piece.... or rather I preferred to not rent a truck to transport it. I preferred to not have straight seam lines between pieces, so I cut around a few attractions to help hide the seam. I think it worked. The middle section was 48" at its widest, which would fit in the Honda Pilot.
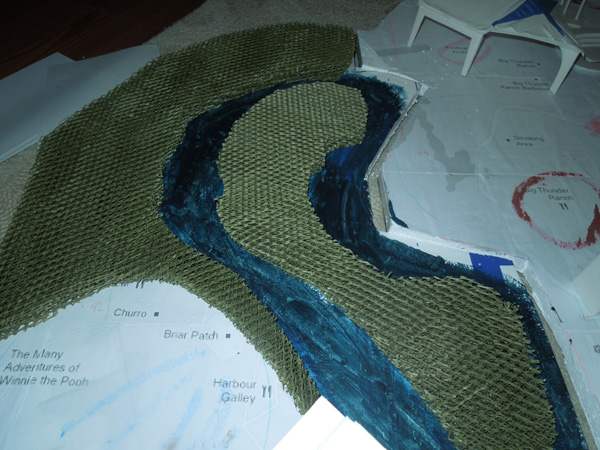
Next I traced the wooded area around the "Rivers of America" water and cut more evaporative cooling pad to fill this area with greenery.
Painted Matterhorn
Scott offered to let me borrow his airbrush to help paint all these buildings. Thanks Scott! An airbrush is like a tiny, tiny spray paint can. It allows shading effects and smooth color transitions, but it also allows very very smooth layers of paint to be applied to a project.
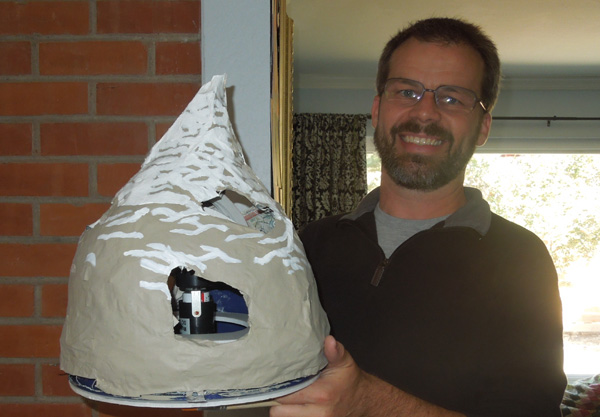
But the airbrush isn't ideal for every painting application. My paper mache mountain needed a layer of paint to hide it's newsprint skin. I used a regular paint brush with a dark tan color, then I dabbed on a bunch of white snow. After some experimentation I realized that the snow looked better if I had solid white chunks instead of tons of white dots fading into the tan color. By the time I was finished, the coloring was distinctly "white" or "dark tan". A cartoon version of the mountain. I was extremely happy with it!
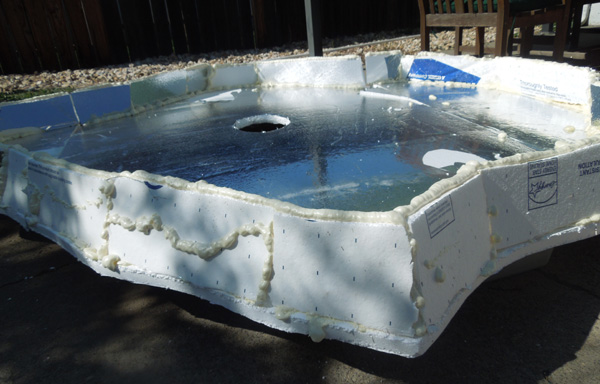
In the earliest imaginings of this costume, I thought it would be cool to have Disneyland perched on top of a chunk of earth. I had time, so I decided to add a thickness to the platform. This could look awesome and it would probably add strength.
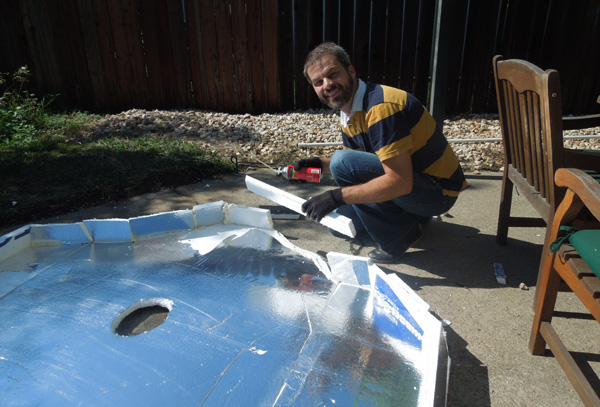
To glue styrofoam to styrofoam, I would use a can of expanding foam. First I had to cut styrofoam for a perimeter wall. A challenging complication was that the perimeter wall would look best if it was set at a slight inward angle. Luckily I've spend a lot of nights alone with a compound miter saw, so I was able to whittle and join these these complex angles at breakneck speed.
I preferred to save the cementing until I had all the pieces prepared. I used wooden toothpicks to keep the parts in place.
I am wary of expanding foam. It can be a disaster. On this day, however, it worked out perfectly fine. Incredibly, the one can contained enough foam.
It went together like a dream.
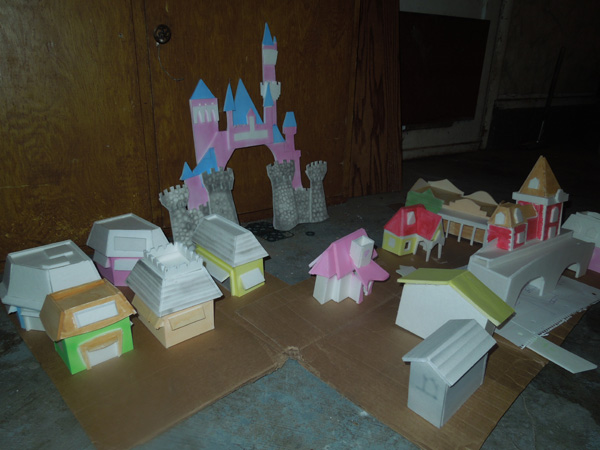
Painting the Main Street Buildings
I had studied photographs of the buildings to construct them, but now I realized I should have kept the good reference photos, because now I had to paint them. I researched which colors went where and made myslf a chart showing which color went where. I was hoping to avoid having to switch colors very often in the airbrush.
Painting took quite a while. This small neighborhood shot took the better part of a Sunday. I can't wait to see how the map looks with everthing in place and painted. First I had to work on the harness.
Please Continue Reading Page 16 >
back to the introduction


