
The Stunt Ottoman
My First Attempt at Sewing Furniture
By Rob Cockerham |
Some of my projects have their origins in a chance inheritance of raw materials.
I spotted these five foam slabs discarded outside of an auto mechanic's garage in Sacramento and scooped them up. Foam is one of the most expensive materials in a couch or cushion, so this was a great find... if I could transform them into something suitable for use in the living room.
The cushions spend almost a year in the garage before I got to work crafting them into something.
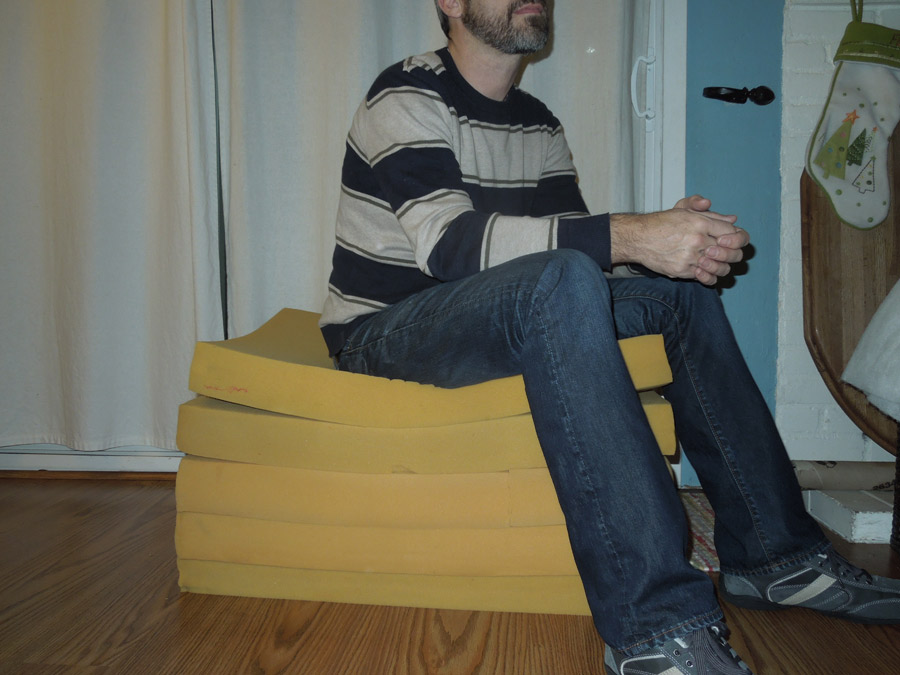
I would occasionally bring them into the living room stacked up in a pile, and watch the kids try to relax on the pile, only to end up sinking in and holding on for dear life. After a while I decided I could just upholster the whole stack as it was, without using any firmer support at all. It would be an ottoman, with five times the normal amount of cushion.
Instead of a simple cube-shaped cover, I wanted each layer of foam to remain separate, with fabric tucked in between them, sort of like an accordion fold. This would require a lot more fabric, but it would be much more attractive when it was finished. I planned on using white vinyl for the cover, and planned out the pattern on paper.
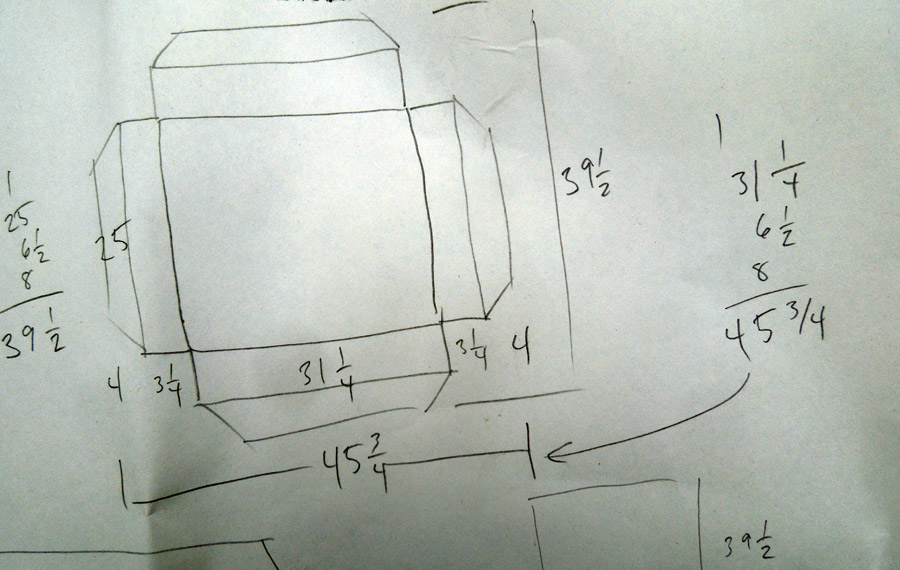
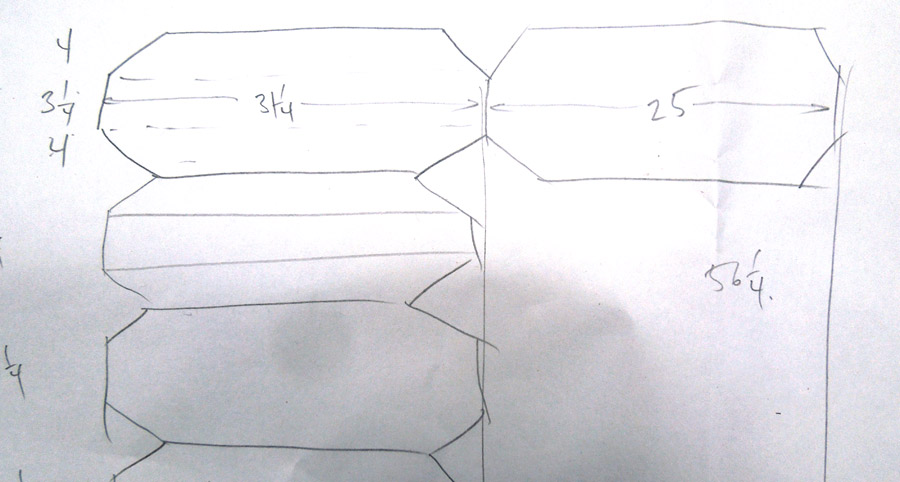
The fabric-cutting scheme was to cut five separate pieces: a top and four sides. The plan for the top is show above. The plan for the four sides is shown below.
The cushions were 3 inches thick, 31 inches wide and 25 inches long.
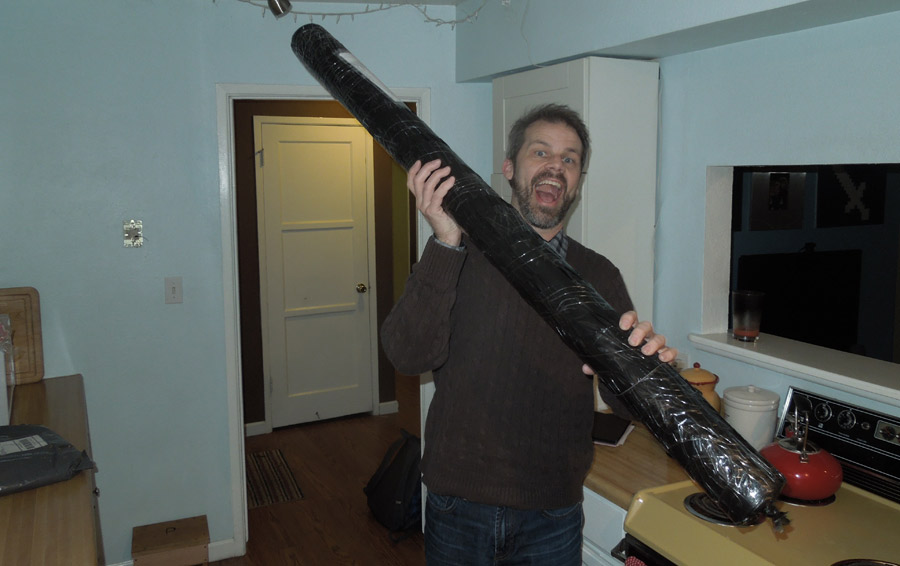
Vinyl fabric for upholstery is usually pretty expensive locally, so I took a chance and tried ordering it from Amazon.
I got six yards of cloth on a 60" wide roll. It was a ton of cloth, and I was excited, but a little worried that I had bitten off more than I could chew with $80 worth of fabric.
I don't think I'm alone when I say that I'm always wary that I'm going to run out of fabric when I start cutting it for a project. This project was no exception.
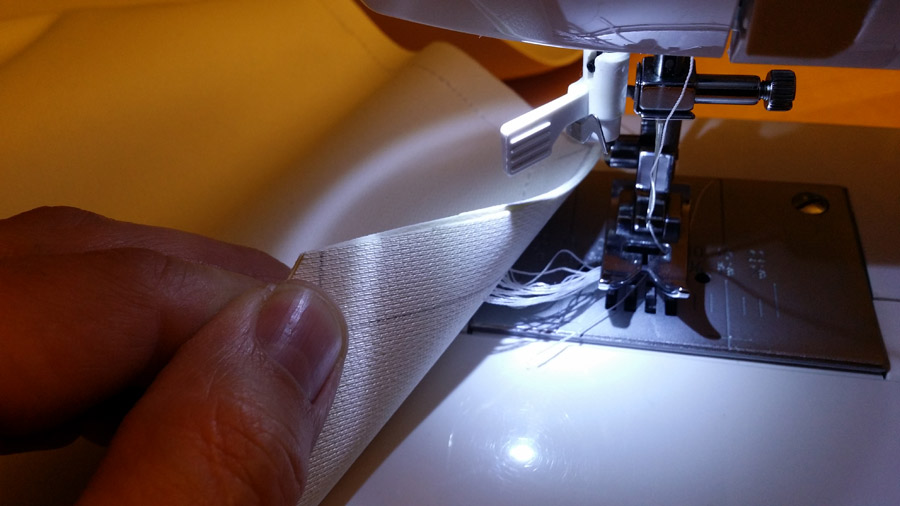
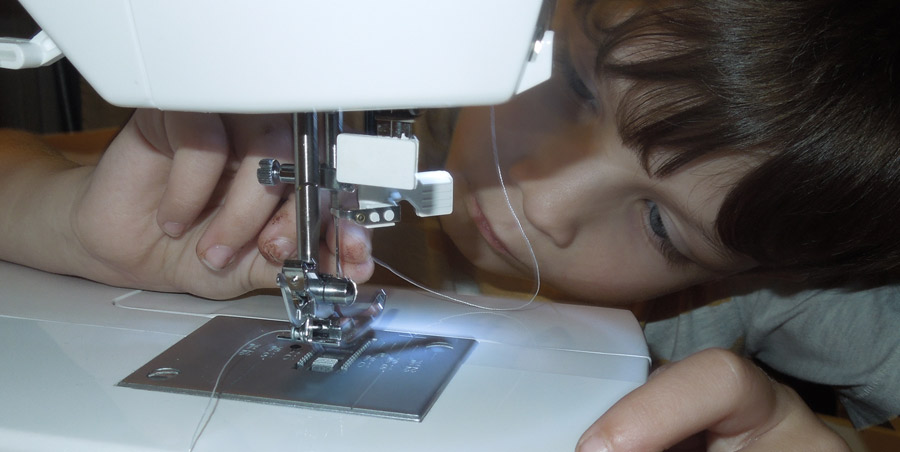
The sewing had two challenges. First, the fabric was thicker than I was accustomed to, which forced me to learn more about thread tension.
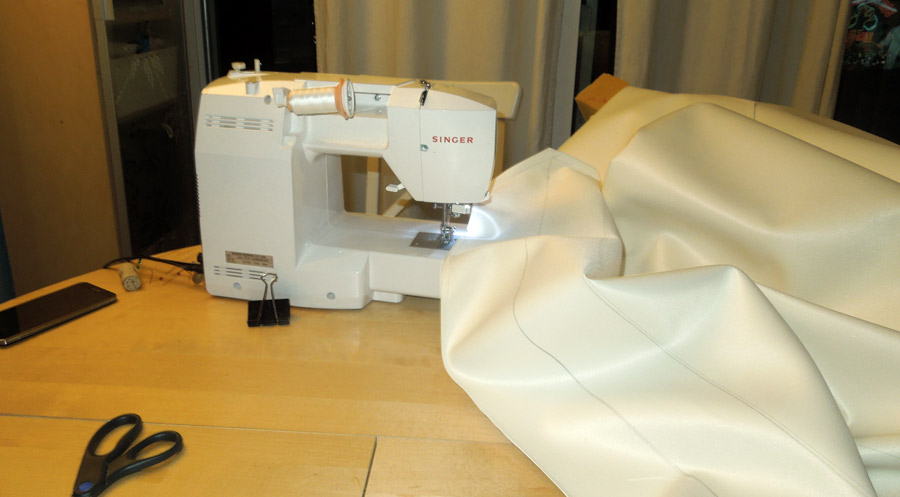
Second, the fabric was heavy and stiff, which meant that as the parts came together, I was manoeuvering a big pile of fabric around on the table, trying to position the next seam to feed under the needle.
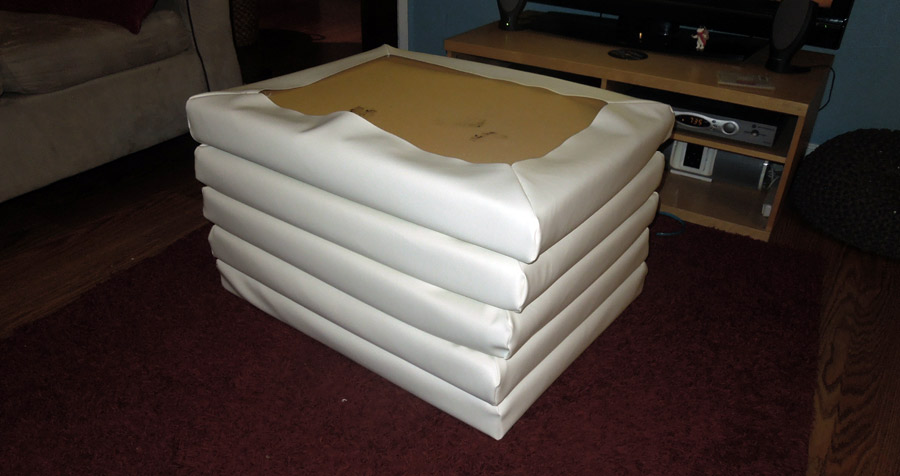
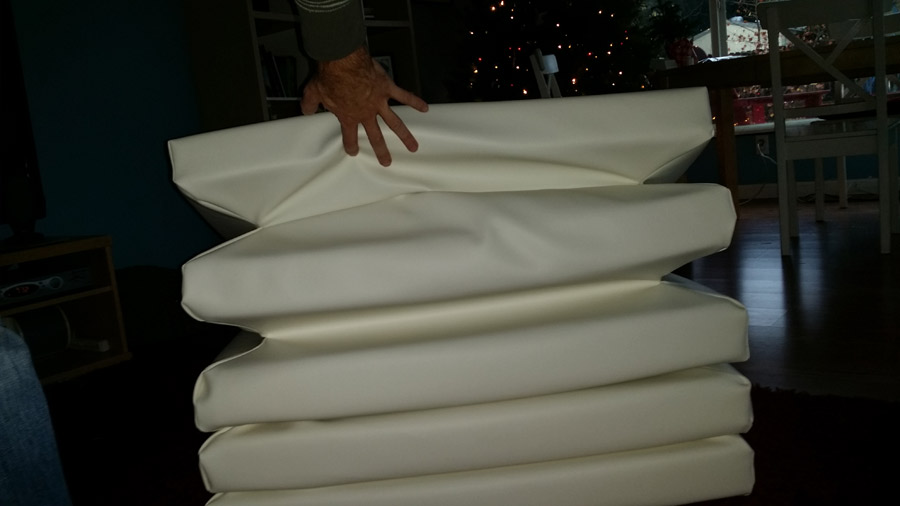
Once I had my tension problem sorted out, the rest of the project came together very quickly. I was thrilled when it was time to flip the fabric right-side-out and to start cramming the foam blocks inside.
They fit! In the photo above you can see the open bottom, where I had easy access to shove the foam in.
When I got all the stuffing inside, the vinyl looked a bit wrinkly. It wasn't... stuffed.
Cushions look best when the stuffing is pushing out against the fabric. I hadn't ever realized this!
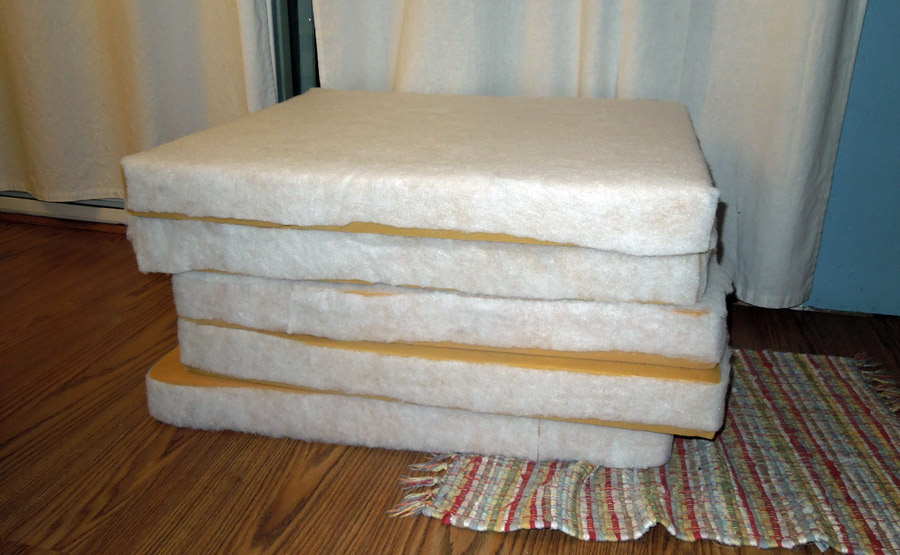
I removed the foam blocks and added a layer of this white stuff known as bonded cushion wrap. These long strips were left over from building the spinning tornado costume.
The final product turned out great! Each layer is separated from the others, giving the layers an "individually wrapped" look, and allowing them to be temporarily fluffed full of air like a blacksmith's bellows.
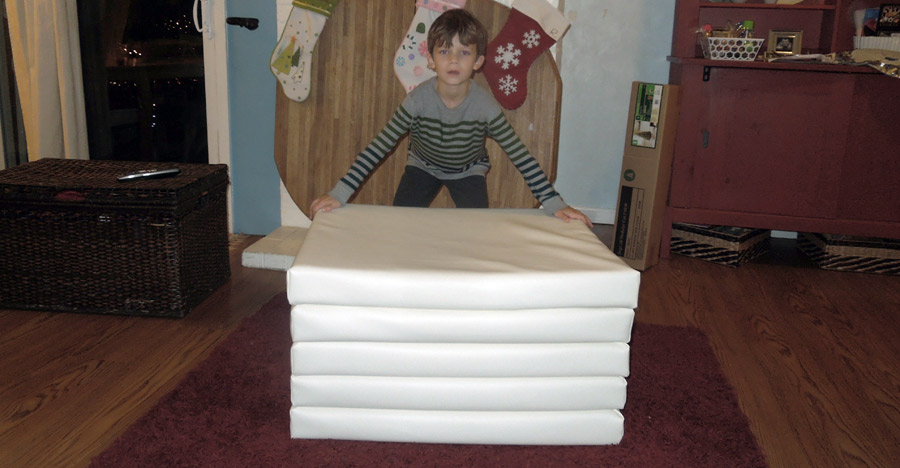
The white vinyl may end up being a poor choice, considering how much the kids enjoy this thing. But I can't bring myself to tell them to stop jumping on it!