
Downton Abbey Costume - page 2
Not a servant, not a Lord, the entire building... Downton Abbey.
By Rob Cockerham |

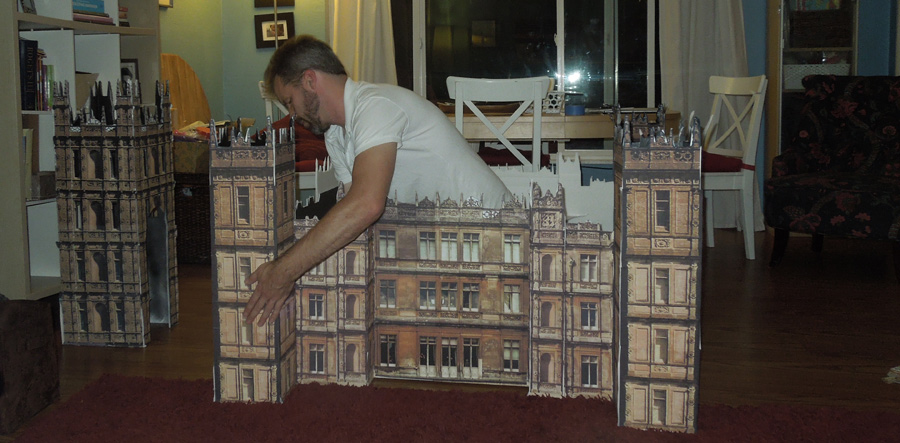
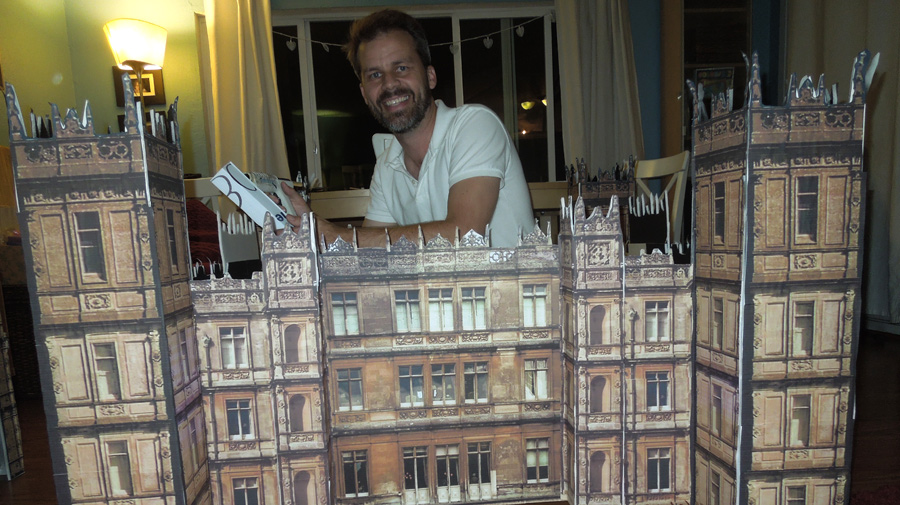
After the printouts were glued to the boards, all the parts started to come together.
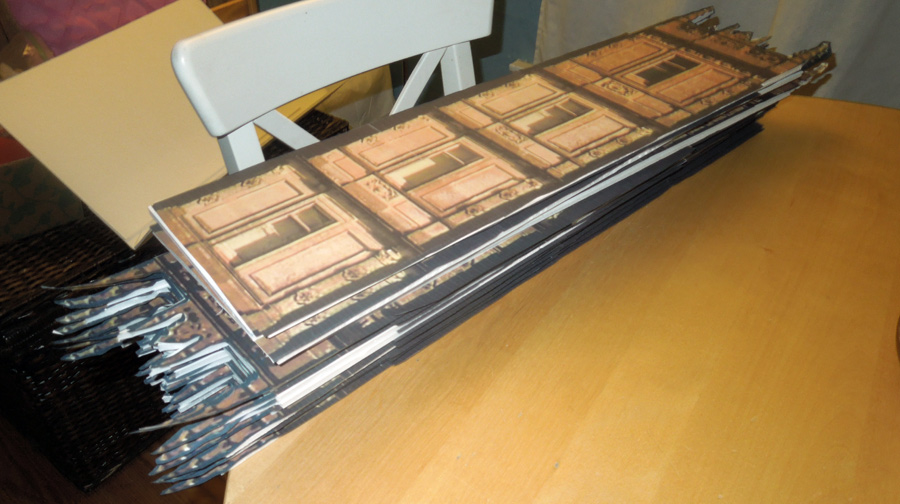
Sixteen sides of four corner towers.
Planning and gluing.
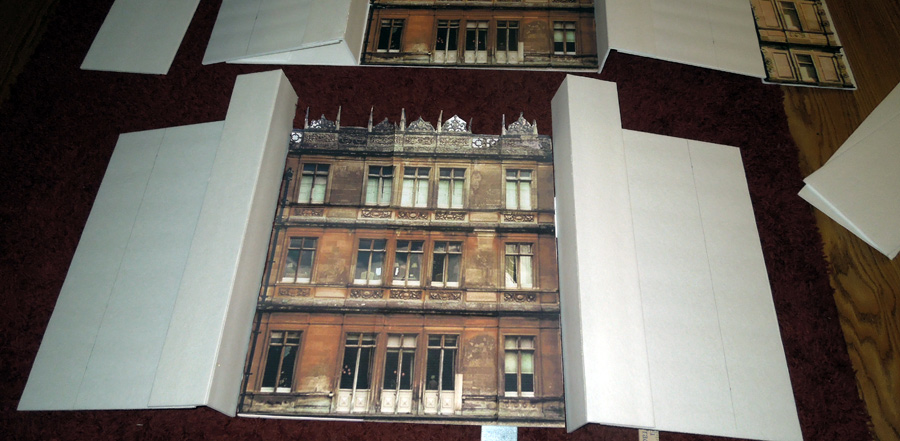
I worried that it was too large, but I was too far along to redesign it now. I think I spent about $36 on paper and ink.
I added a few brackets.
I wonder if anyone else adds quarter-inch foam brackets for strength.
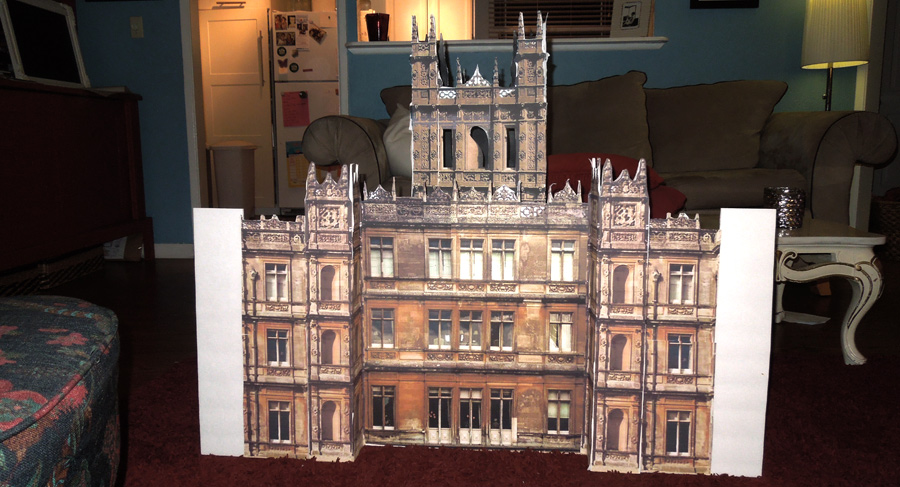
So far the costume was 100% foam and paper.
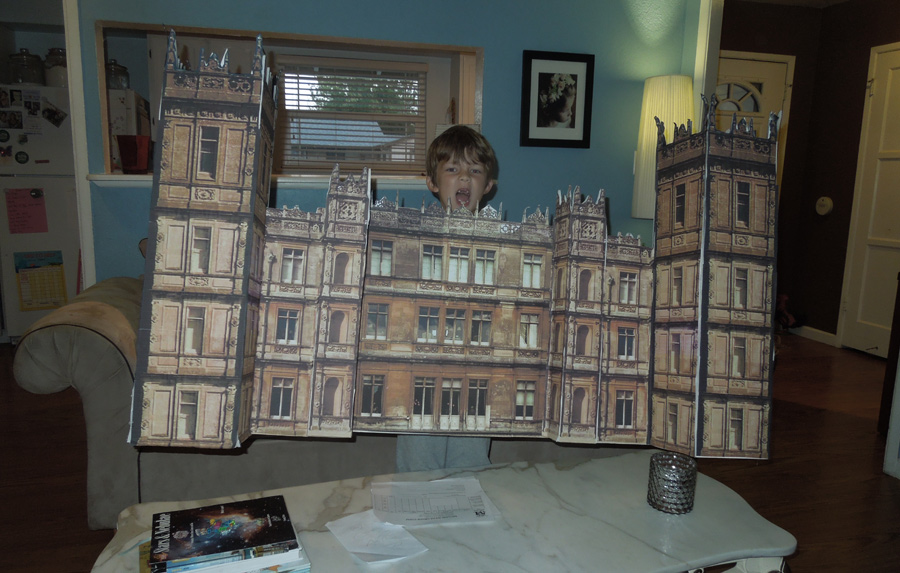
It was a bit fragile, but incredibly lightweight.

Two complete halves.
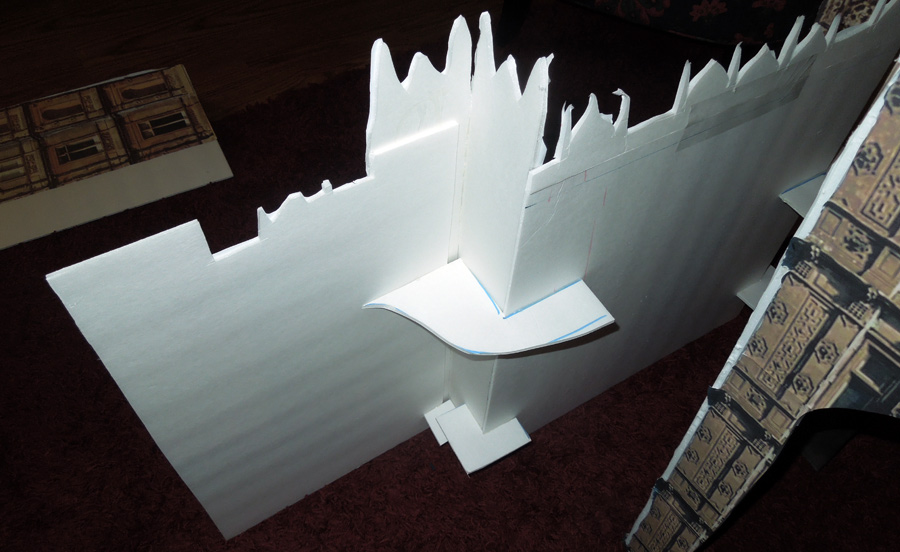
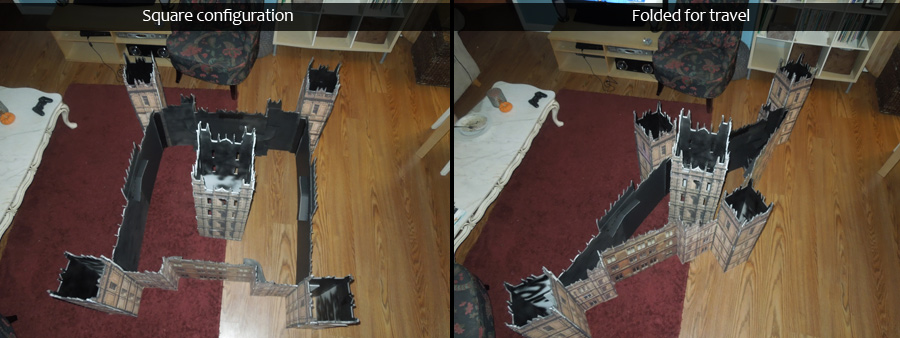
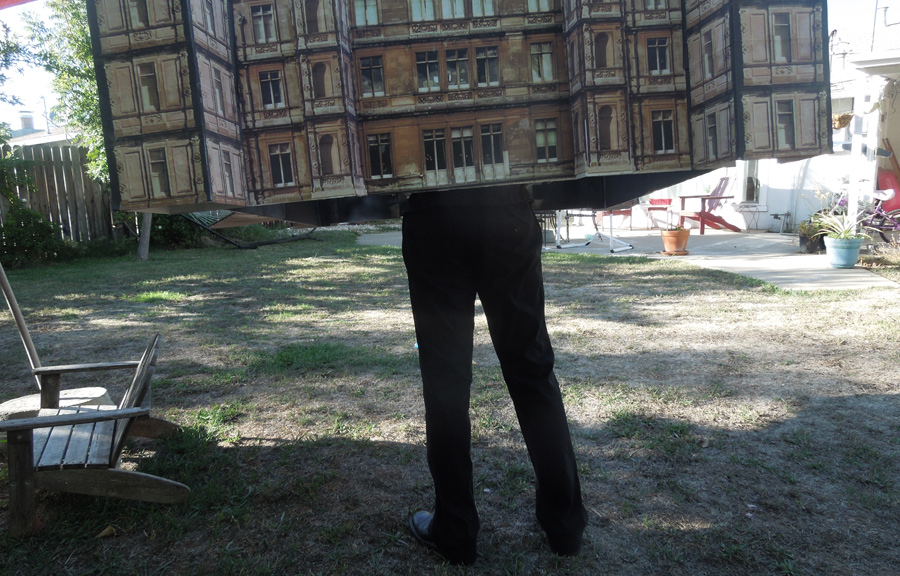
Each of the exterior walls was almost four feet across, so I had to figure out a way to get this costume into a vehicle and through doorways. The answer was to assemble the costume with hinges at each corner. This would allow the costume to fold into a long diamond shape.
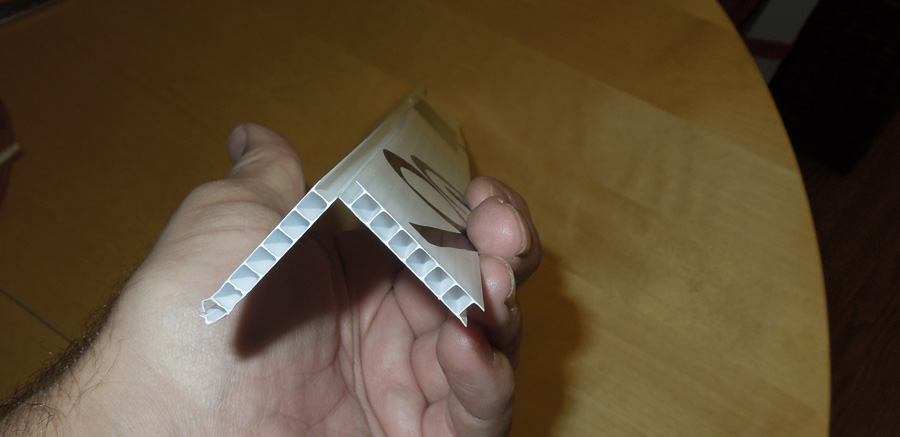
I considered a few different hinge designs, but settled on the above, a length of corrogated plastic, slit down one side. This material is ideal for hot gluing, and it is super-strong.
Overhead view of a corner.
Gluing the first hinge into place.
I guess I finally made a Transformer costume!
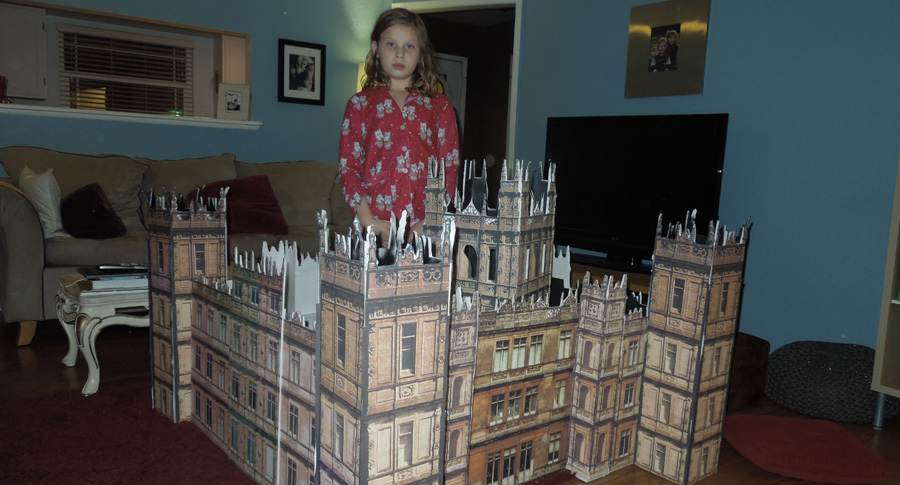
I looked around after the hinges were in place and realized I was finished!
Somehow I convinced my kids to resist vaulting the castle walls.
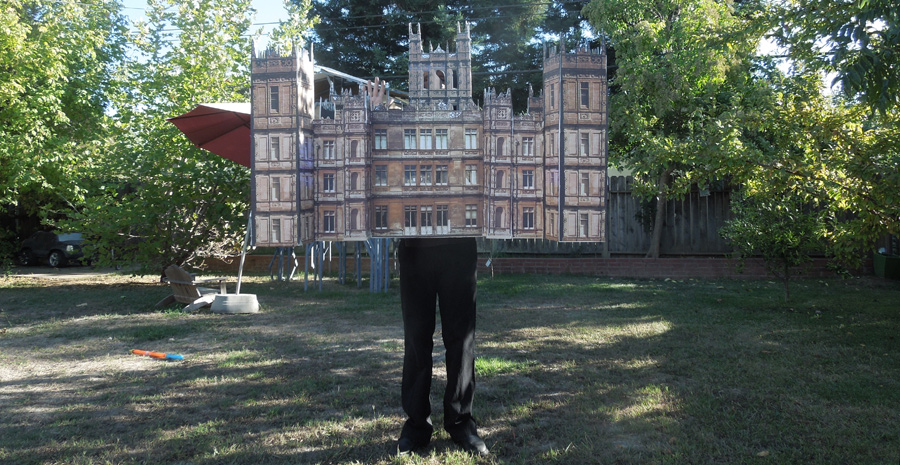
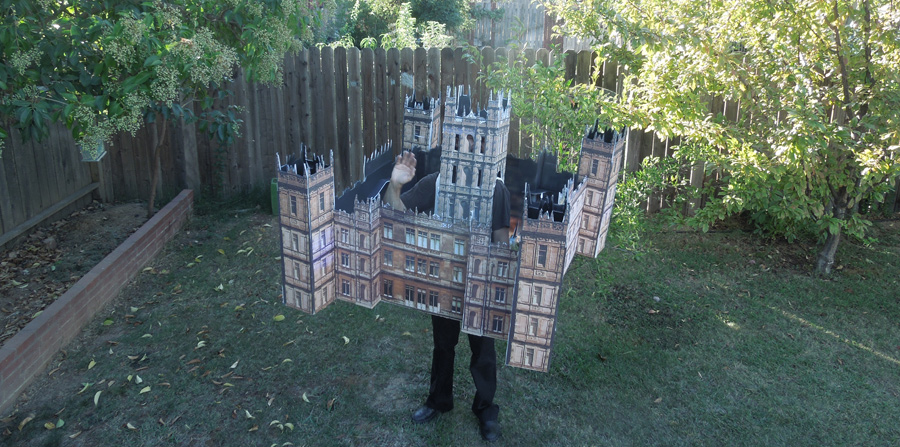
I straightened the top spikes, added a couple of PVC pipe cross-braces and I was done! The Downton Abbey costume was ready to wear!
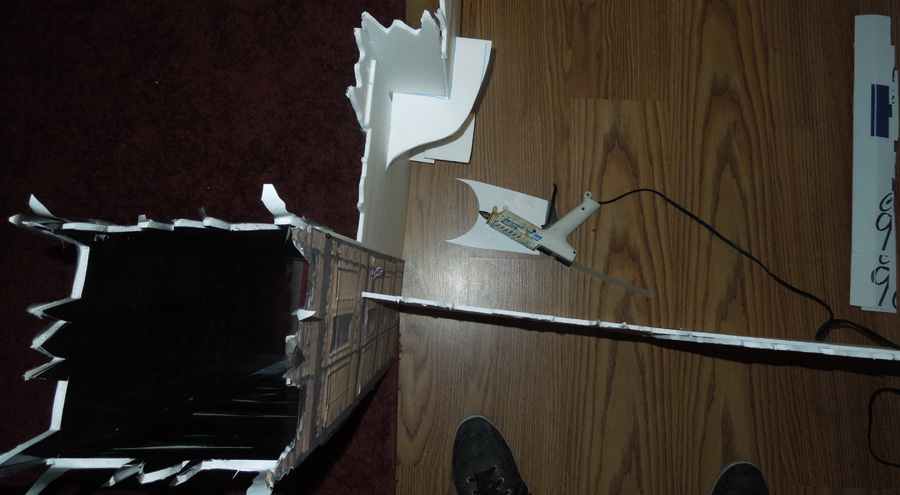
I blacked out the interior wall and added some additional sight holes. I can't believe how lightweight this monster is. There is nothing to it!
Here is a short video of the costume in action.
All I need now is a secret door which will allow a cold Irish stout to invade the premises.