
|
|
|
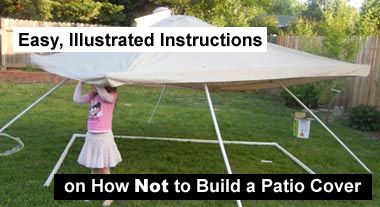
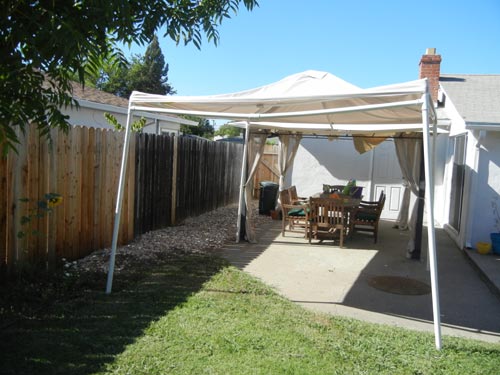
This summer was filled with failed projects. Luckily, a failed project can still make for a pretty good web article. Sometime in the winter, the cloth on our patio cover developed some big rips. I think we've had it for two years, which is a little disappointing, but I didn't put an ounce of effort into maintenance, so I didn't expect it to last forever.
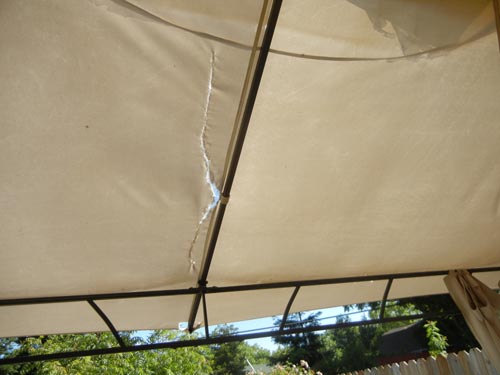
Here is a photo of my hand-sewn repair work. |
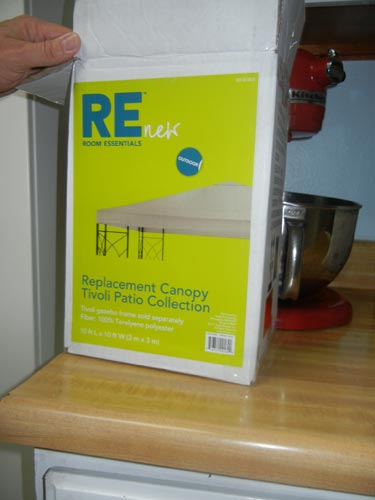
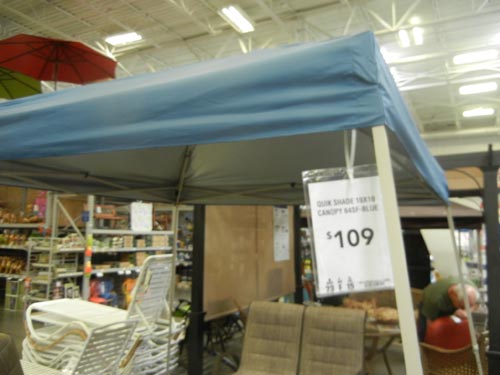
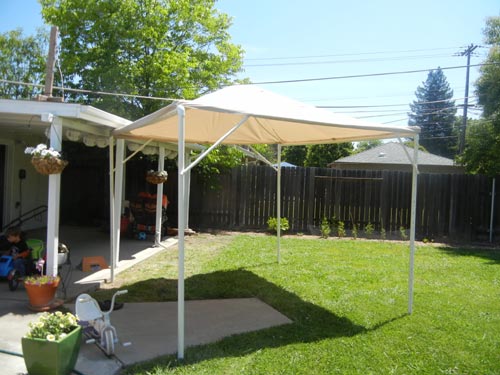
Not long after I told my wife it would be impossible to buy a replacement canopy for the patio cover, the impossible happened, Target started stocking replacement canopies. The canopies were inexplicably on sale for $44 each. I bought one replacement, and one extra, which I figured would be a great piece to start building my own PVC patio cover. The cloth covers are complicated, I didn't want to try making my own. If I built a support structure for it I'd have a second shade structure at a bargain price.
|
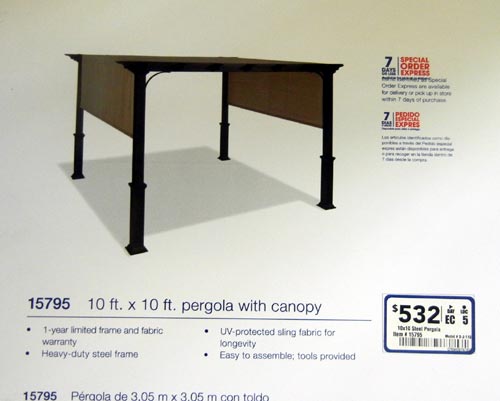
Shade structures are typically made of wood, although I've begun to see a bunch of steel ones for sale at Lowes and Target.
|
I made the mistake of buying a super-cheap plastic one last year. It was destroyed within three months. I guess you can't expect a $100 contraption to do the same job as a $532 structure. |
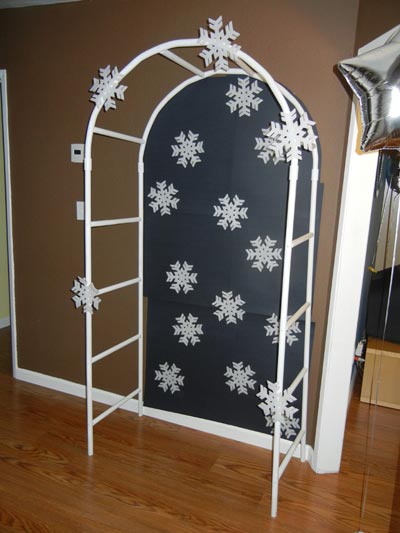
But for some reason that knowledge didn't stop me from trying to build my own from PVC. Over the last 5 years, I've become more and more happy with bending and using PVC because it is so cheap and strong. For example, consider this photo archway for Stacy's Prom party. It's so cool that giant ice crystals started to form on the surface. |
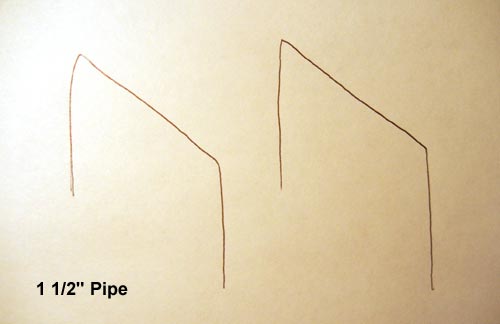
I decided to start with both 1 1/2" and 3/4" pvc pipe. The plan was to build the top out of the thinner pipe and then prop that up with legs made out of the thicker 1 1/2" pipe.
|
|
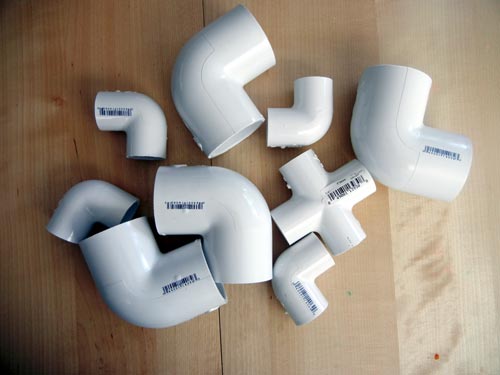
Here's a photo of some connectors. The big elbows were $1.24 each, I think the smaller ones were 60¢ each. |
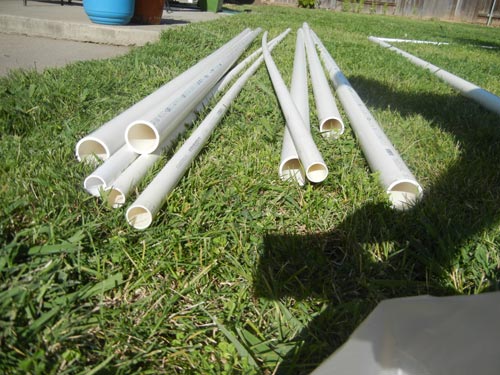
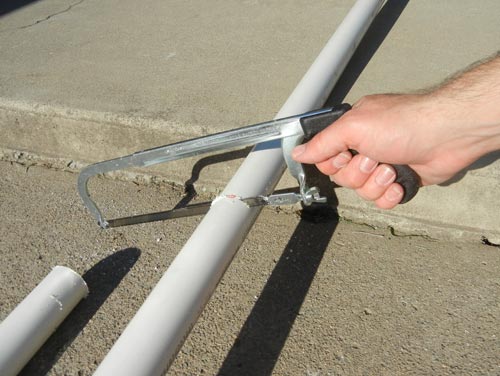
I also bought some pipe. The 3/4" pipes are $1.19 and the 1 1/2" pipes are $4.76. These were all 10 feet long.
|

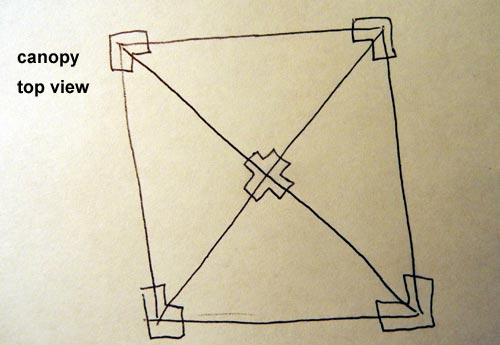
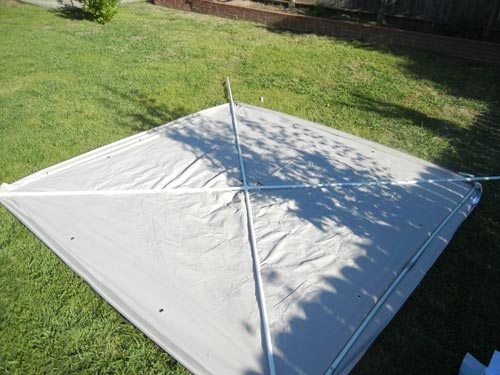
The size of the canopy determined the size of everything else. The interior measurement was 115", so I built a big 115" square of thin PVC.
|
That worked out really well. The corners were tight, and the canopy had a bunch of velcro tabs which were the perfect size to hold onto the pipe.
|
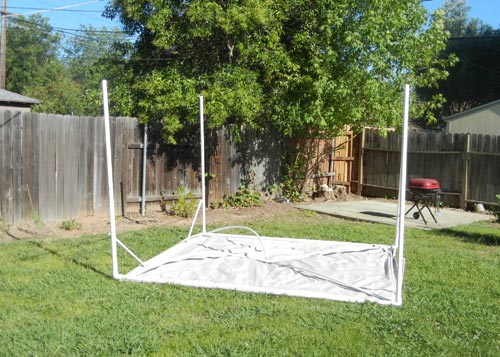
Next I cut four legs and two crossbeams. I was being very conservative with my materials, but I figured I could always add more structure if this design wasn't strong enough. I had never had PVC fail before, so I was overconfident about its strength.
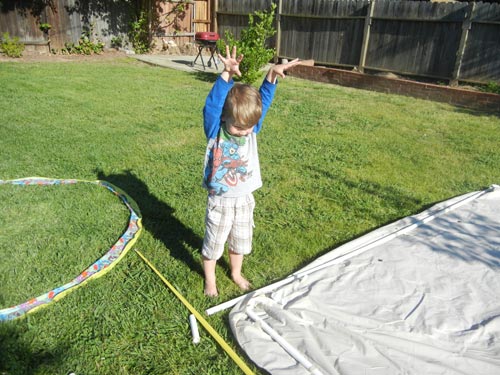
|
I was a little over-excited when I realized I could make the height of the shade structure any size that I wanted! What if I made it four feet tall? The kids would love it! Or how about leaving it at ten feet! What's the downside of a giant towering shade structure? Who knows? Eventually I settled on the regular height everyone else settles on: 7 feet, which meant my legs had to be 81" tall.
|
Then I started putting everything together. I should mention here that I don't use PVC cement. I have always just screwed together my PVC structures. I don't even own PVC cement. Come to think of it, that means I've never used PVC pipe for its intended purpose.
|
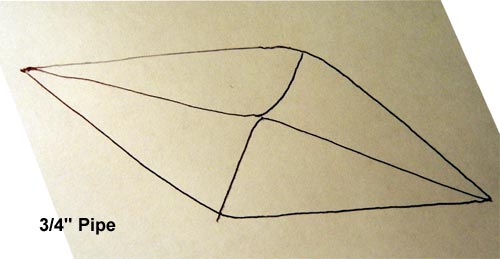
For the peak of the canopy, I made a big X with four 56 3/4" legs. A cross connector would hold them together in the center, but I bent them so that they would support the roof at an attractive angle.
|
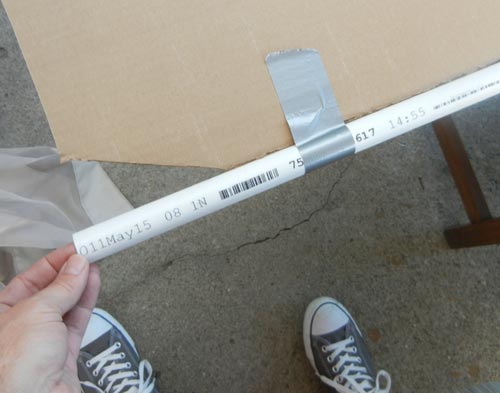
I made a little cardboard jig with a little 20° angle notched out of it.
|
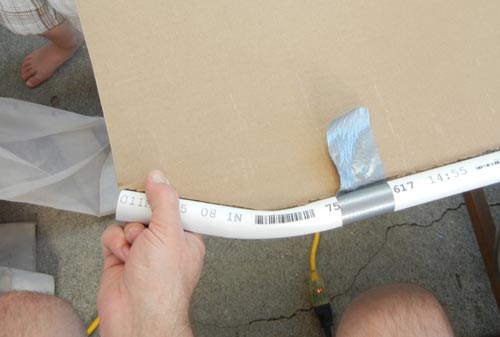
Then I heated up the PVC and bent the end to match the angle on the cardboard.
|
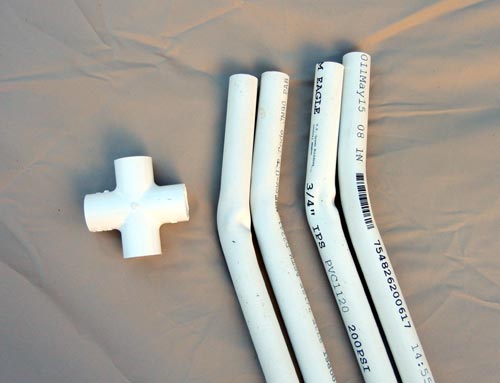
All four were slightly different, for that olde tyme PVC craftsman appearance.
|
I connected the parts for the canopy support. All the parts were ready for assembly, and I was as far along as I could go without some help. I gave Eric a call and he agreed to come over to give me a hand assembling it.
|
I hadn't really thought the whole design through, so when I added braces to the corners, I just screwed them in from the side.
|
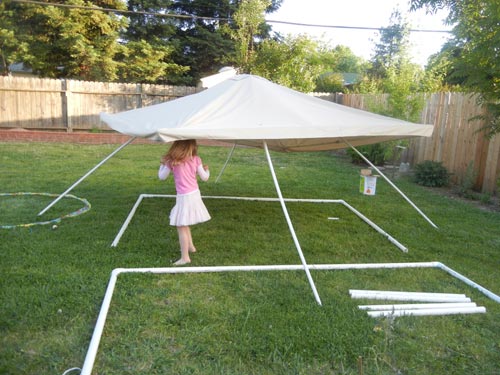
We used about 40 zip ties to connect the thinner pipes from the top of the shade structure to the thicker leg pipes. It stood, but it was really weak...flimsy. In this photo it is leaning a bit on the roof of the house. Standing on its own, the legs flexed, and had a tendency to lean way over, like a parralellohome. We kicked out each leg a bit, so it would stand up straight.
|
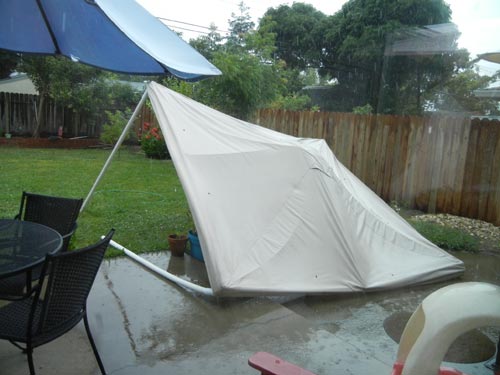
When I came home from work the next day, it had fallen over and rolled onto it's top. The top pipes were twisted into a mess.
|
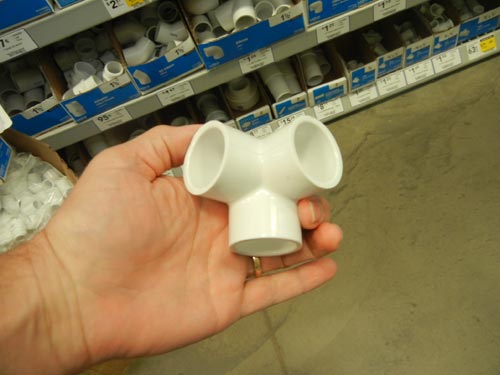
I needed to add more strength. I would start with two more heavy cross beams. Unfortunately, Home Depot doesn't carry a 3-way corner connector in a 1 1/2" size, so I started planning other ways to build a strong corner.
|
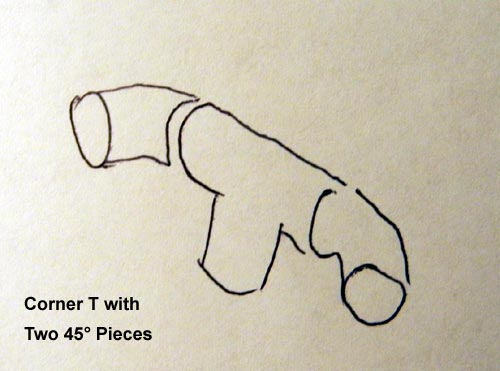
One way was to round off the corners with a three-part construct using two 45°connectors and a tee.
|
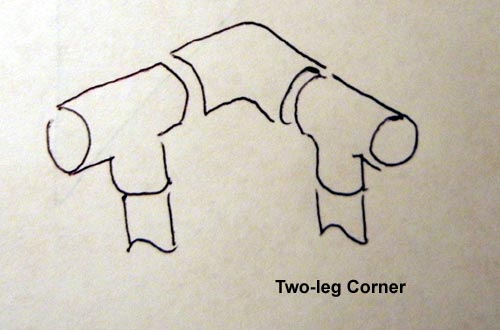
Another idea was to add a second leg at each corner, and connect them with an elbow.
|
Instead of either of these, I chose a corner configuration which would require the least possible number of additional parts, adding an additional tee connector a few inches down each leg.
|
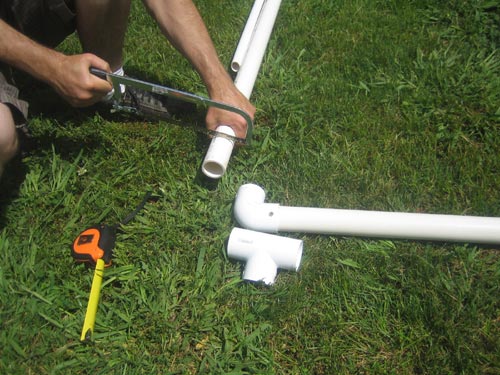
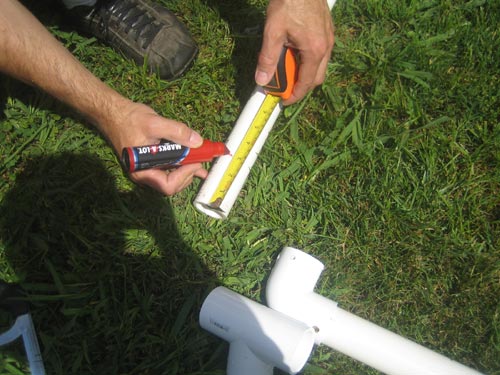
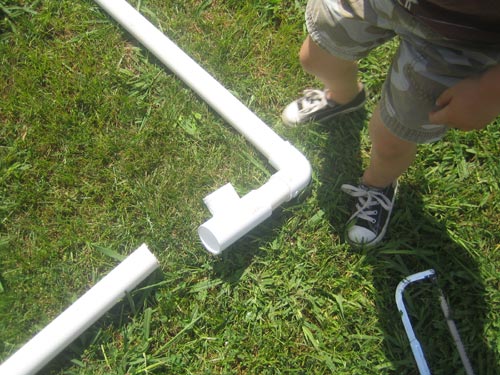
I disassembled the structure, cut a bit off of each leg, and hammered on a new tee. |
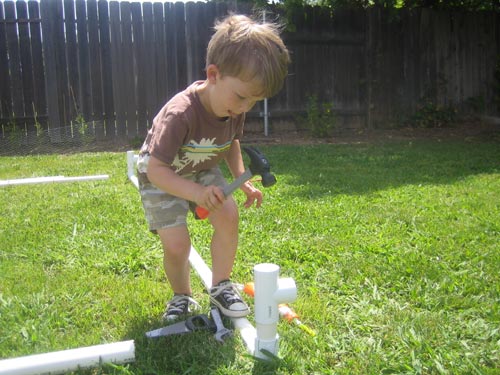
I had some help. This kid had a great set of plastic tools. |
|
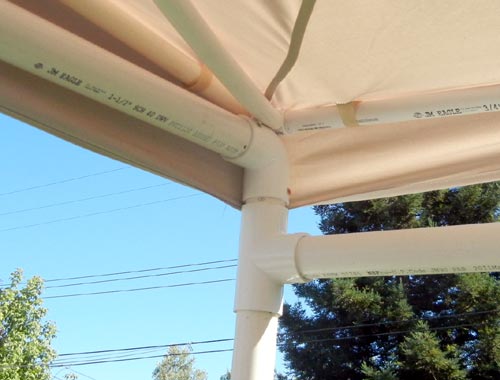
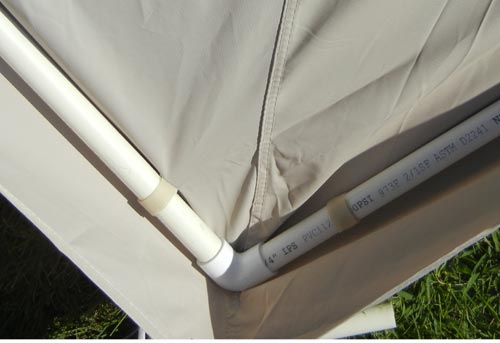
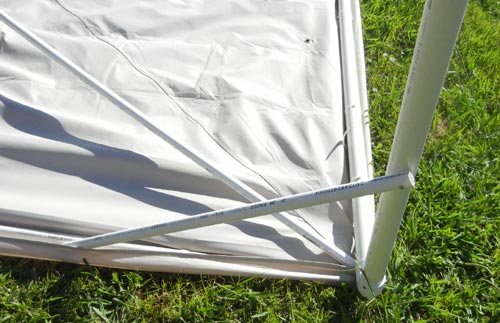
Here is a photo of a completed corner. The frame of 1 1/2" pipe was much stronger. The canopy frame was still 3/4" pipe, and as you can see here, it was just kind of thrown on top and screwed down. |
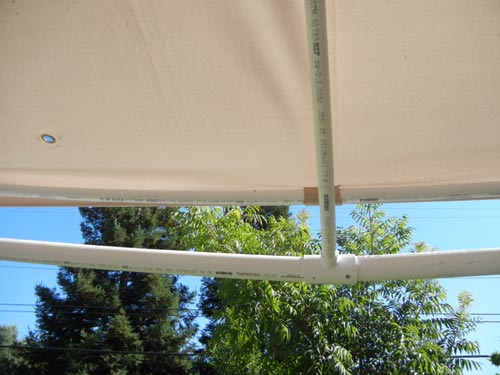
To support the roof better, I added these 1 1/2" to 3/4" tees at the half-way point on each of the four top rails. Unfortunately, if you add force to the midpoint of an unsupported pipe, it bows.
|
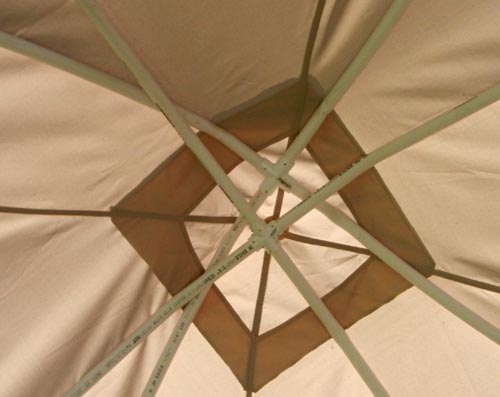
AND, now I had two sets of pipes converting at the apex of the roof. Or, I should say near the apex of the roof.
|
The shade structure is finished, and it is strong, but it doesn't look good. The top rails bow downward. The canopy is droopy. The legs don't stay plumb. And, when the wind was blowing, we discovered a new problem. It creaks! So far I've spent $44 on the cloth canopy, and $73 on pipes and connectors. ($117 total)
|
And really, it's not that strong either. I'm not giving up! I'm taking a break and designing something a little more substantial, and a little more attractive. I'll probably start with fittings from Formufit (Thanks Kevin Mori) and a more complete construction plan.... not just a canopy.
|