Upgrading the Kids' Fort
From Organic Style to Space Station
By Rob Cockerham |
This is an update to the original article which appeared on BoingBoing: How to Build an Awesome Honeycomb Fort
When I made a backyard fort for my kids, I made it cheap.
I didn't use 2x4s, I used 1x2s, and instead of plywood or panels, I used stretched burlap for the walls.
When I was finished, it looked great! The green burlap hexagons looked like stylized clumps of leaves at the top of blue tree trunks and branches.
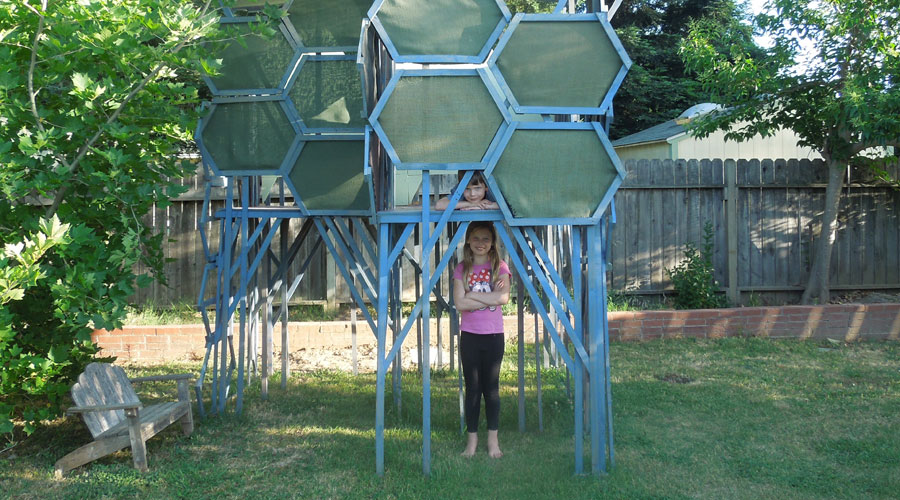
I knew the burlap would fade and stain, but I thought it would last longer than one year.
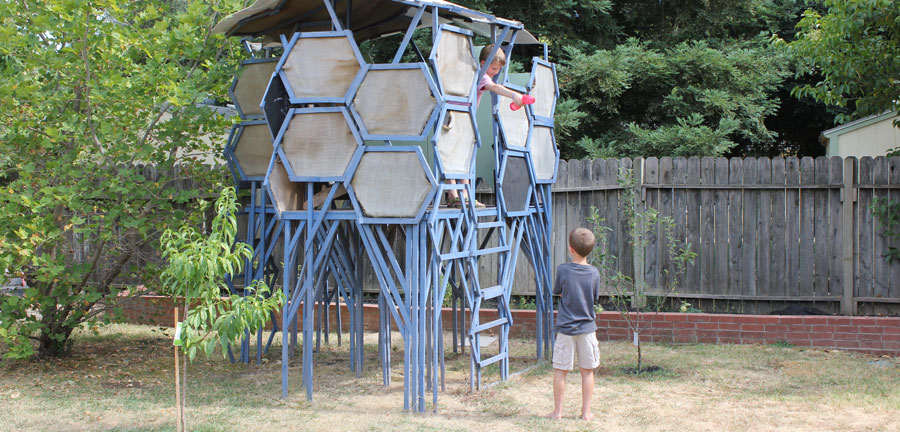
As time passed, it began to look like boiled garbage. I needed to replace the panels, but I didn't want another temporary solution. Replacing the fabric with plywood was going to cost about $200, and it would add significant amount of weight to the top.
As luck would have it, the perfect material for the panels presented itself in the Pep Boys parking lot.
Apparently Pep Boys, an auto parts shop, was jettisoning dozens of jumbo silver plastic panels it had been using to decorate the store walls above the shelves. Their loss was my gain.
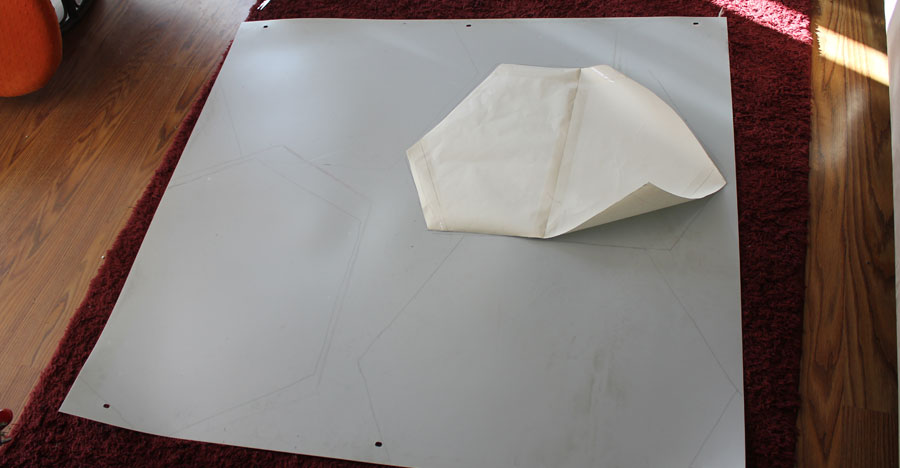
The silvered panels were reflective, but not polished. They were tough, but flexible.
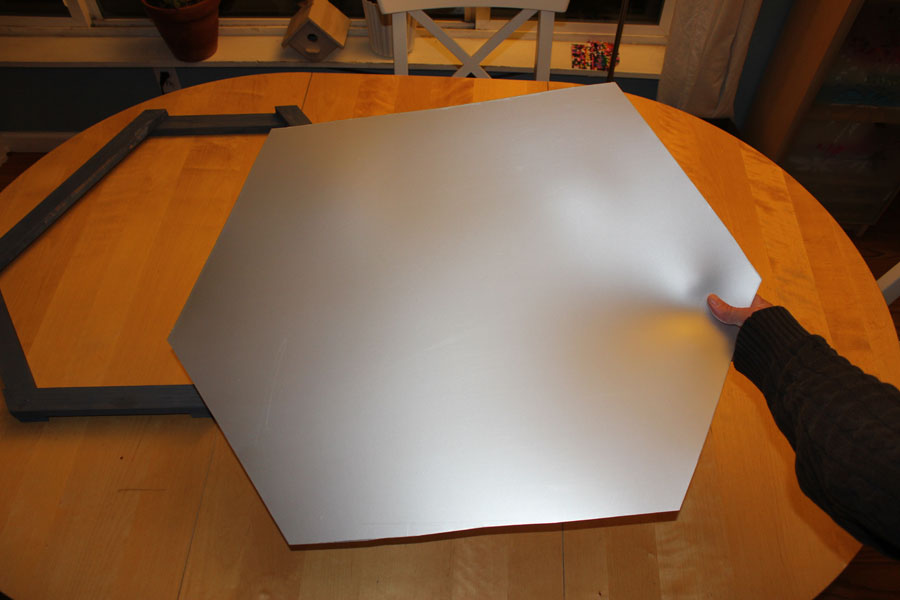
The fort was about to get a bona fide space-age upgrade.
I made a pattern out of paper and came up with a plan to squeeze the most hexagons out of every Pep Boys sheet.
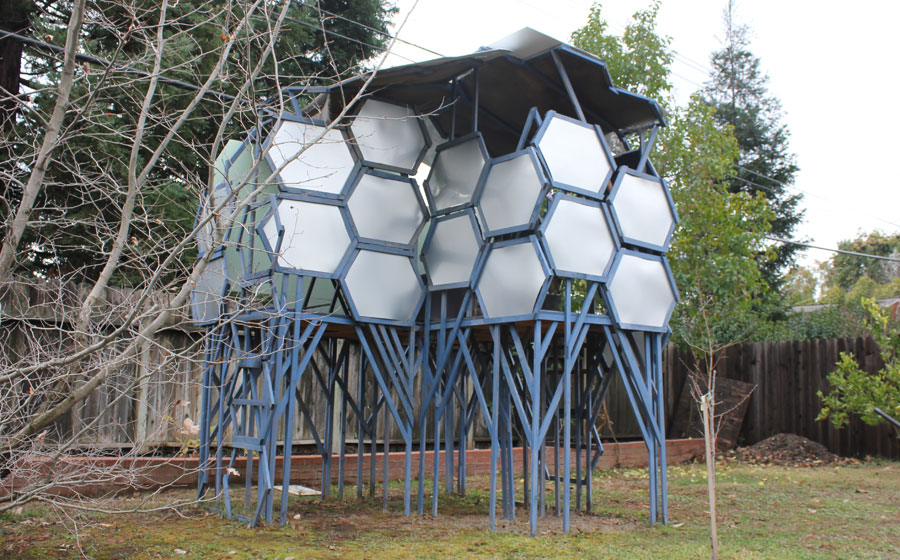
It worked! I cut the plastic with tin snips and replaced the deteriorated burlap one panel at a time. My green trees were gone, replaced with dozens of futuristic solar fauxlar panels.

Having panels screwed into place also added rigidity to the structure.
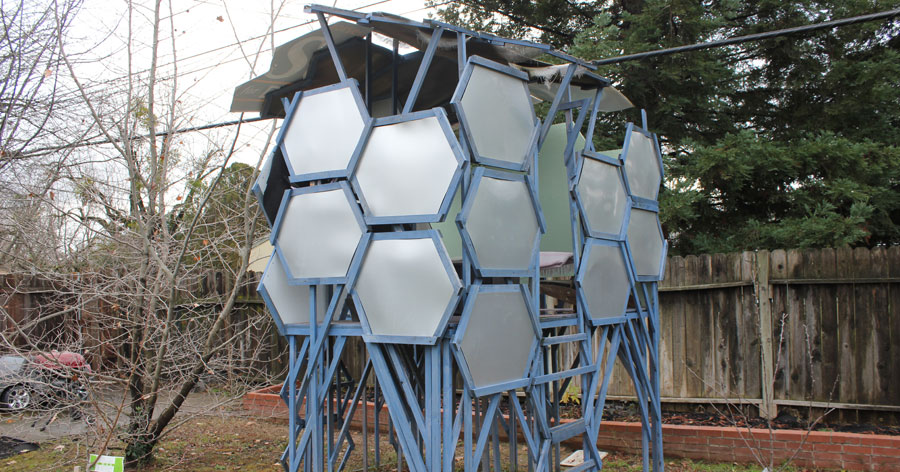
There really is nothing better than finishing up a project and going inside the house and starting at your accomplishment. At night our patio lights bounce off of the silver hexagons and it looks exactly like a moon base. Best upgrade ever.
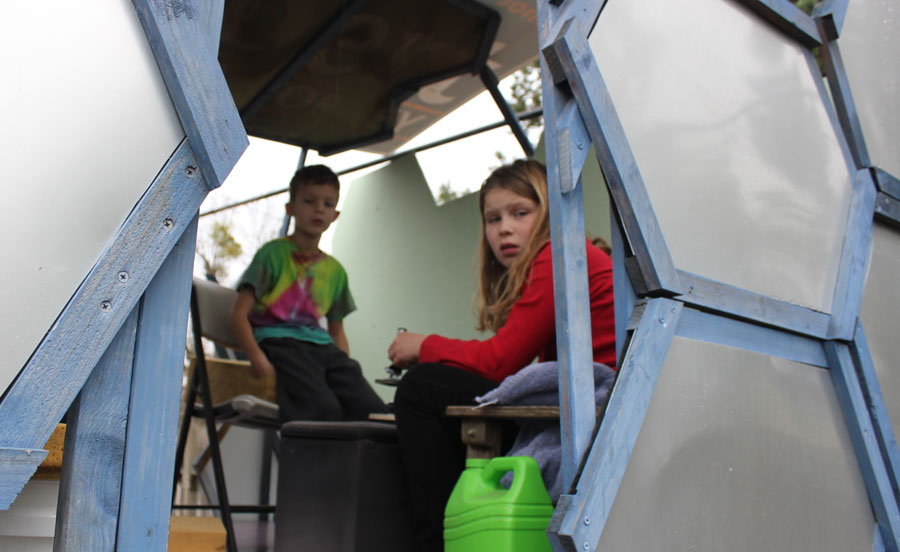
Now maybe the kids will let me hang out in there with them.

