Making Treat-filled Easter Eggs
I 3D printed some golden eggs with cash inside!
By Rob Cockerham |
I 3D printed some Easter Eggs! With money inside!
3D printing is a slow process. A hot nozzle heats up and squirts molten hot plastic in a carefully determined pattern to form a three dimentional object. It's like using a hot glue gun to squirt out an entire sculpture. It takes time.
Not long after I first received my printer, I realized that I could pause printing momentarily and fill up a hollow object. I made salt and pepper shakers this way, filling up a clear shaker with no filling door or portal.
This Easter, I decided to try making an egg, sealed shut with money trapped inside!
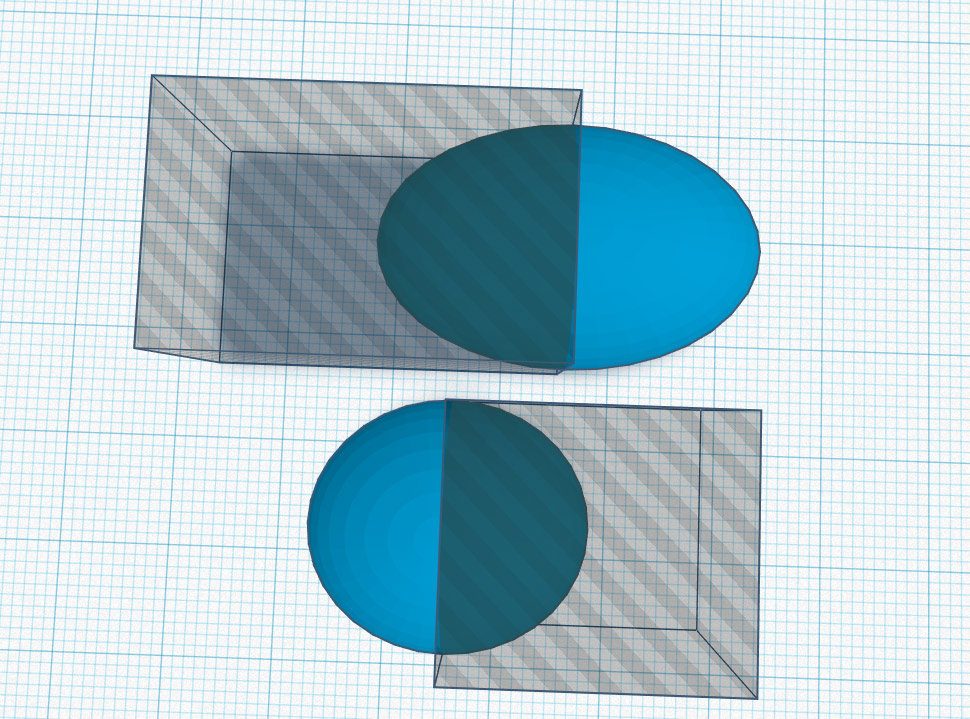
The first step was to design an egg shape. I use TinkerCAD to design simple shapes like this hollow egg. An egg has a mostly round side and one oblated side, so I made the two halves seperately.
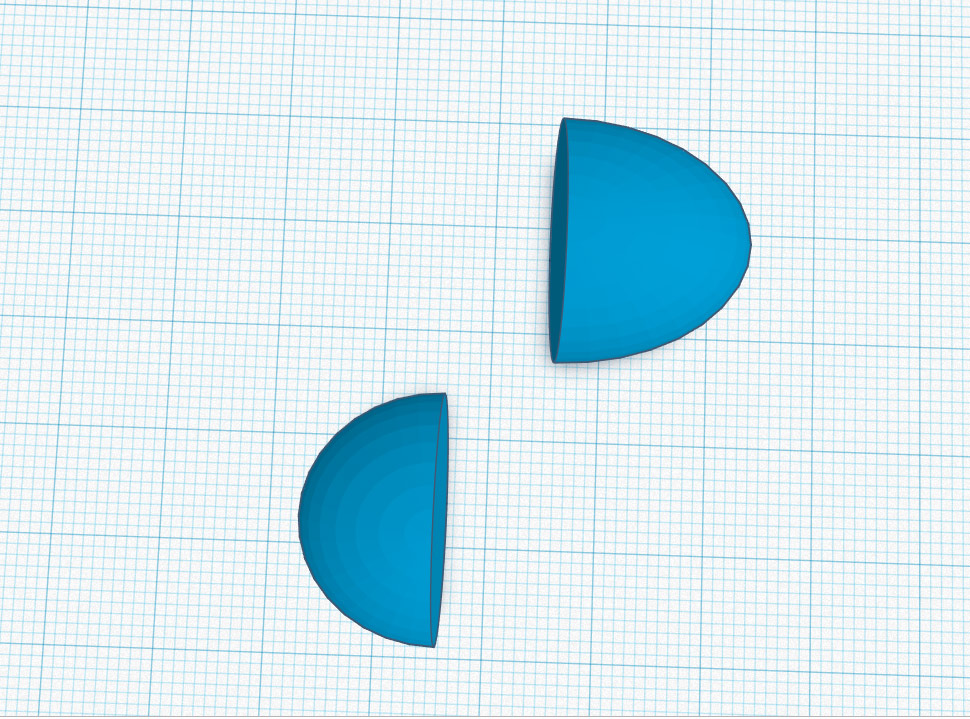
And then I stuck them together.
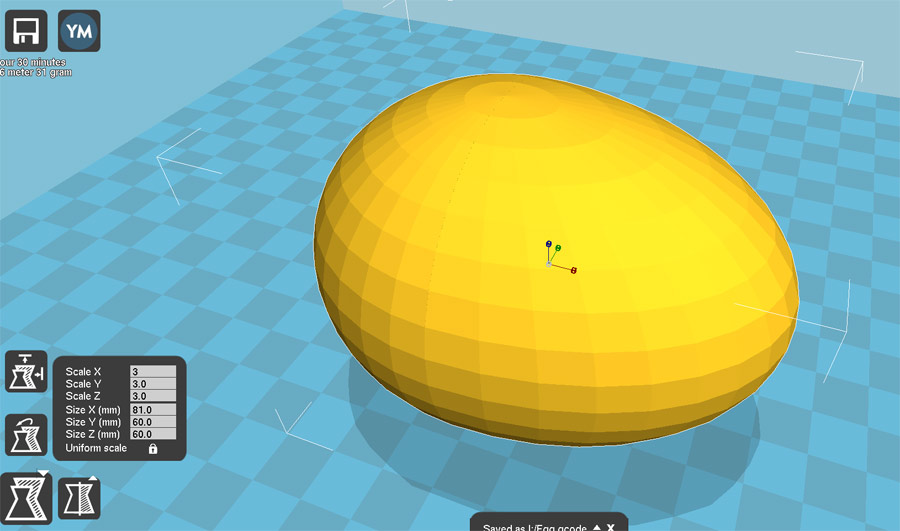
In the 3D printing "slicing" software, there is a setting to print "hollow", "solid", or any % of filled in between. It is called the "infill" setting.
Hollow objects are weaker than solid objects, but with just a few walls inside of an object, you can make a structure incredibly strong. My eggs would be hollow.
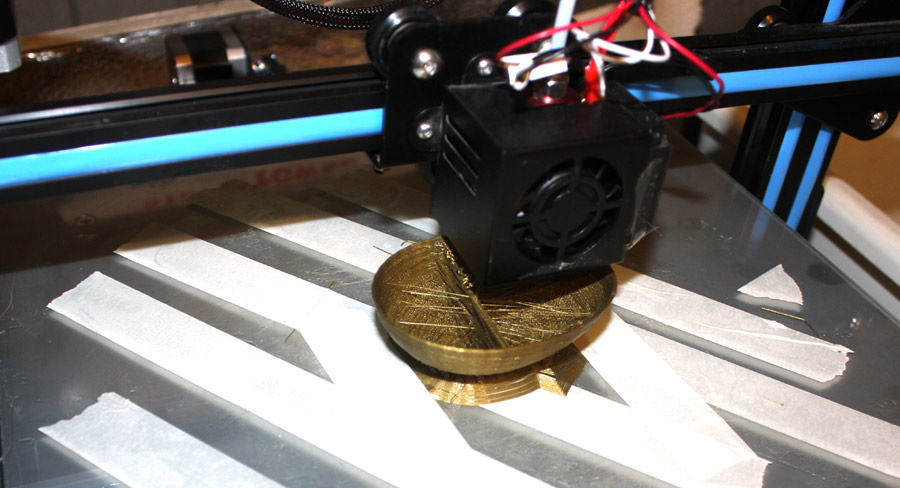
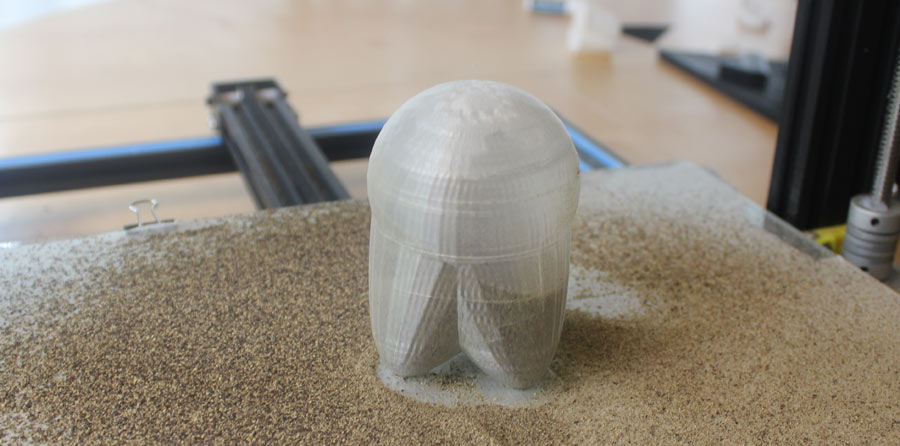
The slicing software is pretty good at guessing how long a print will take, and an egg this size looked like it was going to take about an hour to print. I set up the printer with some amazing gold-tone metallic filament, and started printing an egg.
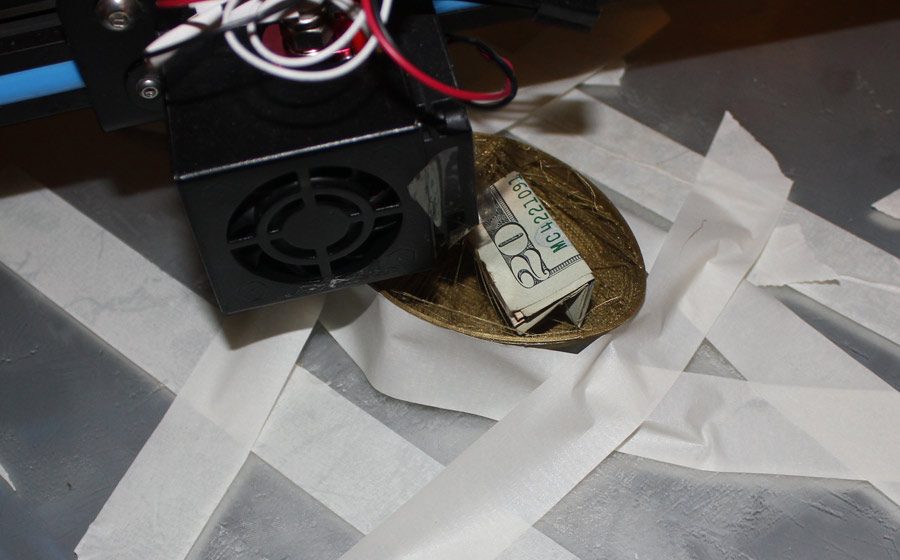
At about the halfway point, I slipped a bill into the shell. I didn't even pause the print, because it's pretty easy to plop a bill down into a little eggshell, even with a hot print head zipping around the object.
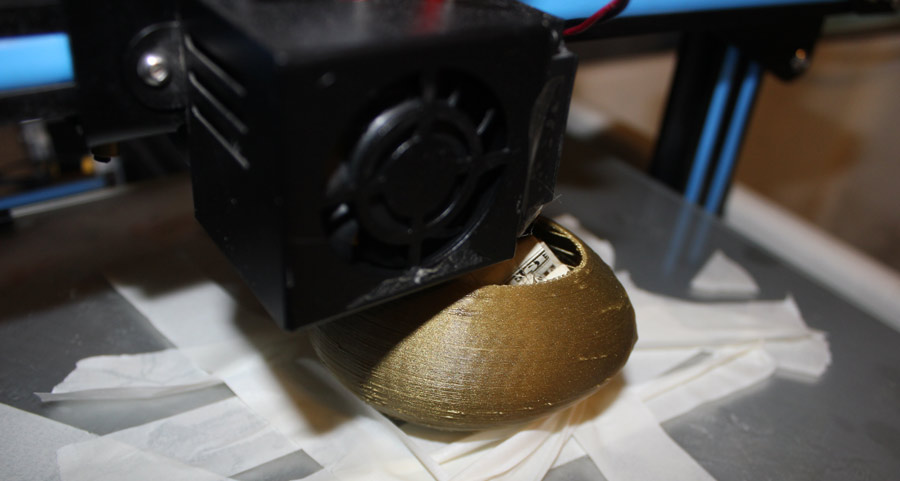
A few minutes later, the egg was almost complete!
Kids, none of the eggs really contain a $20 bill. That was just for the camera. Your eggs have $1 bills.

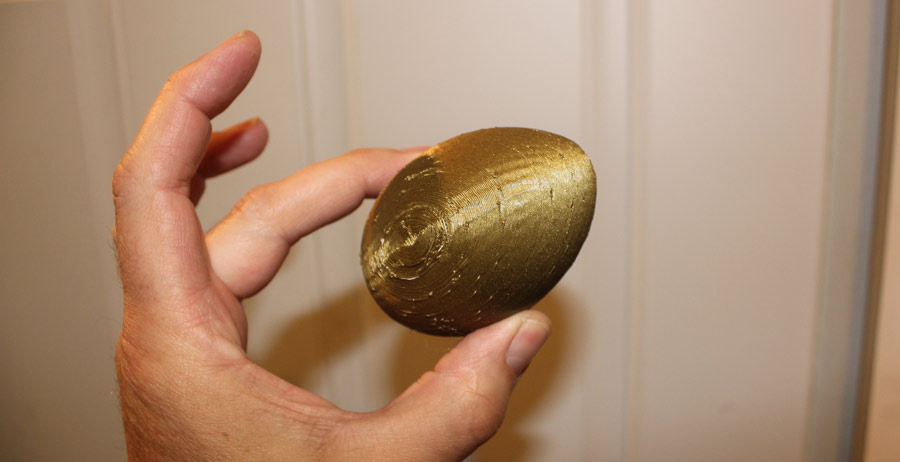
In about 75 minutes, the first egg was done! It looked shiny and beautiful! It was also about 50% larger than a regular chicken egg, so it was pretty impressive.
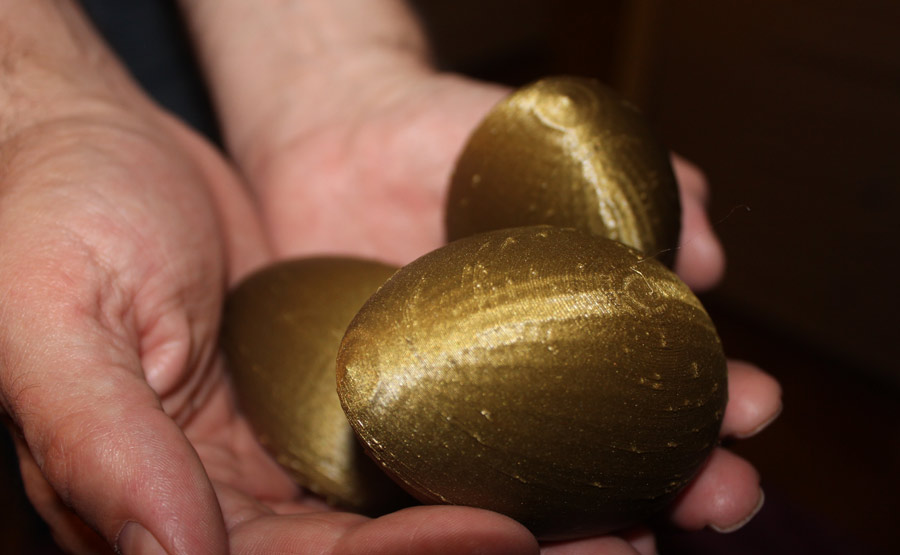
A few hours later, I had a few eggs done! I ran out of bills for the third egg, so I crammed a bunch of coins into the third one.
It is much better, because you can hear the coins rattling around inside the egg.
I can't wait to hide these in the grass! I wonder if the kids will prefer to keep them, or to smash them up and pilfer the treat inside?
Update! The kids loved them and they were kinda hard to break open! Enjoy the videos.