How I'm Making the Most of My 3D Printer
I bought a Creality CR-10 and now the world is new
By Rob Cockerham |
Oh whoa, I got a 3D printer!
I am a guy who loves making stuff, especially stuff that doesn't already exist. But even for a creative guy like myself, I couldn't come up with a project or idea which would require one of these $1,000 curio factories.
Ken was my first friend who bought one. He set it up in his garage. Ken found an incredible deal on a Creality CR-10 printer: $400.00, shipped from China.

That deal expired, but I was impressed with the functionality and abilities of the Creality, so I ordered mine on Amazon for a little more ($539).
The printer arrived in a box the size of a lawnmower, packed in five easy-to-assemble chunks. In 30 minutes, I was ready to print some objects!
A 3D printer works like a precisely-controlled hot glue gun.
Instead of hot glue sticks, the printer uses a big roll of plastic which looks like a spool of plastic for a weed-eater. The plastic is PLA (Polylactic acid) and is available in many different colors.
A hot metal barrel heats up plastic and squeezes it though a little brass nozzle, creating a sticky hot little thread of plastic, just 1/3rd of a millimeter wide. The hot nozzle is attached to three moving belts, allowing the nozzle to travel left and right, back and forth and up and down, to leave plastic thread anywhere on the platform and at any height up to the top beam. Immediately after being extruded from the hot nozzle, the plastic cools and hardens, leaving a tiny dot or strand of plastic.

The three motors which control the movement of the print head are very precise stepper motors. They don't just spin, they turn precisely. A stepper motor can obey instructions to spin exactly 8.28 times around, for example, making it a great tool for putting the print nozzle exactly where you want it.
The printer works independently of a computer. It isn't connected via a wire or wirelessly. It reads files from a tiny memory card (micro SD) that I insert into its card slot.

The print head is hot, from 200º to 220º C, but as soon as the plastic leaves the nozzle, it needs to cool down so that it doesn't leave a sloppy puddle. Two fans cool the extruded plastic.
In the photo above, you should be able to spot the brass nozzle peeking down below the fans, in contact with the glass base plate. It is printing the first layer of a black plastic toy castle.

Here is a photo showing the printer from the top. It is in action, printing a big plastic triangle.
Most objects aren't printed as solid plastic objects. Usually the printer is set up to print objects with a solid plastic shell which is a millimeter thick, and the center is filled with a gridwork of plastic lattice or honeycomb.
The backwards "13" on this object hasn't been sealed with the top shell yet, so you can see into the object and spot the small squares formed by dozens of thin plastic walls inside of the object.

The new printer came with a half-kilo roll of plastic filament, but I burned through that in four days. Because the tech to melt plastic isn't restricted by copyright, 3D printing doesn't use expensive proprietary ink cartridges. It uses plastic filament from any manufacturer, so there is real competitive pressure pushing the price lower and lower.
Try filament from Inland, or Zyltech. Adafruit has electrically conductive filament, makergeek has translucent PLA, and several manufacturers are cranking out wood fiber and metallic plastic filament.
I had a coupon code for Zyltech filament, and bought a full spectrum of color for about $11 each. I got black, red, blue, pink, green, orange and clear.

The spools of filament are vacuum packed before they are shipped. Apparently PLA absorbs moisture, so you are advised to keep it wrapped when not in use.

What do you print?
1. Designs you Find
From what I've learned, most people get started by printing designs they find on the web. A top resource for free, open source STL files is Thingiverse. Thingiverse has tons of designs, from decor, like planters, statues and vases, to toys, like frisbees, army men, yo yos and spinners, to replacement car door handles to upholstery clips and belt buckles.

Here's an example of a lampshade from Thingiverse I printed for my daughter's room. I used clear plastic for this object. The finished piece is 10" tall. There is a roll of paper towels in the picture for scale.

Not every design works well. I downloaded a model of a Servitor Mech from Warhammer, but the shape of the model made it very tricky to slice and print successfully. Instead of a solid plastic object, I ended up with a cluster of plastic chunks and thread.
2. Geometric Designs you Create
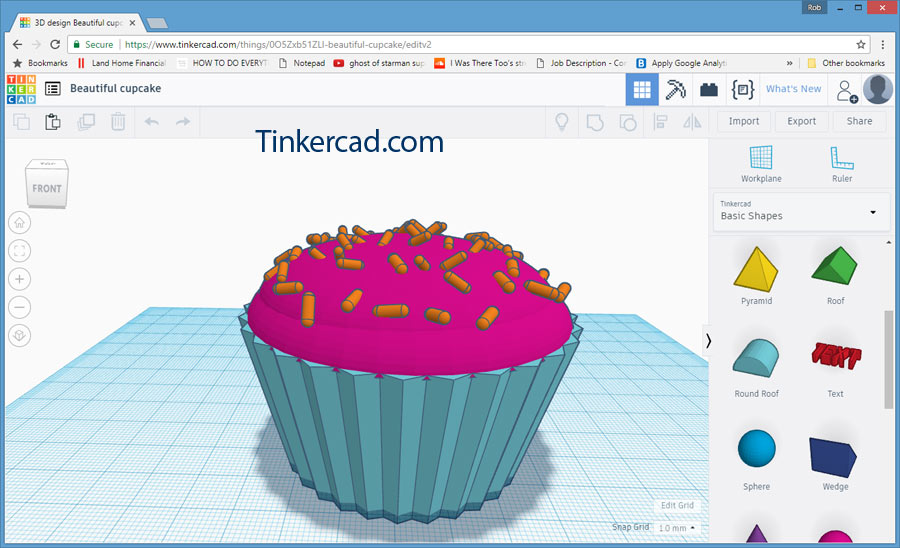
Years ago, I taught myself 3D modelling in 3D Studio Max and 3D Studio VIZ. I don't have that software anymore, but there is a free stripped-down version online called TinkerCAD. Tinkercad is great for simple geometric shapes and combinations of shapes. The cupcake above is a mixture of spheres, cylinders and a 29-point star.
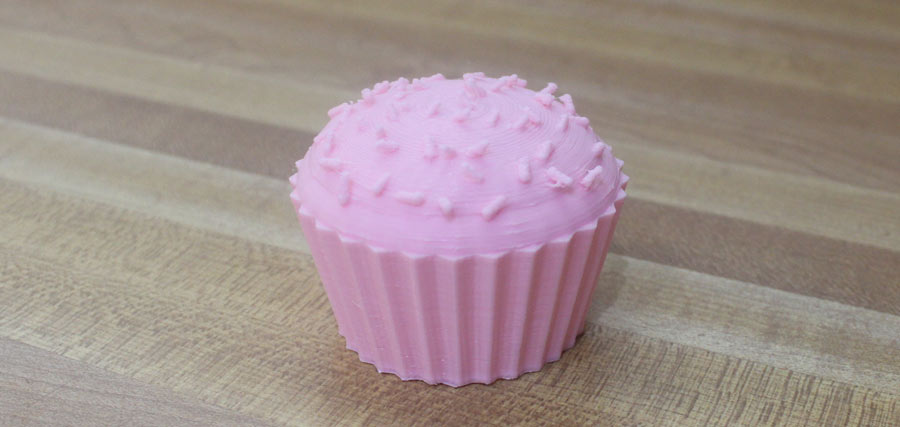
Although the image shows three colors, all of my plastic printouts are made in a single color. The printer only uses one filament at a time.

Here is an example of a 3D object I designed in TinkerCAD. It is a darling little plastic donut with sprinkles.
The donut shape is a torus with 24 segments.

Another object I made in TinkerCAD was this salt shaker. I was thrilled when I realized I could fill these containers with salt halfway through the printout, so that they would be sealed shut, full of salt when they were finished.
Unfortunately, I forgot that the objects are attacked by the force of two fans the entire time they are being printed.
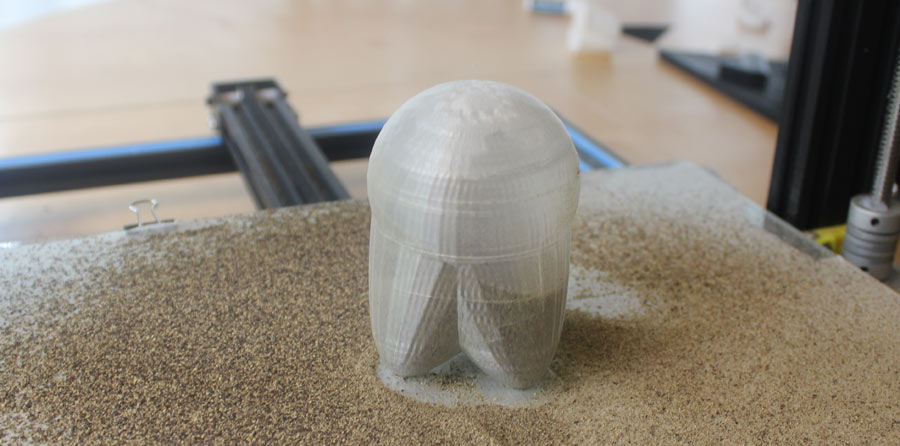
The pepper shaker was like a pepper tornado. I was cleaning the machinery for days.
This thing still makes me sneeze.
3. Organic Shapes you Create
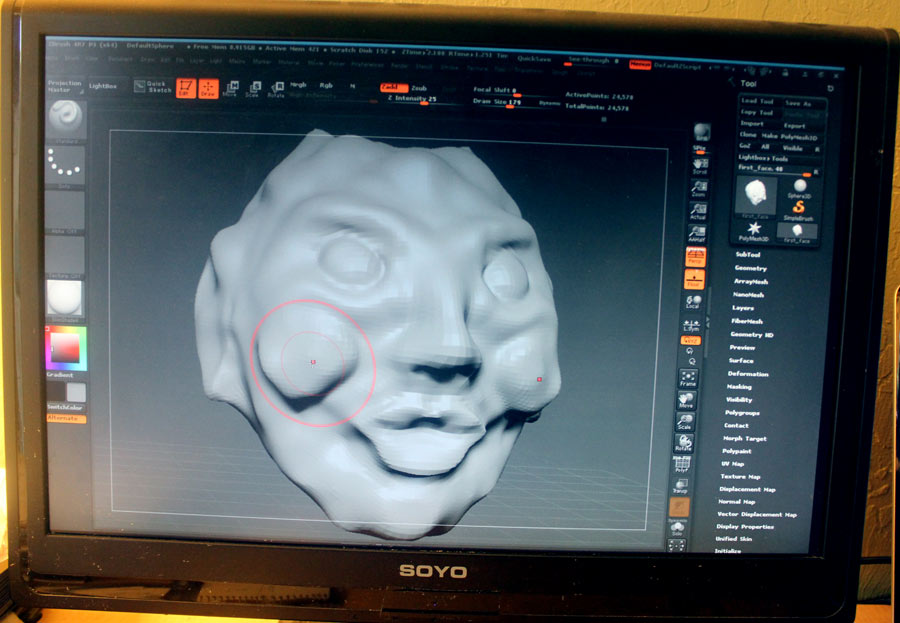
Not every 3D modelling software depends on regular geometric shapes. ZBrush is a program that edits 3D shapes with tools like a sculptor would use to model clay with her hands. There is a command to pinch the clay, smooth the surface, or push into the surface. It is really easy, and makes you want to become a better sculptor. I was able to sculpt an expressive face in five minutes. It is pretty great!

Here is a screenshot of the same devilish face imported into Cura. ZBrush has an export file feature, and I exported the devil face as an .OBJ file.
Cura is a slicer. A slicer is a remarkable software program with a simple interface showing the object you are preparing to print. Using the slicer, you orient the item onto the platform and push a button which recreates the object as a stack of thin layers, stuck onto one another.
The slicer then creates a set of instructions telling the printer where to position the plastic extruder nozzle in order to squeeze out layers of those shapes. That set of instructions is called the geometric code, or G-Code. The G-code is then read by the 3D printer, which will follow those instructions and create the object!

For this particular model, I added horns before I printed it. I set up the file to be about 70mm wide.
Three hours and 40 minutes later.... BOOM, devil's head!

Here is another head I sculpted with ZBrush. Modelling on the computer means that I can print this head over and over again, refine or remix the features, and that I can print in a variety of colors.
These plastic heads are quite durable. They can be used as-is, or painted.

Printed at 250%, the little head file is the size of a real human head.
In this photo, the printer is almost finished printing. Only the top of the nose and brow are left to be printed.

Complete! This mask turned out pretty good, but there was a void in his forehead.

Printing a smaller head. This was about the size of a golf ball. This one featured huge round cheeks.
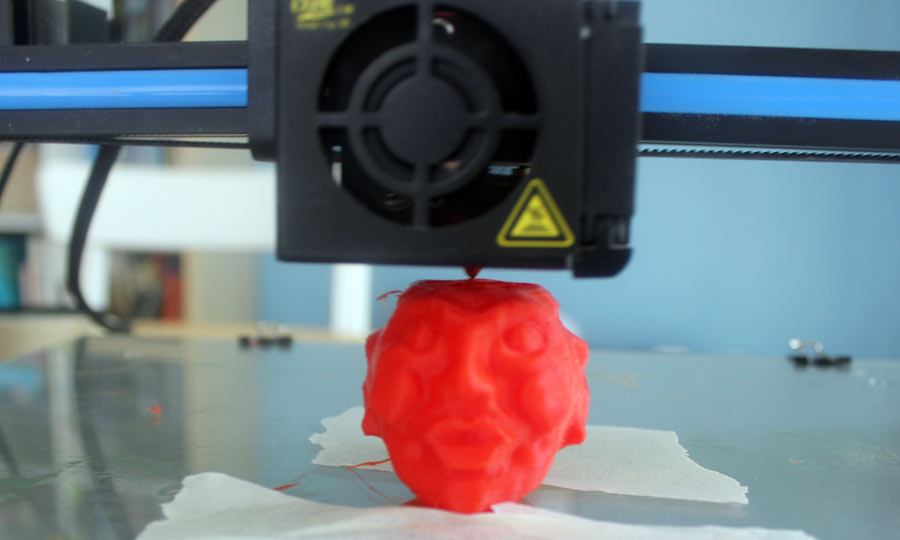
At the top of the head, you can see the brass print nozzle in action, leaving another layer of plastic.

Here the printer is struggling to print a little locker chandelier. The slicing software added vertical supports to add strength and make printing certain shapes possible in a bottom-to-top printing scheme. Unfortunately, one of the eight arms of the chandelier broke free of the printing surface and became stuck on the print head, which dragged it around, bashing it around on all the other parts of the chandelier.
It was ruined.

Printing a piece of a plastic mold This was a four and a half hour print job.

Printing two triangles at a time. This was about a nine hour print job, but I started it late at night, so it would print through the night.

Here is the beginnings of one of my first useful printouts. My son needed a book holder for his desk at school.
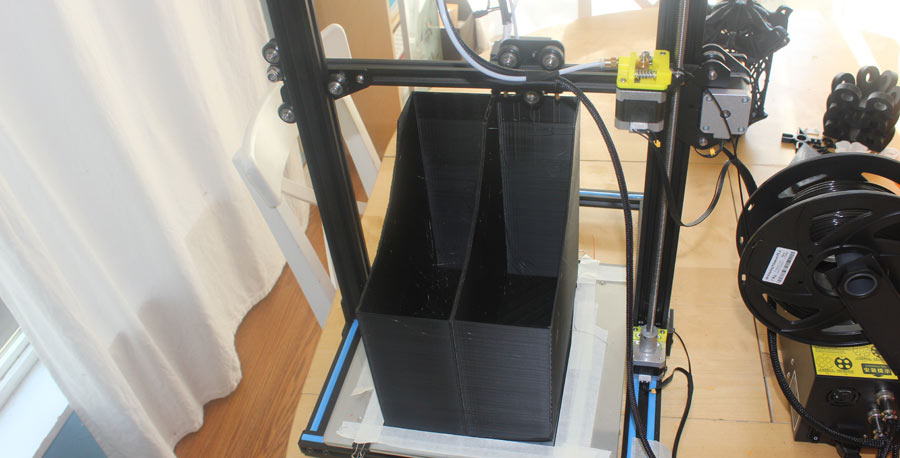
It took almost an entire day of printing, but looked great when it was finished.
Certainly, being able to print my own Pipe joints for PVC piping is something I'm excited about trying. Another advantage is being able to fabricate replacement parts.
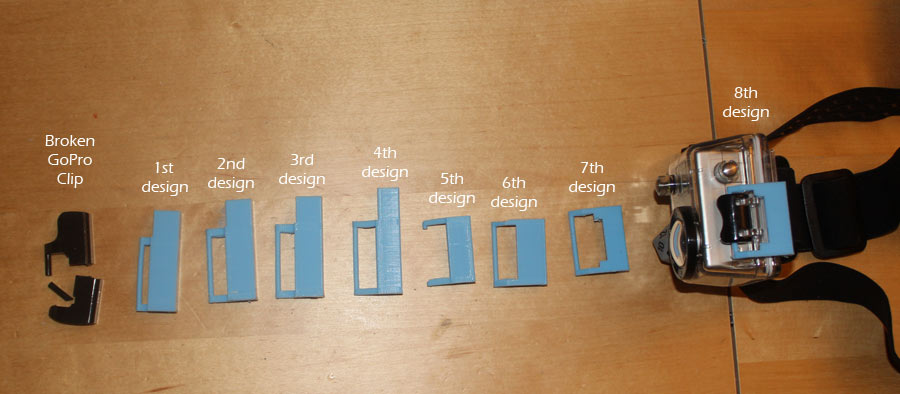
Faced with a broken clip on a Go Pro camera case, I hammered out a few prototypes before re-inventing the clip. These were fun because without this clip, I would have had to buy an entire new case.
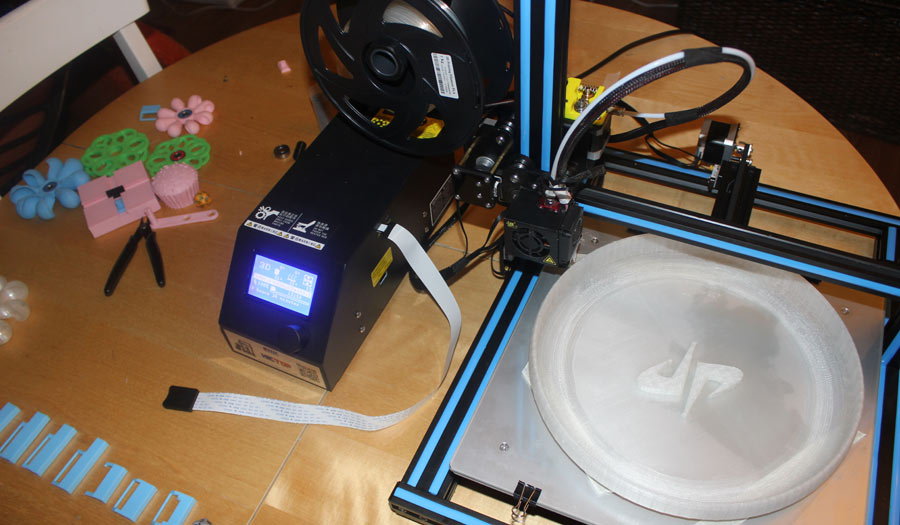
It wasn't long before I started seeing items on the shelves of stores that I could make at home. One example is a Dude Perfect frisbee that I saw at Target. My son thought it would make a nice gift for his friend, but was skeptical that it was worth $15. "Couldn't we just print that ourselves at home?"
Yes, we could.

