How to Fix a Squeaking, Squealing GE Profile Dryer
Instructions on how to open and repair the dryer
By Rob Cockerham |
I helped a couple troubleshoot and fix an annoying problem their dryer was having. It squealed like crazy!
The problem turned out to be the fan in the lower left front of the machine. It just needed to be re-attached to it's shaft.
Unplug the dryer before you begin disassembling it.
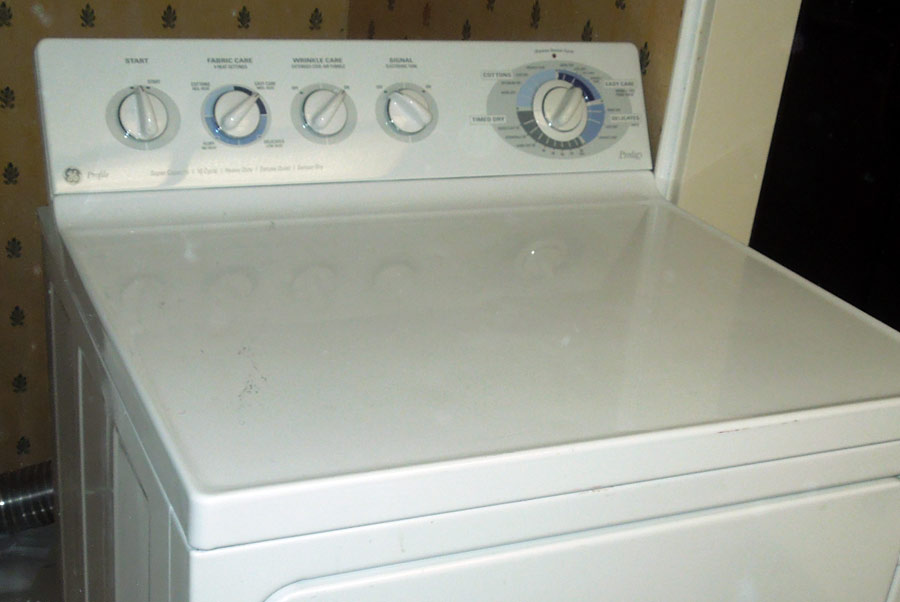
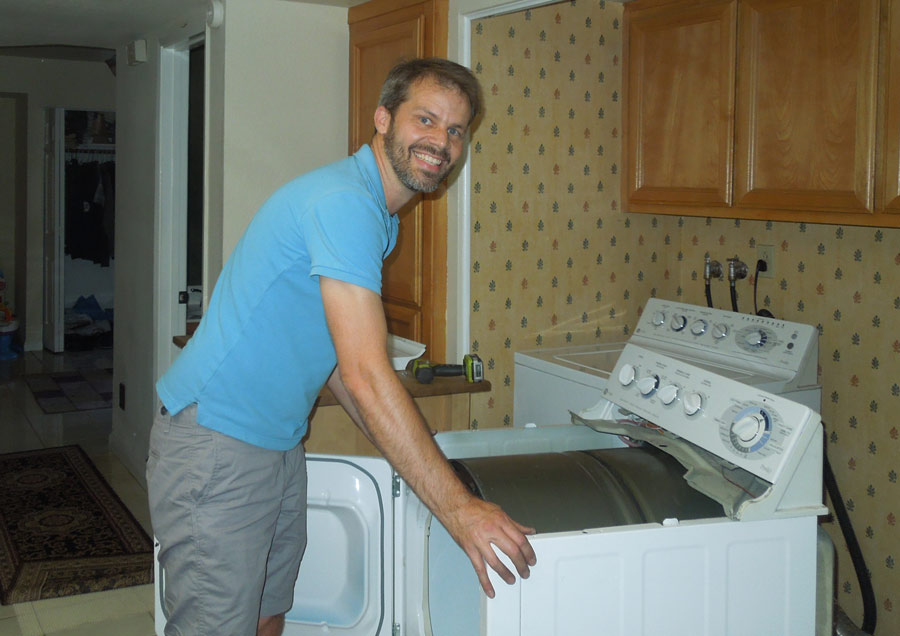
Here is the dryer I fixed. It is a GE Profile Prodigy. This is an electric dryer, but I'm sure the gas version has the same problem. To open the top, open the door and you'll see two screws at the top of the opening. Remove these two screws and you will be able to tilt the top back.
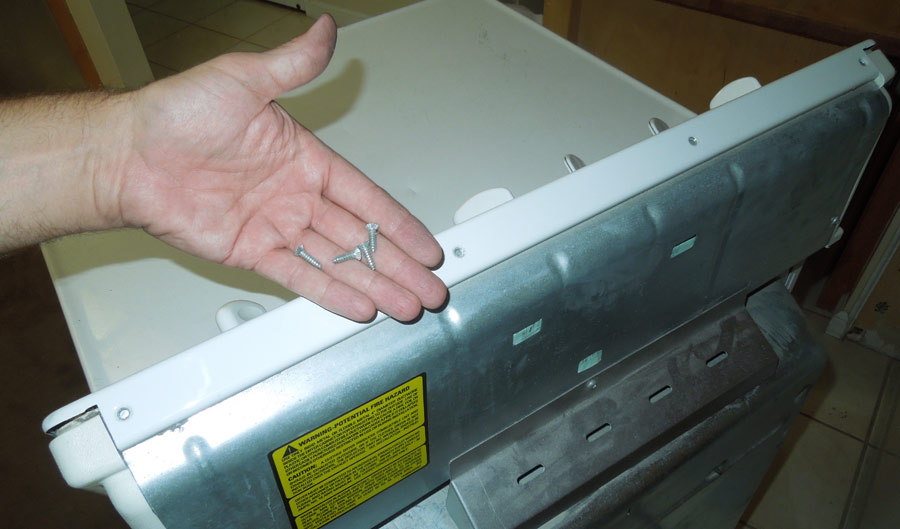
To remove the top completely, you will probably need to remove these four screws along the top.

They are a goofy tamper-resistant Torx type of screw. You can buy the screwdriver tool for these at Sears or Home Depot. I think these are size #10.
After the top is off, remove the front panel.
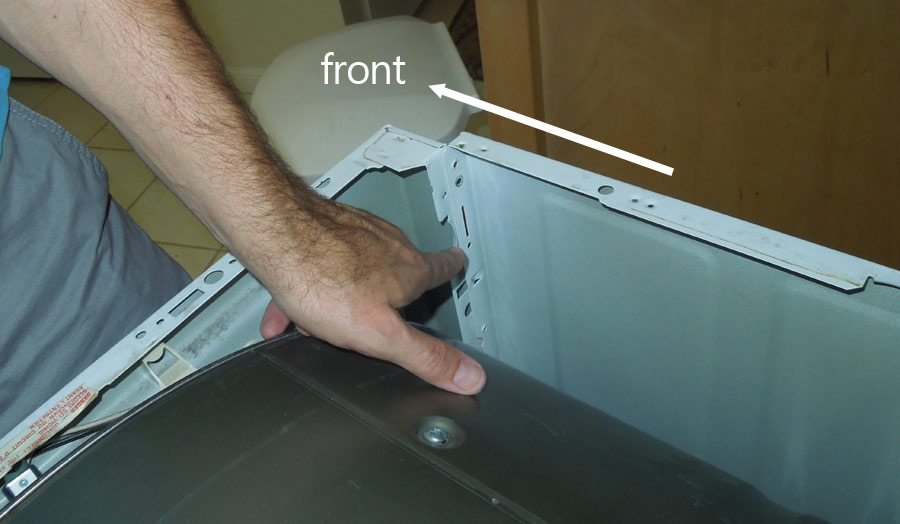
Remove two screws holding the front in place and slide it off of little bent tabs there.
The front panel has wires attached, so just rotate it out of the way and to the left.
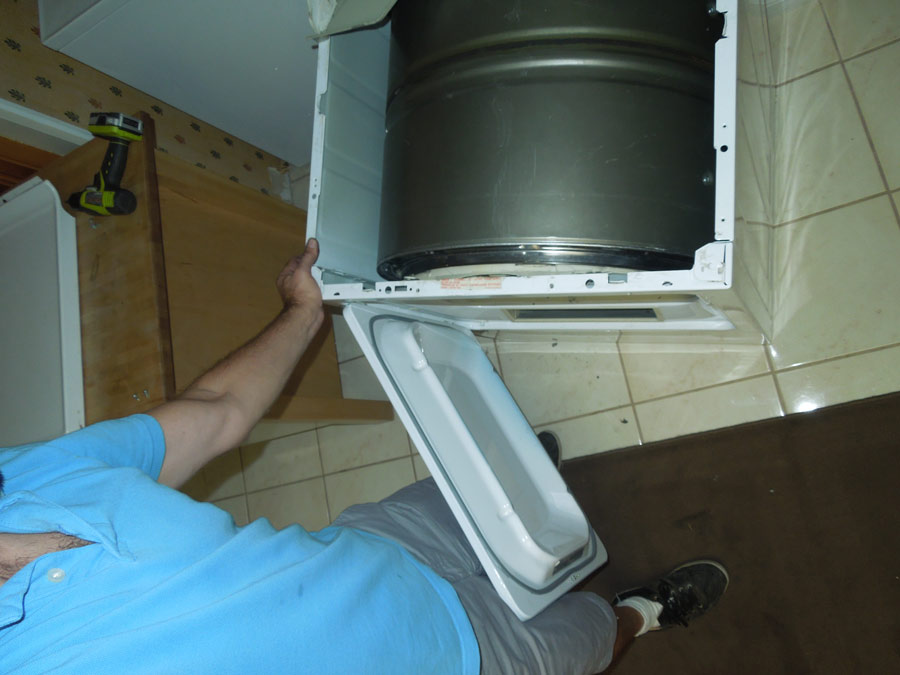
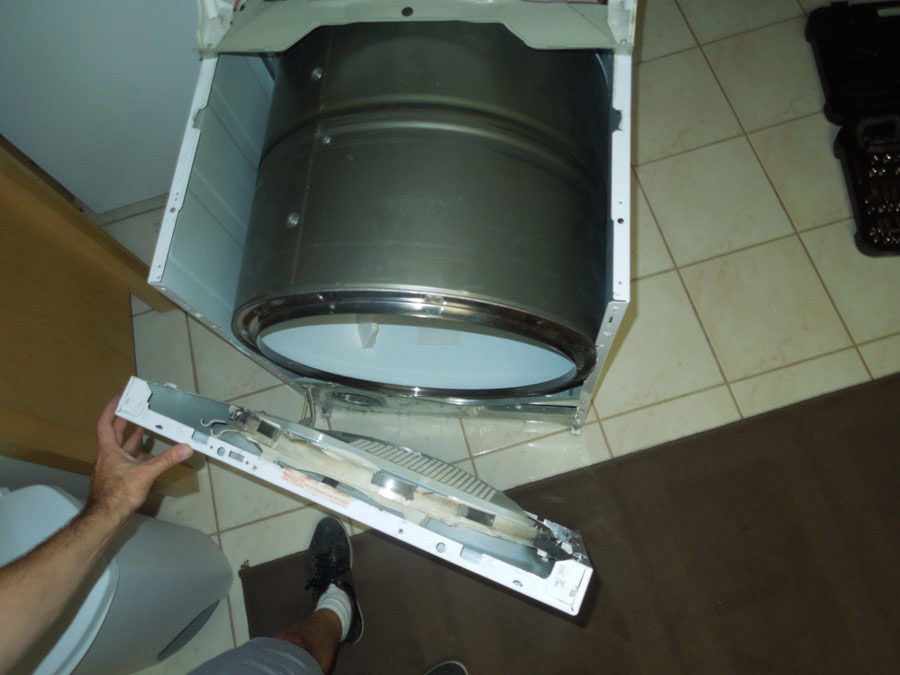
I did a little unneccessary disassembly, which you can see below.

I removed the drum, but that step turned out to be completely unneccessary. The fan, (also known as a blower wheel or hamster wheel) in front was causing the screeching.
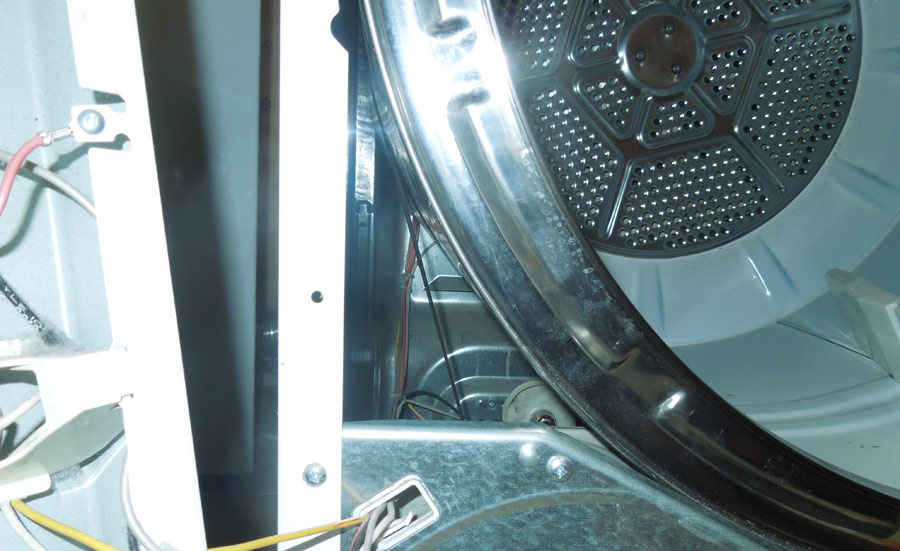
In some cases, the bearing at the turning axis of the dryer goes bad. That's in the center of that round part in the back of the dryer. Luckily my problem was much easier to fix.
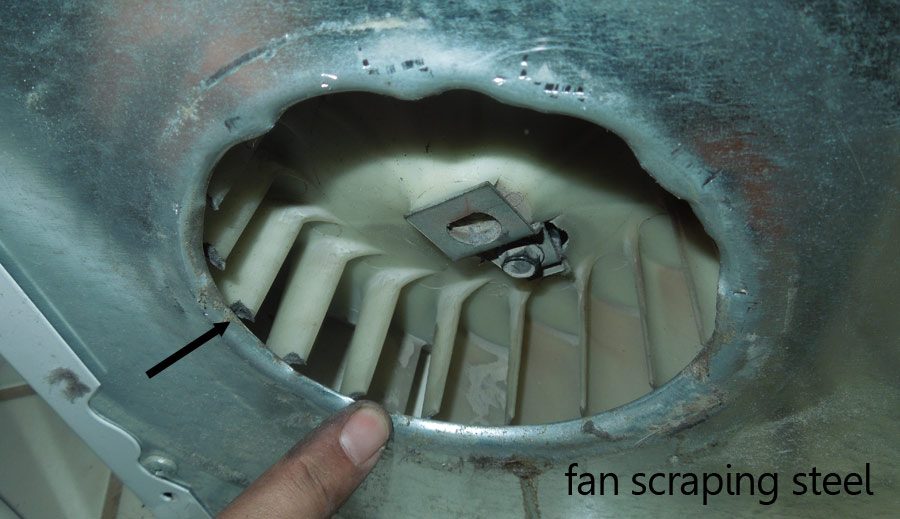
The fan had come off of its shaft and was rubbing this steel all the way around, continuously.
You can see where I tried to pry the steel out of the way, but that wasn't the problem and that didn't fix the rub or the noise.
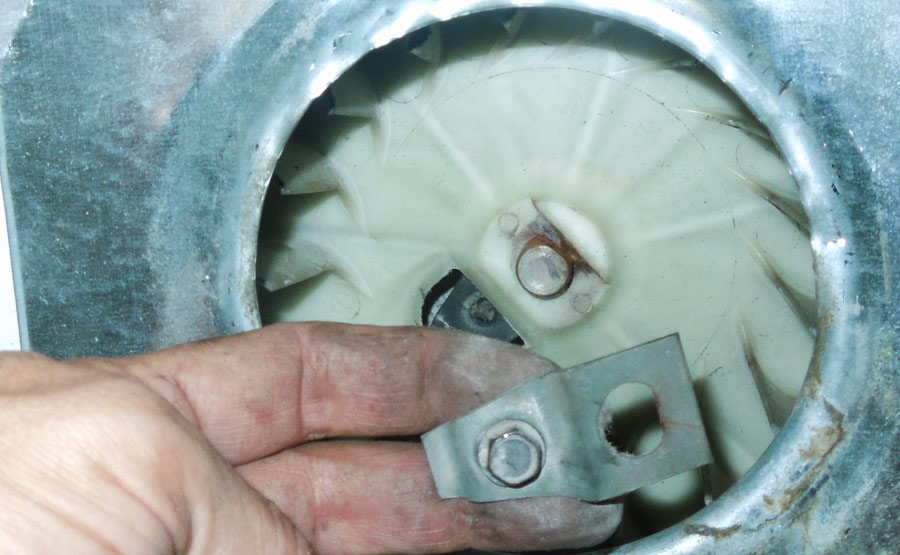
The problem was that the fan had wandered off of its shaft. I disconnected this metal clamp piece, pushed the fan back onto it's shaft and bolted it back on.
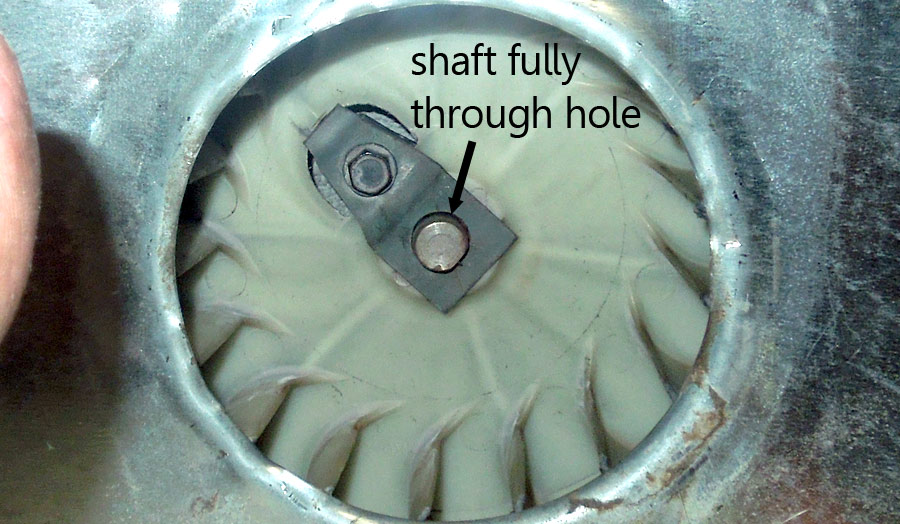
It held. The blower wheel now rotated freely without touching the housing! It was fixed!

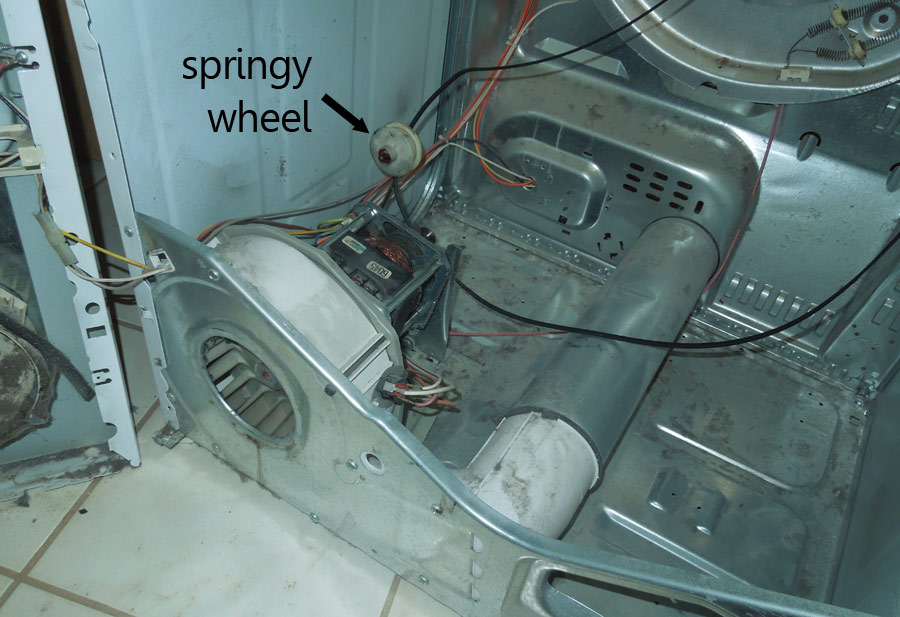
Because I had removed the drum, I had to re-route the belt. The belt only works if it is pulling tightly against the motor and the dryer drum, so the dryer uses a wheel on a spring to keep the belt tight. The springy wheel is called a tensioner.
The tricky bit is that you have to route the belt after the drum is in place, so you only have a little space for your hand to reach the motor and tensioner.

This is the path for the belt. Note that the white wheel is on a springy mount which is pulling it to the left in this photograph, so the belt, shown here in pink, is actually pulled straight, not curved as shown.
The belt rides the pully on the end of that motor shaft, which cannot be seen in this photo.
Reassmbling the dryer was a breeze. The noise was gone and I was happy that no parts were needed for this fix!
After I fixed the dryer, I got pulled over!


