Giant ATST Walker Costume from Star Wars
How Scott built his 14' tall ATST Costume
Article by Scott Holden and Rob Cockerham |
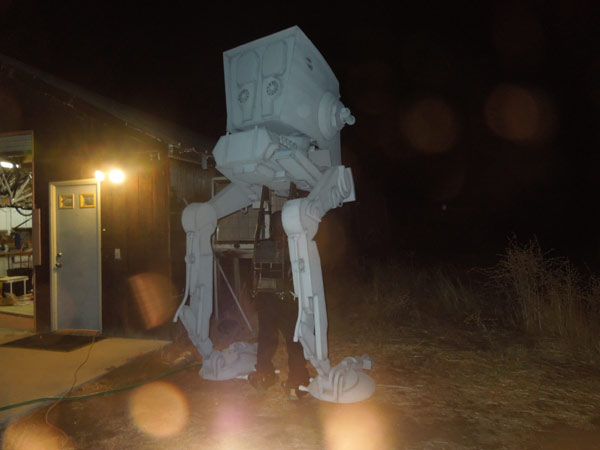
My friend Scott Holden finished an amazing costume from Return of the Jedi. He's the guy who made the "Luke Skywalker riding a Tauntaun" costume a few years back. This is how he made the ATST:
I hadn’t done a big costume since the 2009 Tauntaun and was anxious to do something big for 2012. I decided to do an AT-ST from Star Wars. I’ve seen other people’s version of this costume online, but I felt there was room for improvement.
The first step was to model the AT-ST in 3d. I didn’t much feel like trying to duplicate the model from pictures, so I ordered a small Snap-tite plastic model from Ebay.
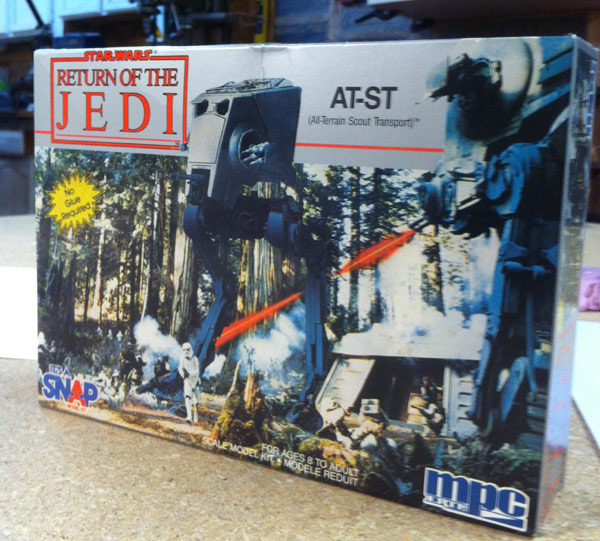
A couple of days later, I had the 6” little model sitting on my desk. There were a few discrepancies between the model and the AT-ST from the films, but I doubted even hard-core fans would notice or care.
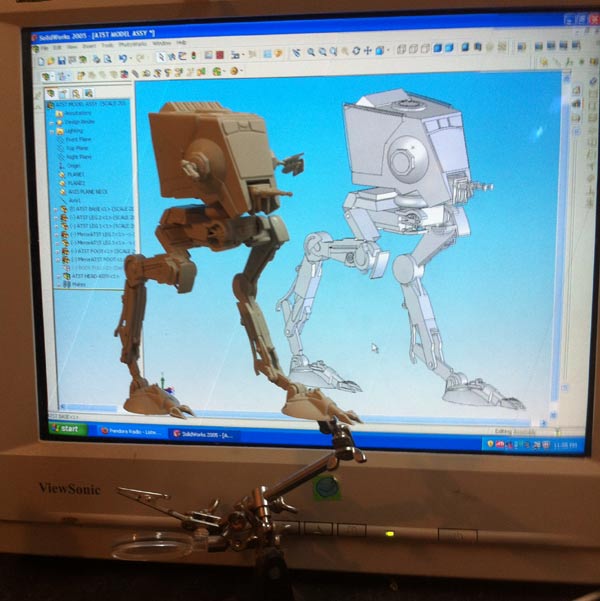
Armed with my dial calipers and protractor, I began the tedious task of reverse engineering all the parts. In January of 2012,
I started drawing the mockup model in Solidworks.
I scaled the model by a factor of 20 to get my target size. Along with a scale mockup of my body, drywall stilts and a backpack frame were modeled and inserted into the assembly. With all of the mockup components in one mockup assembly I was able to virtually move the costume to see how the legs would work.
Once I was satisfied with the general design, it was time to get to the specifics. Each mockup component of the mockup assembly (Head, Body, Thigh, Leg, Foot) is copied/referenced and put into a new “Assembly” drawing. Multiple “working” parts are then created around the mockup component.
Because I was using 4mm corrugated plastic (Coroplast ™) which can be bent, each new exterior part was drawn as if it was sheetmetal. After a part is created, with the click of a button, Solidworks unfolds the part into a flat pattern.

After the parts are flattened in Solidworks, the flat pattern is imported into a sheetmetal CNC program. The sheetmetal CNC program generates machine code to run a giant punching machine that nibbles parts out of a sheet.
VIDEO
Coroplast is rigid, but not enough to resist a 30 ton turret punch. Instead of punching the coroplast, templates were punched out of 4’x8’ sheets of shower board from Home Depot.
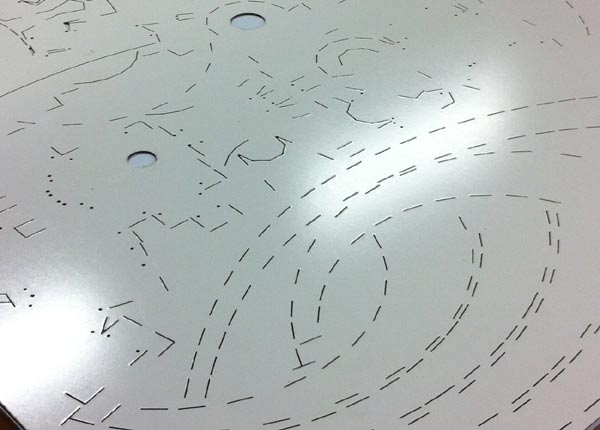
The punched templates were then laid over the top of a 4’x8’ sheet of coroplast. Flat spray paint was applied to the template,
which transferred the cut lines to the Coroplast beneath.

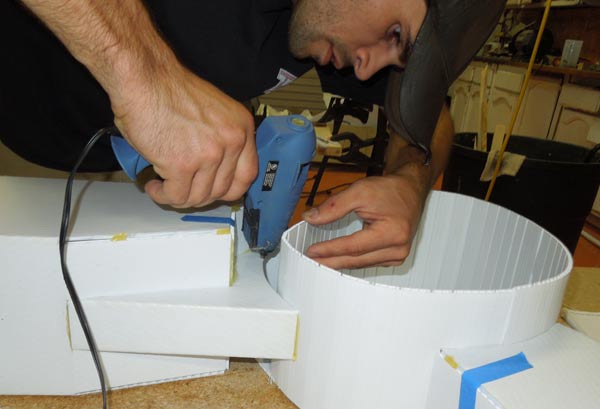
Using a Sharpie, proceed with the most tedious version of connect-the-dots to create the full outline of the parts. The profiles of the parts are cut using a utility knife, and the bend lines were miter cut using a hand-held mat cutter.
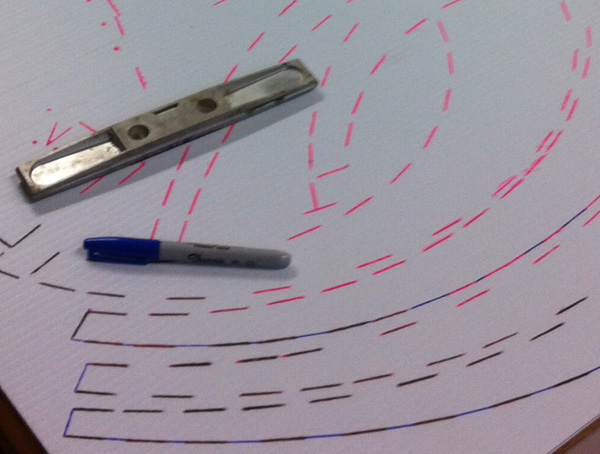
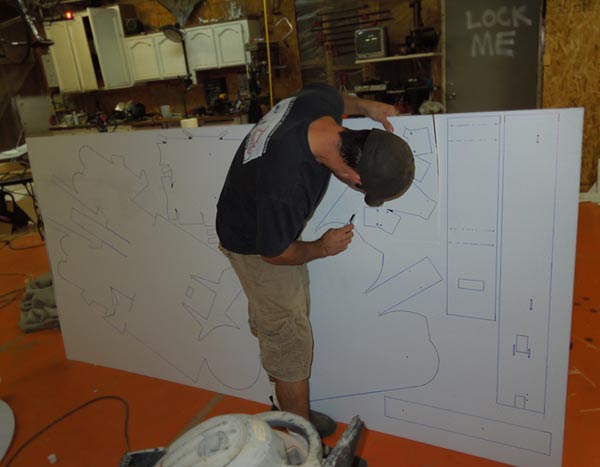
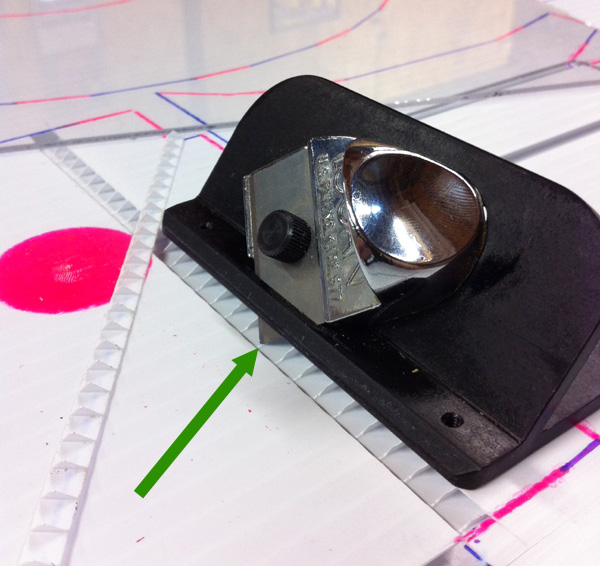
The profiles of the parts are cut using a utility knife, and the bend lines were miter cut using a hand-held mat cutter.
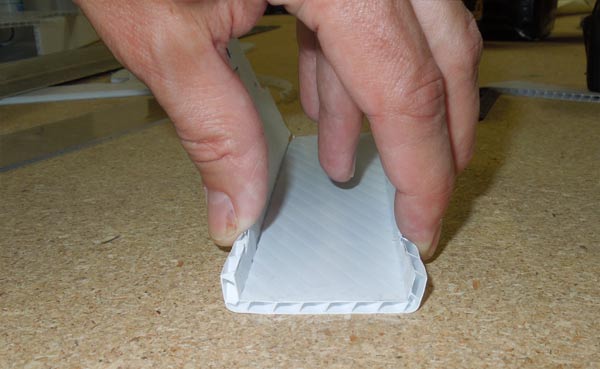
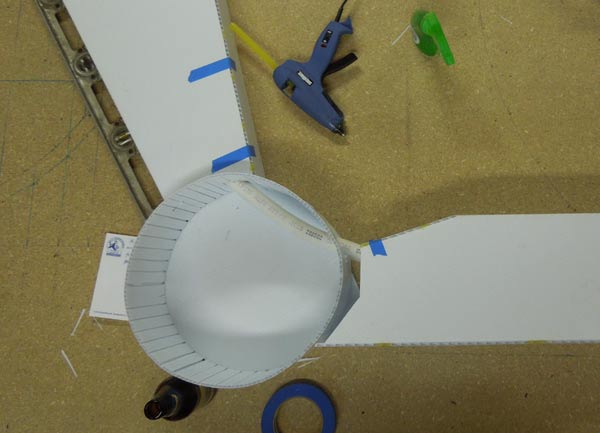
With a channel cut through the Coroplast, it can be folded..
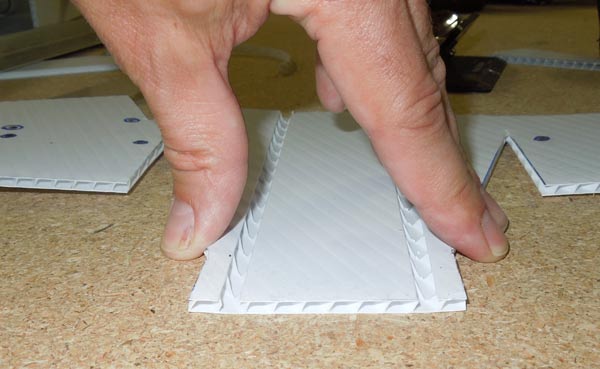
...like this, allowing all kinds of complex shapes.
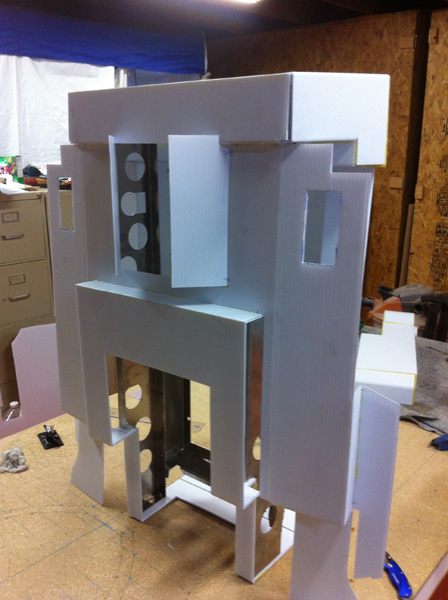
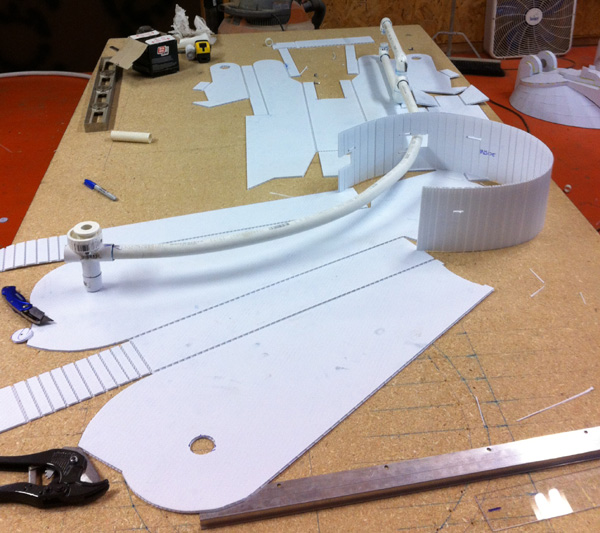
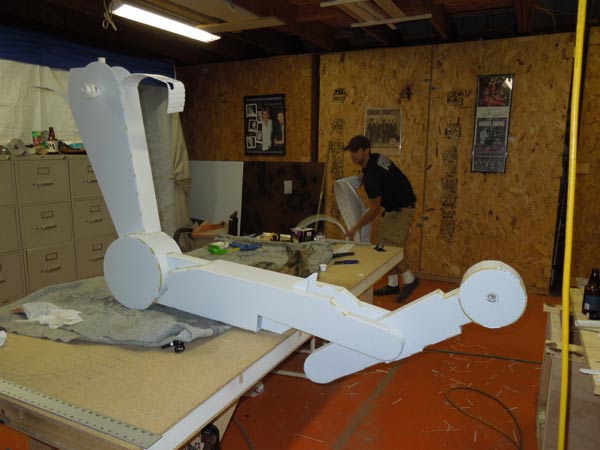
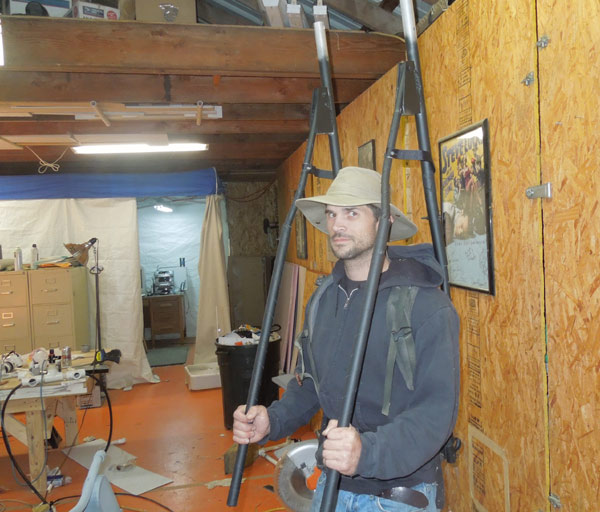
While the exterior is Coroplast, the interior uses a skeleton of PVC to support the structure along with providing pivot points at all the joints and connections at the stilts. All the individual pieces are bent, butted up together around the skeleton, then fastened using high-temp hot glue.
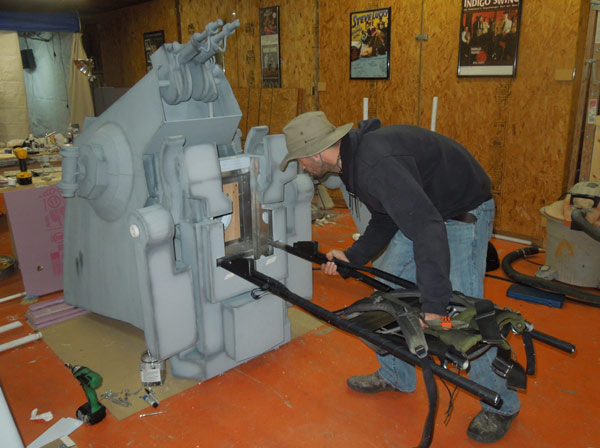
The main frame of the body which would support the backpack frame and massive head were made from .063 Aluminum sheet.
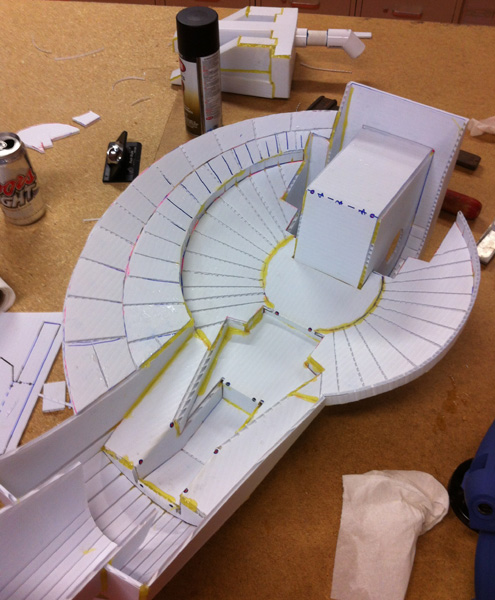
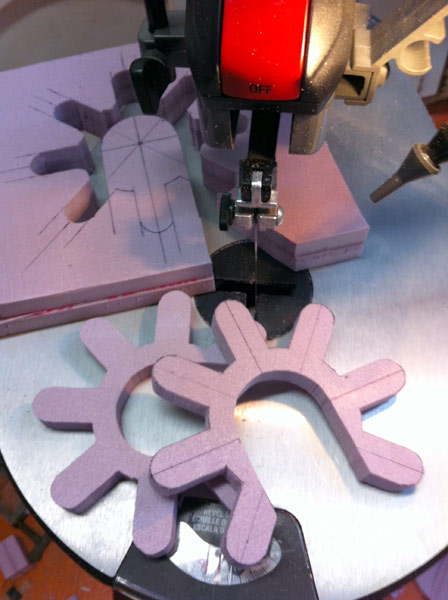
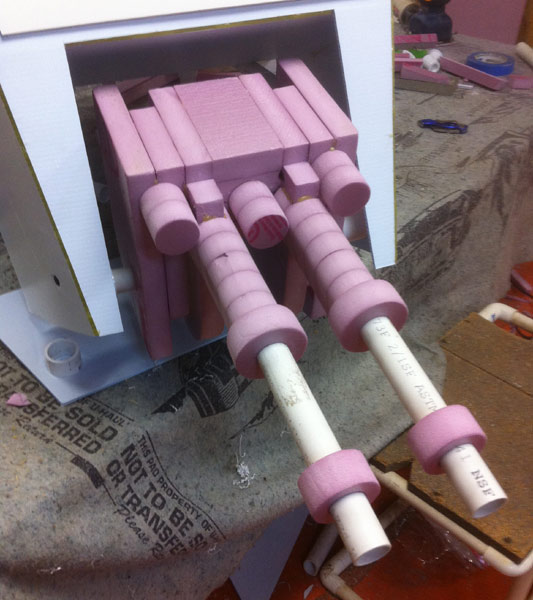
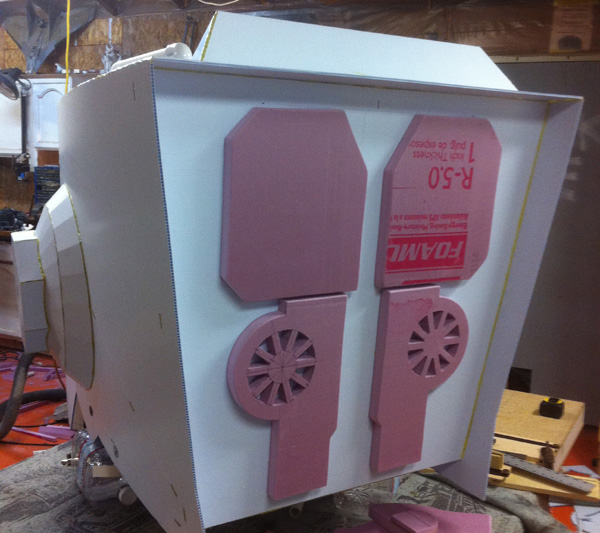
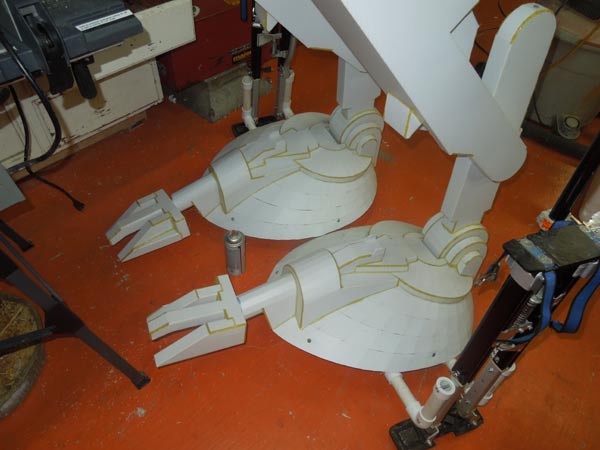
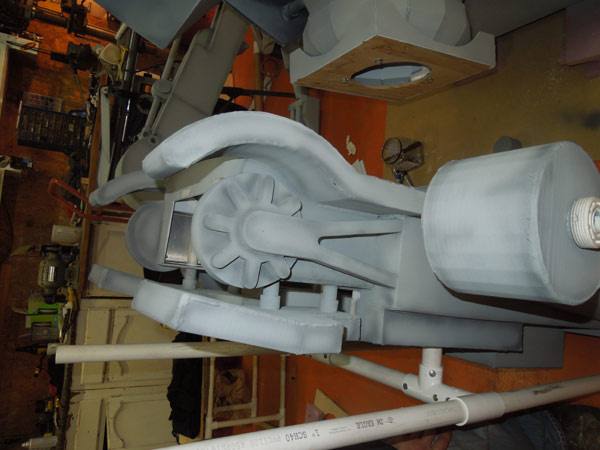
I began building detail pieces. Rigid pink insulation foam sheets from Home depot were easily cut into intricate patterns on a scroll saw. Hot glue and sanding shaped the pieces into guns and trim pieces.
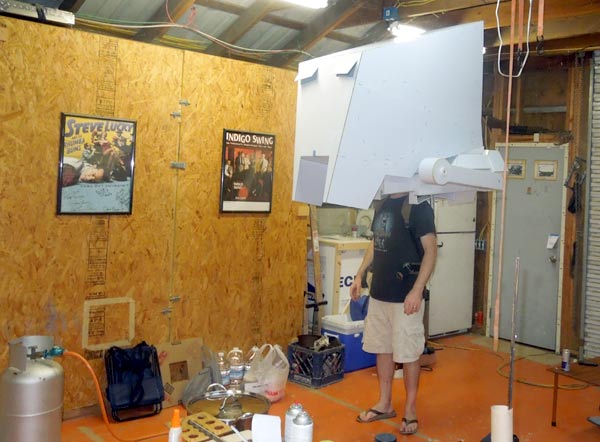
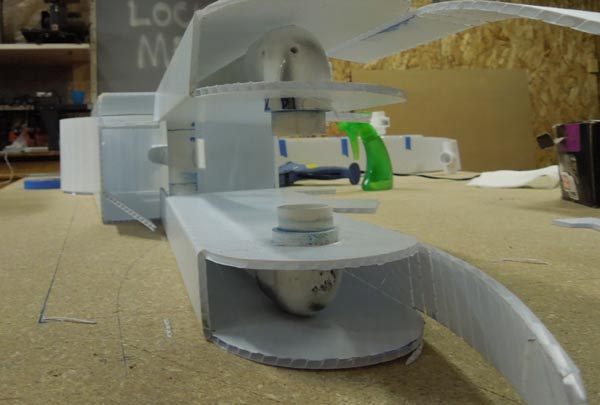
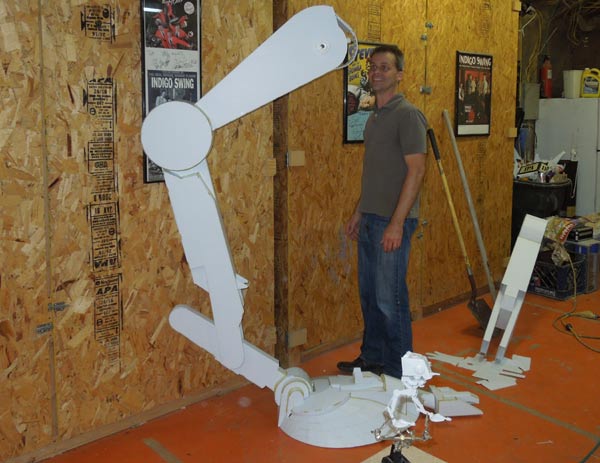
With the main body/legs/feet complete, I needed to do a trial run to make sure this beast would work.
VIDEO
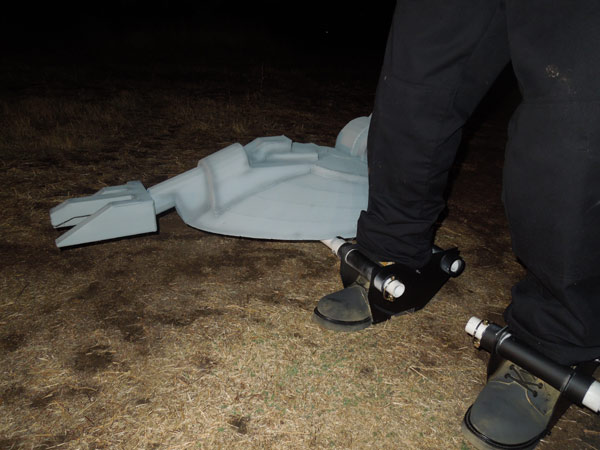
SUCCESS! Or was it… While the long stilted legs provided an impressive gait, the legs and heavy stilts kept my center of gravity too low. It was both terrifying and exhausting to walk; the stilts had to go.
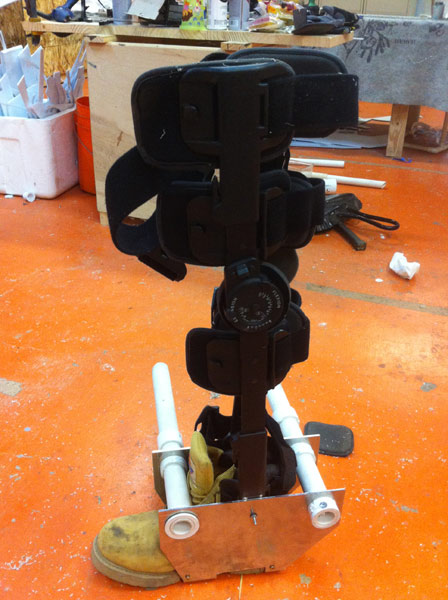
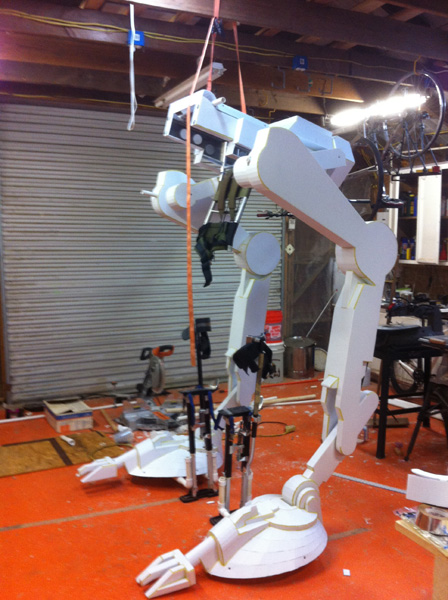
To retain the height, the stilts were abandoned and the backpack frame was extended. Brackets were fastened to some old work boots to mate with the costumes feet. I never thought I’d be glad to have had two knee surgeries; two full-leg orthopedic braces were bolted to the shoes to provide additional support.
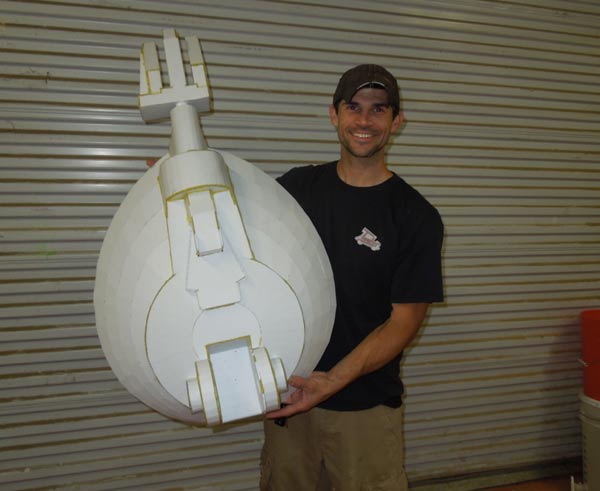
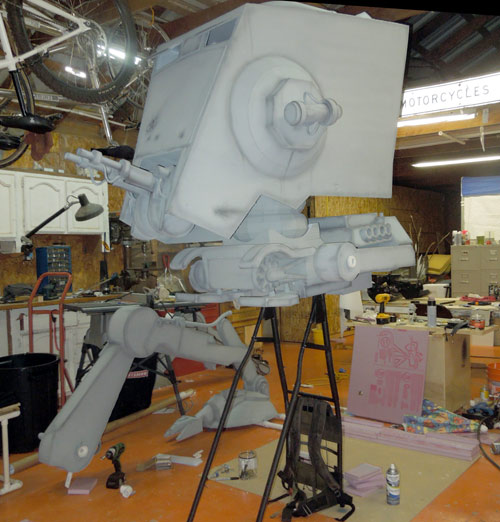
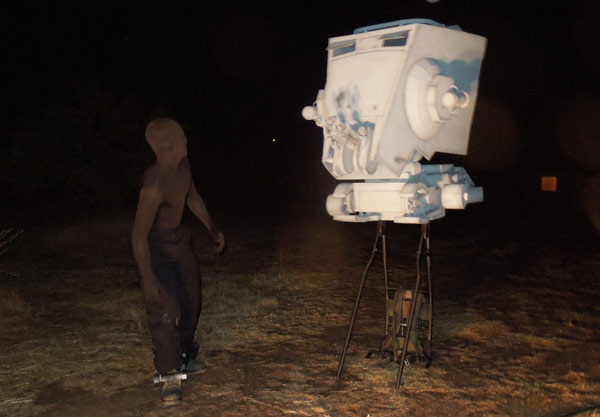
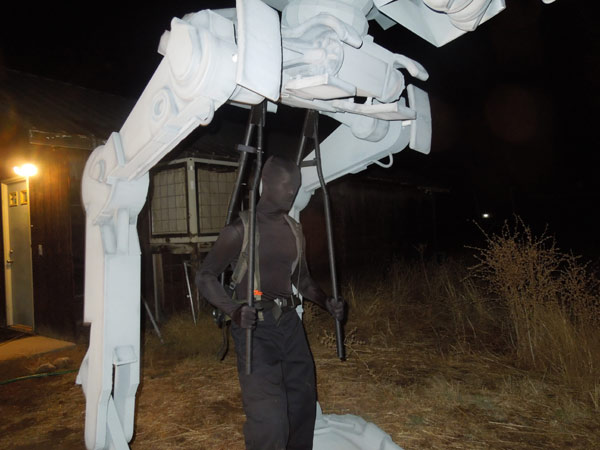
REAL SUCCESS! With the legs walking, I was free to proceed on the building of the head. Another test with a partially done head to check balance.
VIDEO
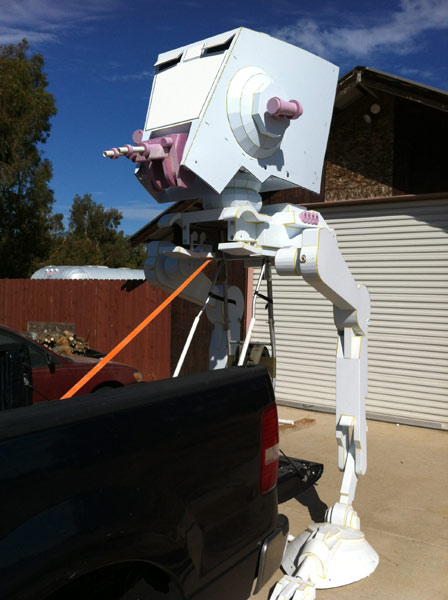
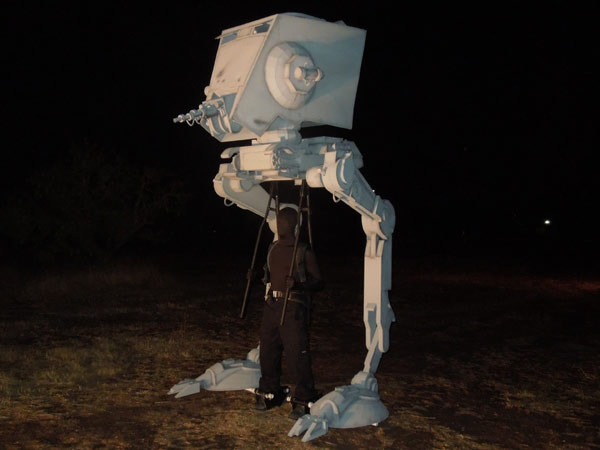
After all the foam pieces were glued to the costume, each costume component was spray painted with a light grey primer.
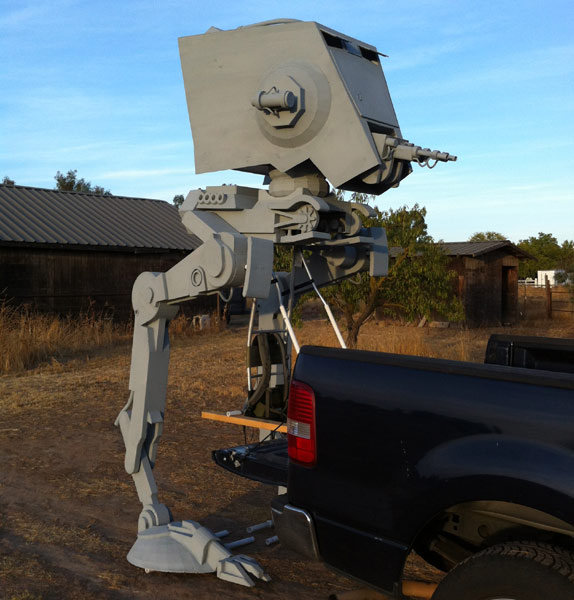
Lastly, an airbrush was used to highlight/shade the exterior to give it a little more depth.
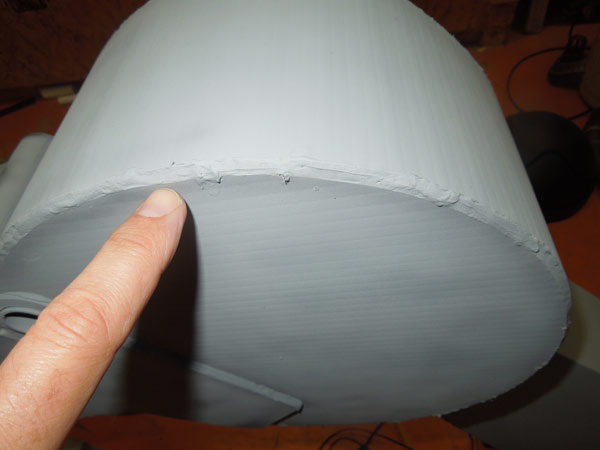
The pink styrofoam was rough-looking in spots, so I used latex caulking to smooth the appearance. You can see where the exterior of this gun is smooth, the interior surface is untreated and rough.
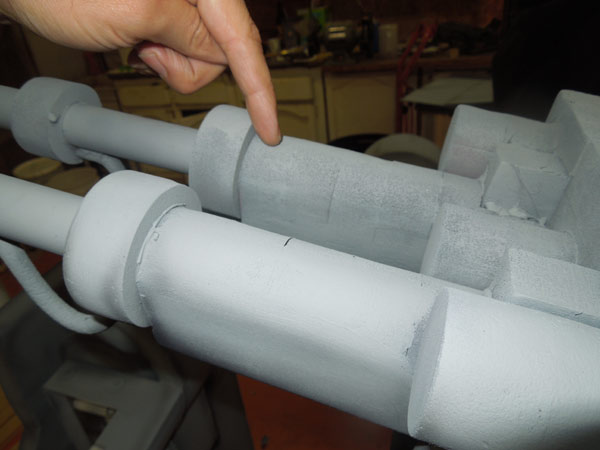
The hot glue lines looked almost exactly like tiny beads of weld.
VIDEO
Ready for Vegas!