

 |
 |
part 1 | 2 | 3 | 4 | 5 | 6 | 7 | 8 | 9 | 10 | 11 | 12 | 13 | 14
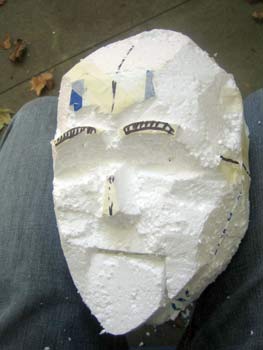
I'm probably not the best source for head-carving instructions, but I can at least give some advice to get you started: Draw on the face first, so you have some clue where you are going to proceed. Even though you will be carving off your guides, they will be there to start with. Leave the forehead, eyebrow ridge and the nose high, and carve down the surface of the rest of the face. Carve the eye sockets deepest, and leave some cheekbones. It is also helpful to have a mirror so see how the angles and proportions of the head come together in real life.
|
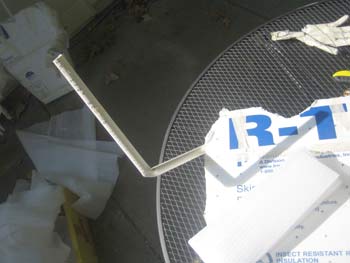
The PVC stick skeleton needed some muscles, so I cut long blocks of styrofoam and taped them to the arms. |
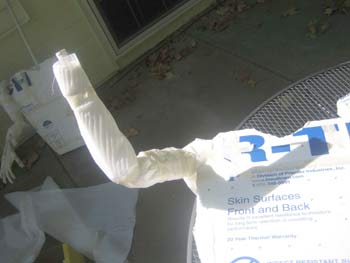
On top of the styrofoam blocks, I wrapped a layer of foam sheet. This thin foam sheet is available at IKEA. They package furniture in it. I'd never used it before, but it was good for smoothing out the rough angles of the styrofoam. |
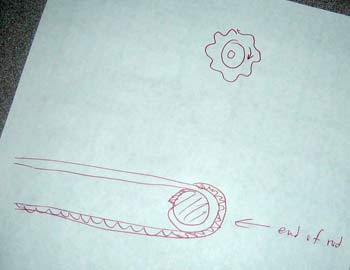
The wrists were designed to spin the thumbs up and down, but I hadn't figured out how I was going to control that motion. In the top drawing, a simple knob was the easiest option, but the second thought was to attach two cables, which would twist the rod by pulling. |
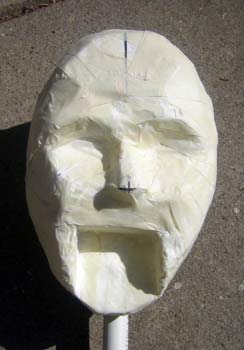
In the course of carving the faces, I committed to the moving mouths, set up like a ventriloquist's dummy. Here is one of the faces, with his lower jaw missing. |
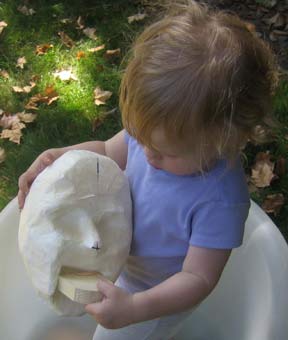
The moving jaw needed to be a little more substantial than styrofoam, because I had to attach a spring to it. I used a block of wood for both heads' jaws.
|
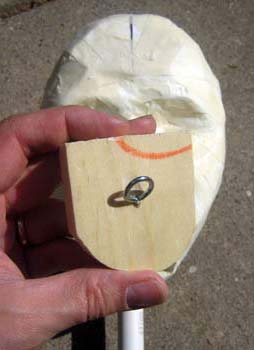
I knew I could mount a spring to close the mouth, and a wire pull to open it. These would be attached with this eye-hook on the back.
|
| part 1 | 2 | 3 | 4 | 5 | 6 | 7 | 8 | 9 | 10 | 11 | 12 | 13 | 14 |
Other incredible stuff | Home | Contact Rob | Costumes Index
November 6th, 2006.