

 |
 |
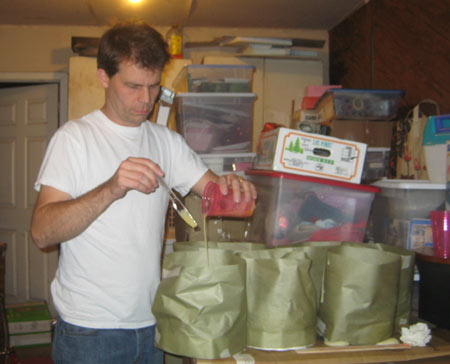
Where one-can pre-packaged foam sprays out in a chunky cauliflour rope, two-part foam pours into place like a wet milkshake. |
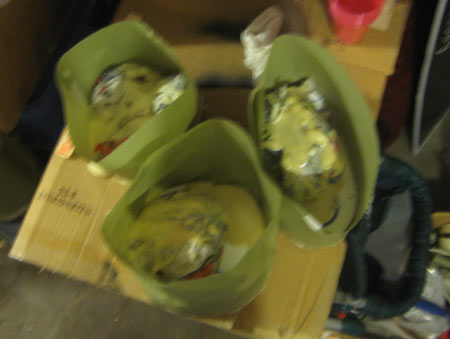
The first batches expanded slowly. I was not impressed. I was probably being too stingy with the foam. |
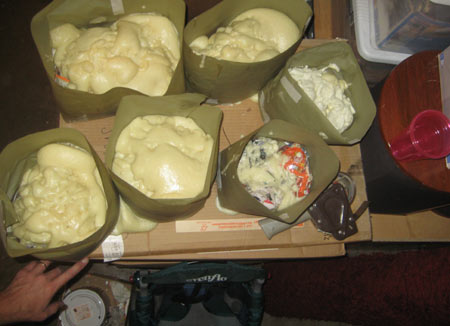 The surface looked good, but I could see that I would quickly run out of foam mix.
 |
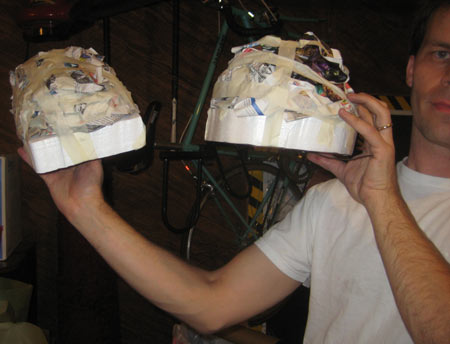 I switched to paper mache. I switched to paper mache.
Doing these blocks in paper was going to be just about as fast, cheaper and a better way to control the finished look. Thanks to our recent move, I had three boxes of pre-crinkled newspaper wads, ready to tape into place. I crushed paper into the rough shapes I was modelling and used lots of masking tape to secure it to my styrofoam bases. Wet paper mache strips would form the final skin, so whatever was under the structure didn't have to be perfect. There were a lot of pieces, but each one was small and only needed about 15 strips of newspaper. Most were smooth, but I used a few crinkled cigars of newspaper to create ridges and folds. I churned them out in no time. I had 13 foam blocks and 13 paper mache ones. Normally having two different surfaces would be a problem, but this would actually work better for this project. |
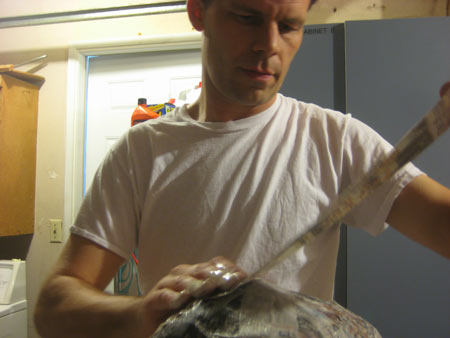
Paper mache is cheap and easy. The down side is that your support structure needs to be sturdy and made of some material which can hold up a wet paper strip until it dries hard. Also, it is messy. Flour water saturates the newspaper strips and becomes a glue as it dries. Each strip becomes frozen in place, although it is still only about as strong as a sheet of paper. With several layers, the skin becomes about as strong as cardboard. This is important when part of your costume is subject to large crowds of punchy people who feel threatened by oversized food items.
|
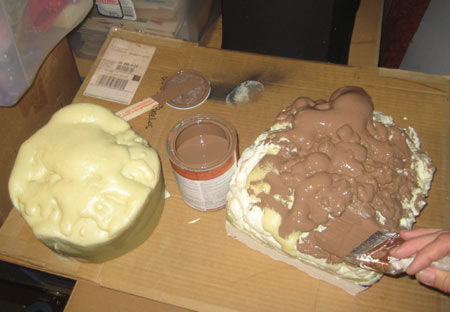
While the paper mache was drying, I got busy painting the foam blocks. The paper curtain tore away and left the blocks with nice vertical walls. Some required a little trimming, which was my excuse to break out the hot wire cutter again. |
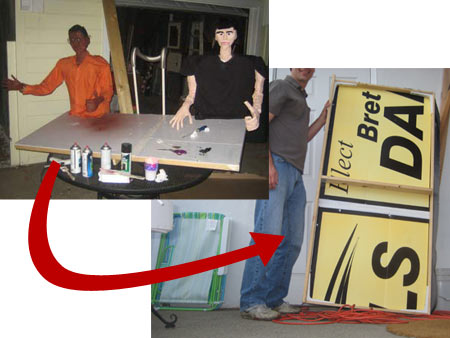
Next, I prepared the support structure for the costume, the harness and the box. I was going to build the box out of PVC tubing and corrugated plastic board, but by an extraordinary coincidence, I already had a box of these dimensions in my garage. Yes! Its the table from my American Idol Judges costume! Perfect height and width! I rejoiced. This was going to save me a ton of time. All I would have to do is to move the shoulder harness. |
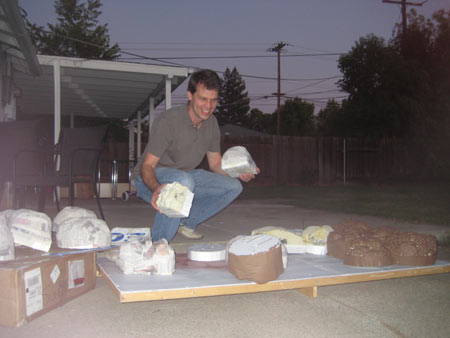
To determine exactly where I needed to cut the hole for my face, I needed all the blocks in their proper place on the board.
|
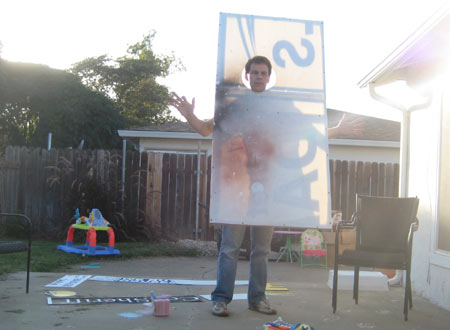
What was once a table had become a tall walking billboard. This would be a dandy setup for my solar panel costume, my Iphone costume or American Express Trojan costume. I balanced this board on my head and marked where the shoulder harness should be attached.
|
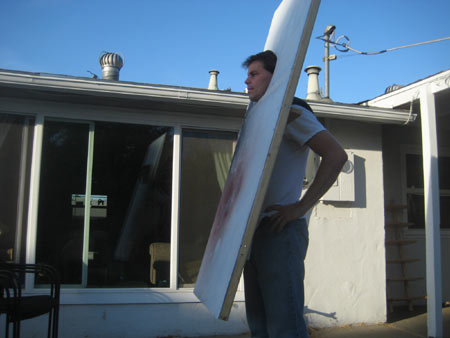
Because my hands couldn't reach around to the front of the board, I decided to leave the back of the costume open, with most of my body visible from the sides and from the back. If I had time, I could create a curtain which would hide my body from view. |
|
Please continue reading page 4 of the See's Candy Costume. back to page 1 | page 2 | page 3 | page 4 | page 5 | page 6 page 7 |
Other incredible stuff | Home | Contact Rob | Other Halloween Costumes from Rob Cockerham
November 3rd, 2008.