
|
|
|
1. Using tubes of silicone caulk to paint a mold directly onto the surface of your sculpture read Easy, Illustrated Instructions on How to Make a Cheap Silicone Mold with Ordinary Silicone Caulk 2. Using quartered PVC pipe. 3. Making offset stilts 4. Using snowboard bindings
|
|
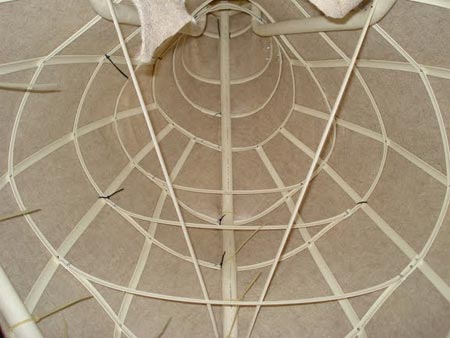
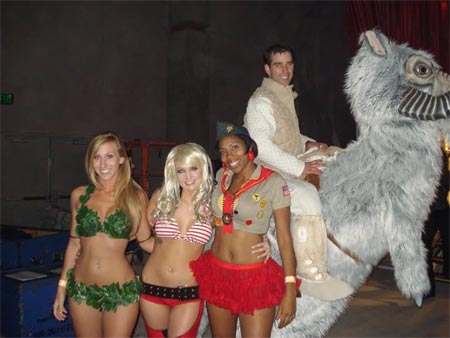
Were PVC strips strong? Were they difficult to cut? How much PVC is used in the whole costume? How did you attach the expanded foam Tauntaun head to the PVC pipe body? I cored 3 holes in the bottom of the head that matched the 3 pvc pipes coming out of the neck. I put pvc couplings on the neck and glued little pipes into the cored holes in the head. A couple pvc tee's and elbows were used for tying in the horns. Oh, and the horns were the same,.. I cored a hole through the back and glued in a pipe.
|
|
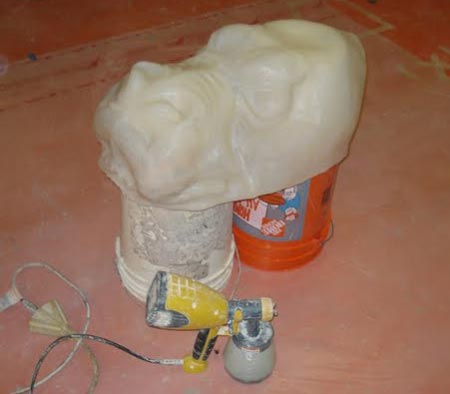
Was the fur the most expensive component? Yeah, but is was also the largest component.. So even though it was an expensive single step, that single step catapulted the costume from theory to reality in a matter of hours. But yes, I guess no matter which way you look at it $22 per yard times 9 yards... Ha! You know, I really didn't.. I guess maybe because deep down I knew that most of it was going to just be scrapped or trimmed off? After you cut the fur, did you sew the pieces together? Nope, Zip-Ties! I hear it is possible to sew fur, but i'm horrible at best when it comes to sewing. I just put the fabric fur side to fur side and poked zip ties about every 6? inches. Fur hides everything, including bad seams. Sometimes I embark upon a process which requires a moderate investment for an experimental technique which doesn't work out. Did you have many expensive missteps? Only one I can recall. I was thinking I would use flexible expanding foam for the head. Turns out it only expands 10 times is original volume and the end product was too dense. That was a $40 mistake. Hang on,.. I did waste 3 hours making Luke's binoculars out of a milk jug, pvc pipe and MDF wood only to have it look totally cheesy. But that only cost me my time.
|
|
The offset stilts are something that not just anyone could fabricate. What did you learn when you were building them? I learned how to weld 2" .049 wall Aluminum tubing together. I've never done that, and it was fun. Oh and I learned how to make my 'cut' drawings better, I guess I never realized I'd been making my drawings at work so difficult until I had to go out there and cut my OWN stuff.
|
|
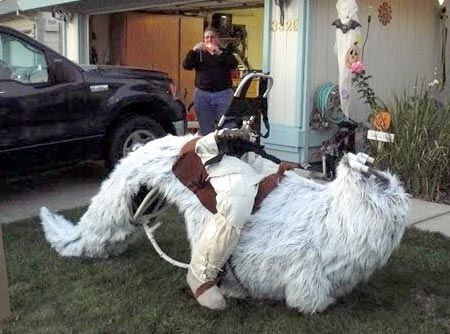
Just weighed it! 39 lbs of Body, head, and tail. And legs are 15 lbs each. I can't believe my buddy dragged that thing around for what was it 2.5 hours!?
|
|
Did the project creep? If you had 6 more months, what would you have changed? Yeah, it felt like a lot of the time was just spent sitting in front of the costume saying "I need to do this next, but I have to do this first, and I don't have the supplies to that, so...." 6 more months, I would try and make it lighter? Maybe more maneuverable? I don't like the fact that it doesn't have completed feet, possibly fix that. This costume is one of the all time greatest, and more people should see this thing in action. Do you have plans to showcase it anywhere else?
|
More on the Zone Ball costume contest | the tauntaun costume | How to make a cheap silicone mold with ordinary silcone caulk | Greg's Bumblebee Transformer Costume
Other incredible stuff | Home | Contact Rob | Costumes Index
November 15, 2009.
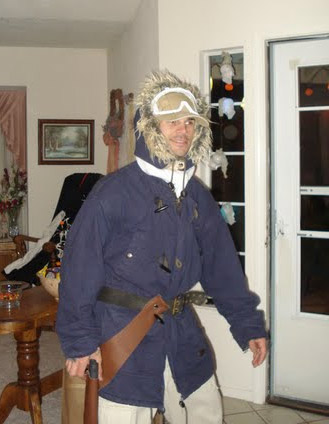
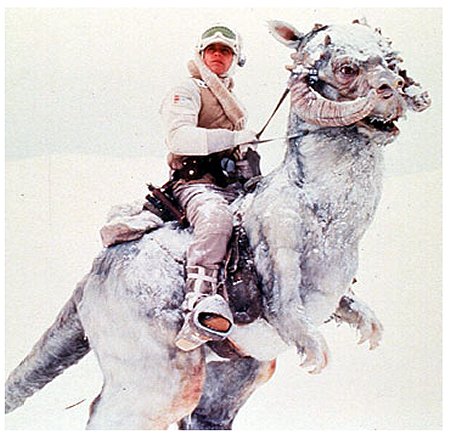 The following is a short Q&A with Scott Holden, maker of the "Luke Skywalker on a tauntaun" costume.