

|
|
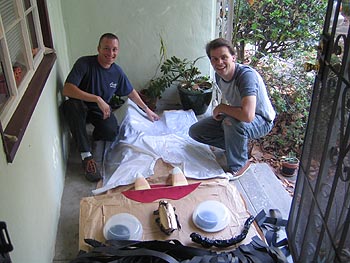
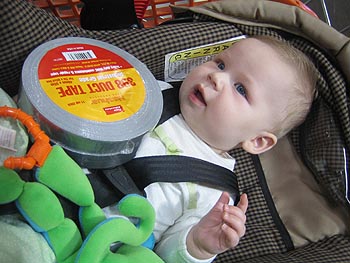
On Saturday, the day of the contest, I started work on the costume right away. My friend Ken was in town and came by to help. We used duct tape to tape a wire into my sheet of white shirtcloth. The duct tape and wire supported the top of the shirt, so I could bend a little collar into the top of the shirt. There are some photos of this technique below. |
 With
the shirt on, It was time to try out the bag and figure out how to hang
the cape. With
the shirt on, It was time to try out the bag and figure out how to hang
the cape.
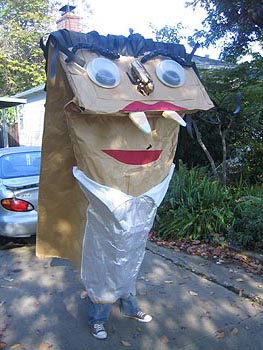
The backpack fit pretty well, and I was up and walking around. I wanted as small a view-port as possible, so I was kinda stumbling around, looking out through a tiny rip near my lower lip. This guy's shirt needs to be ironed. |
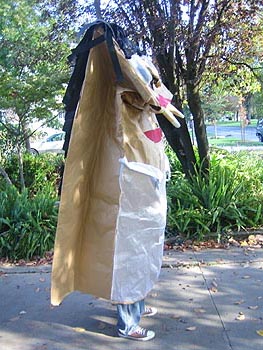
Paper bag side view. Geez, his whole body needs to be ironed. |
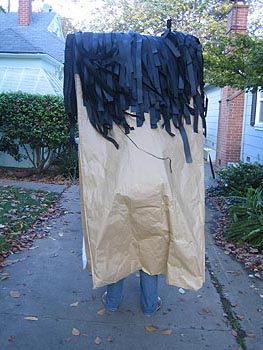
The hair. It crossed my mind to cut the hair, but I never got around to it. Instead I went to a salon and purchased nineteen jars of Alterna hemp seed sculpting putty. By the time I had smoked all that hair putty, I had lost interest in cutting it. |
The only things left to build were the cape and the amulet, and for the cape, I needed more duct tape. At the beginning of a project like this, I take time to find cheap or clever substitutions to avoid trips to Home Depot. As the project gets close to completion, there is no way around these trips. Luckily, I had a couple friends along, so it was still a fun trip. |
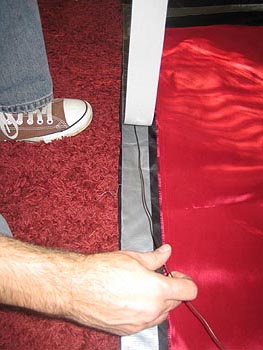
Back at home, Ken helped me build the cape with fabric, tape and more wire. The cape was really just a two layer rectangle of cloth, red on one side and black on the other. The wire and tape worked well to give a little structure to the cape and allowed us to shape it. |
| please continue reading page 8 of the fandango costume. |
Other incredible stuff | Home | Contact Rob |
November 10th, 2005.