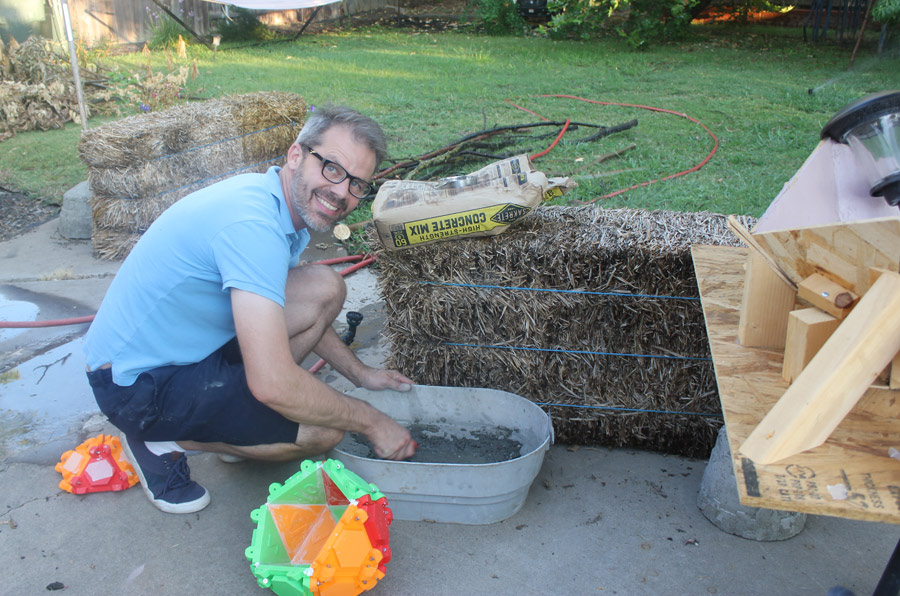

The
The cement isocahedron is the second project I've made which was inspired by the giant red cement balls outside of some Target Stores.
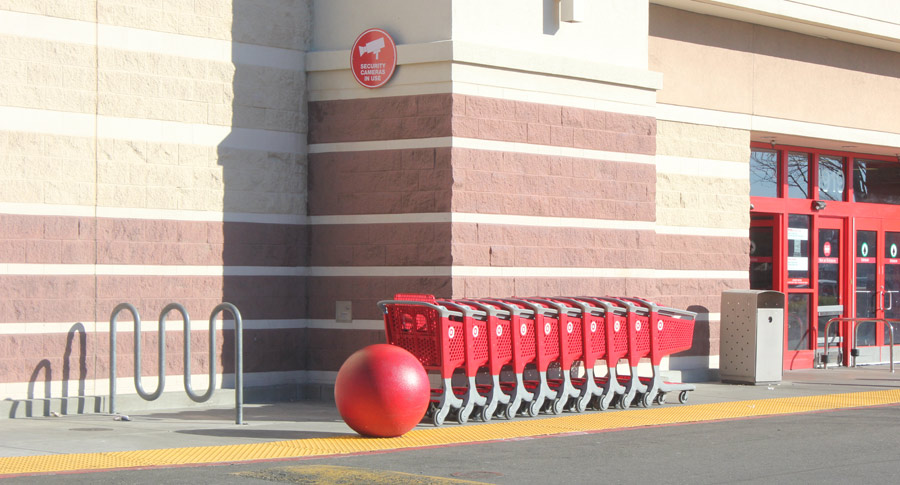
I was very impressed with these things, and thought I could make some of my own. I made a little one, and I was inspired to make a giant geometrical shape, that of the 20-side die, or isocahedron.
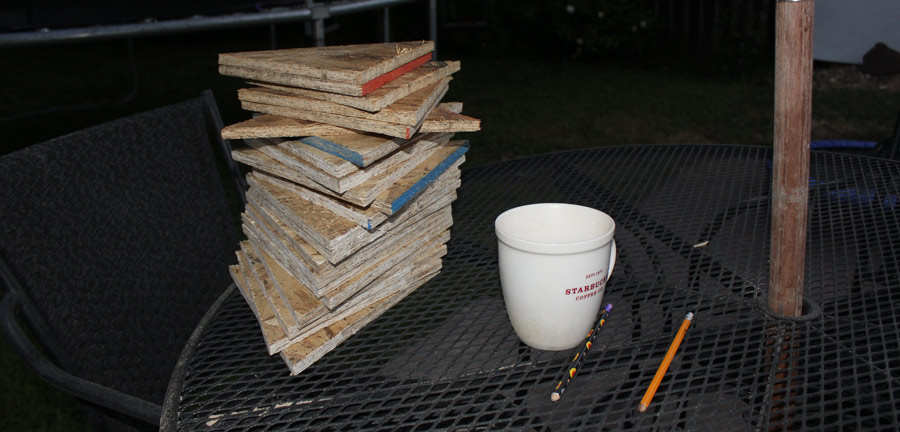
It was a daunting task. A mold for a large object, cast in cement, would need to be
Heavy plywood would be great for the flat surfaces, but this really wasn't like other woodworking projects.

I'd need 20 large regular triangles, and they would have to be joined at an unusual angle (not 30° or 45° or 90°). Before I had worked out all the details, I bought some long piano hinges. I knew these would allow me to attach two flat pieces and adjust the joint to almost any angle.
I spent a good 90 minutes trying to calculate what the angle between two of the triangles would be. I failed.
Finally I looked up isocahedron on Wikipedia and it was right there: Dihedral angle: 138.189685°, which apparently is the arccos of a negative square root of 5 divided by 3.
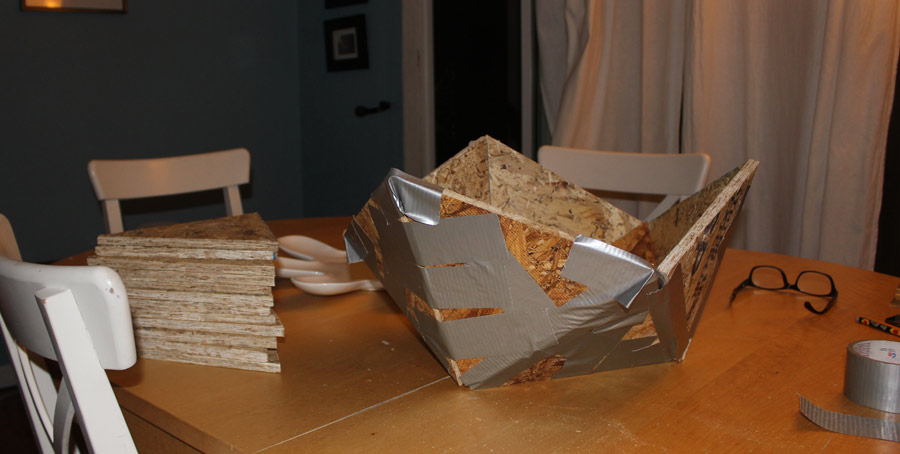
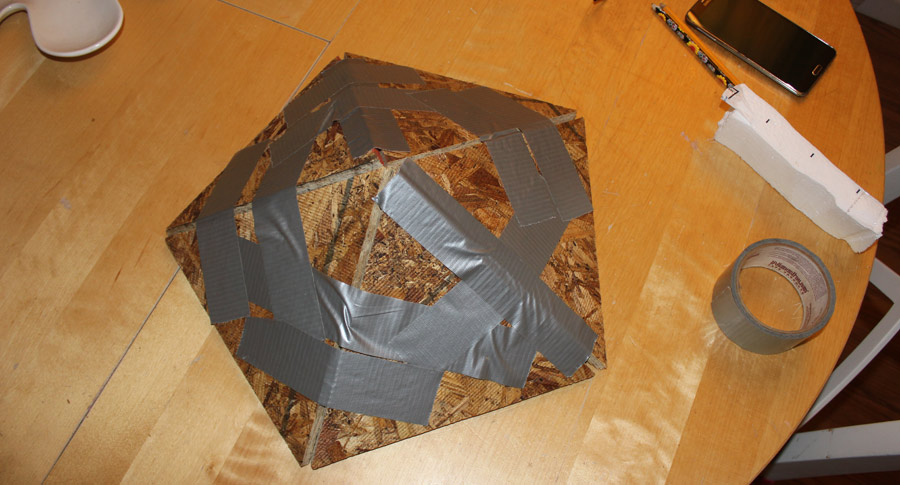
Duct tape was fine for temporarily connecting the faces, but if this monster had to hold wet cement, hundreds of pounds of wet cement, I'd have to figure out a good way to brace the hell out of it.
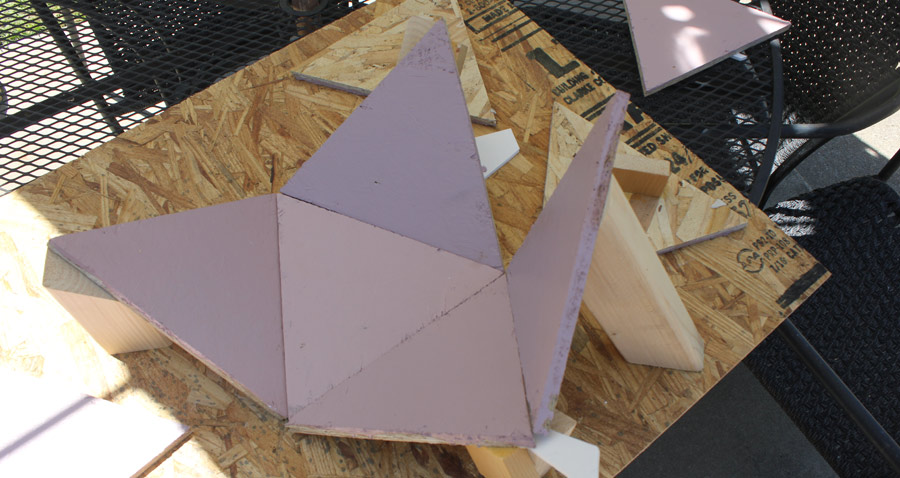
The first 10 triangles were fairly easy to attach to a plywood base, but the sides and the top were going to be harder and harder to anchor in a way that would be incredibly strong, waterproof and rigid, yet removable and reusable. I needed a new material.
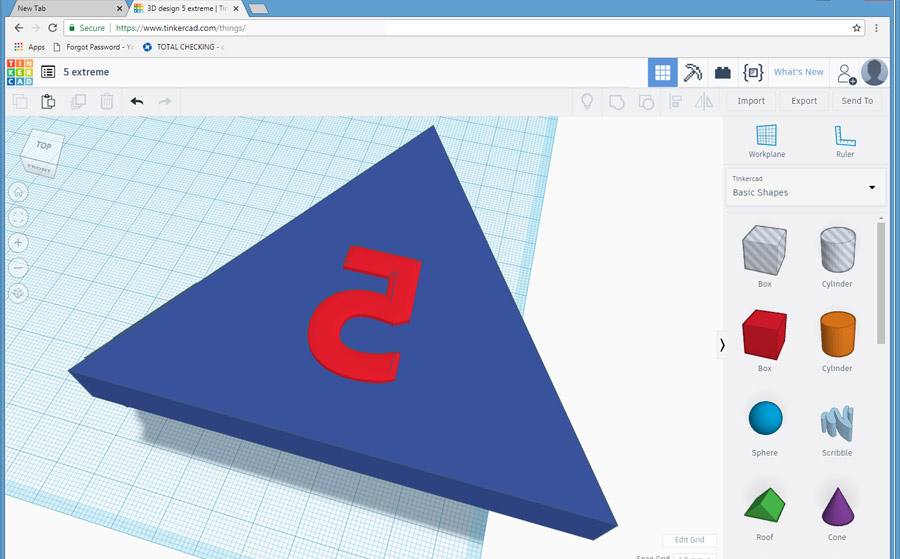
So I switched plans to use plastic triangles that I would print on a 3D printer.
It started as an equalateral triangle with a backward number embossed onto it.
My architect friend Russ suggested that I design the triangles with flanges, which would make bolting them together much stronger and easier.
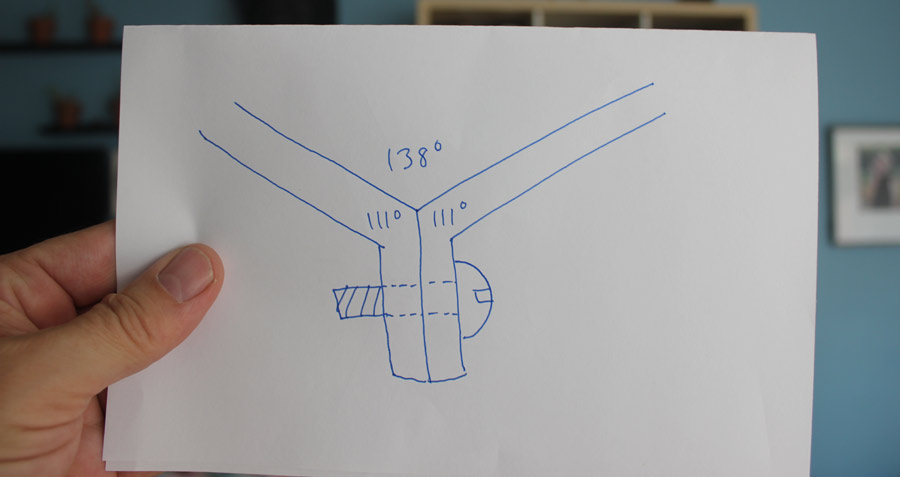
To surround an object designed to have a 138° angle between two surfaces, I'd need each of those plates to have flanges set at 111°, with a bolt hole going through them (138° + 111° +111° = 360°).
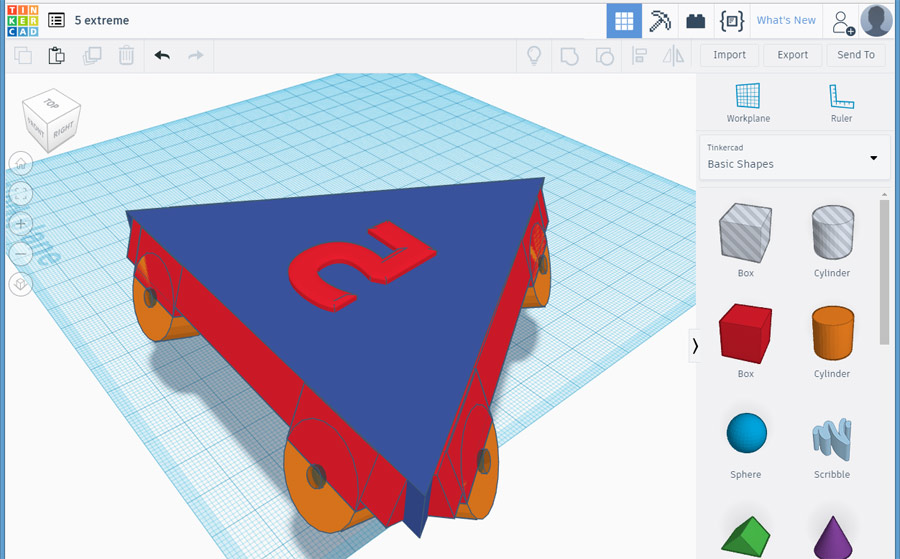
The flanges are the orange round pieces at the bottom of this model. They sit at a 111° angle to what will be the surface of the finished die.
I use a Hictop Crealty CR-10 printer.
After designing an object in Tinkercad, you download the .stl file and open it with a slicer program, such as Cura, which will generate g-code for your 3D printer to follow.
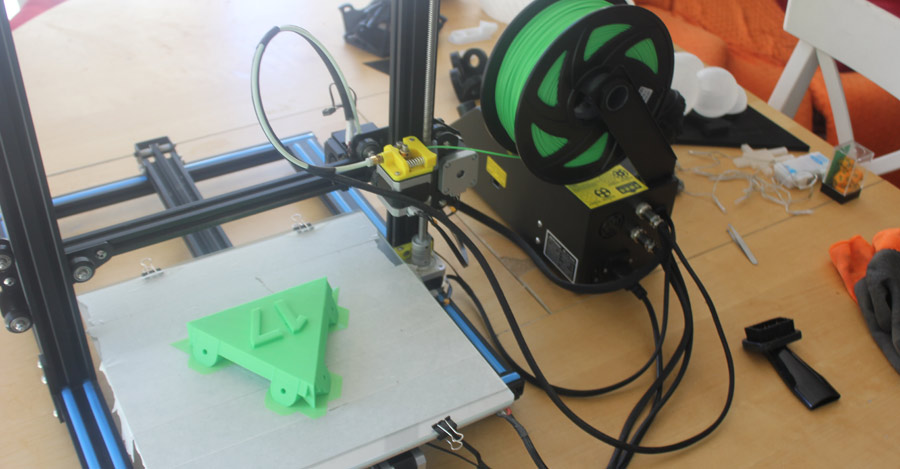
Here's a photo of the first triangle. It took 3 and a half hours to print.
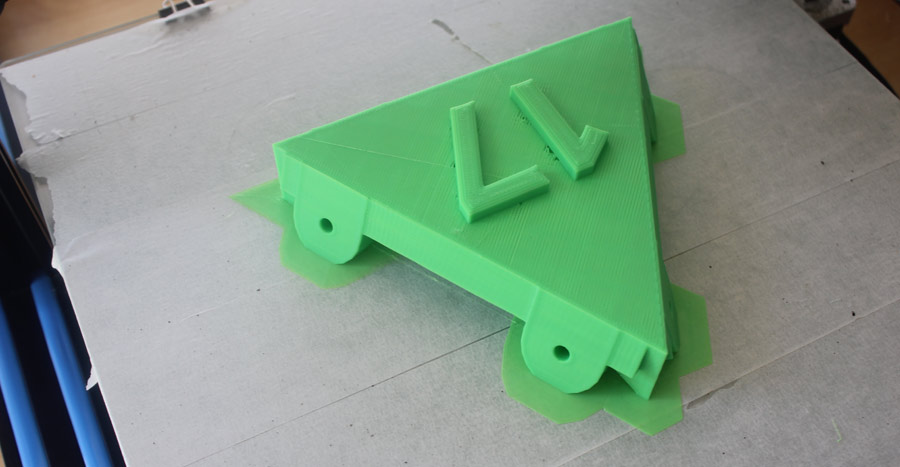
The 17 is not backwards, so this one had to be remade.
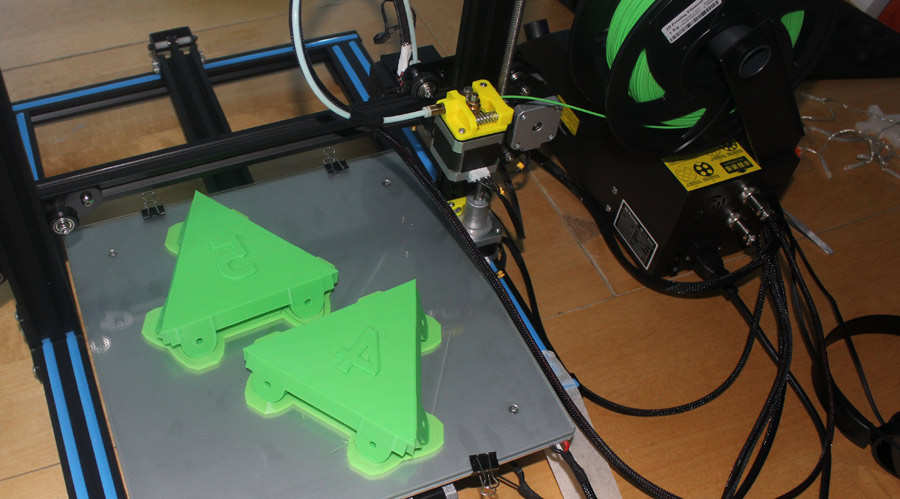
I modified the file to print out one triangle of each number. Printing four and five.
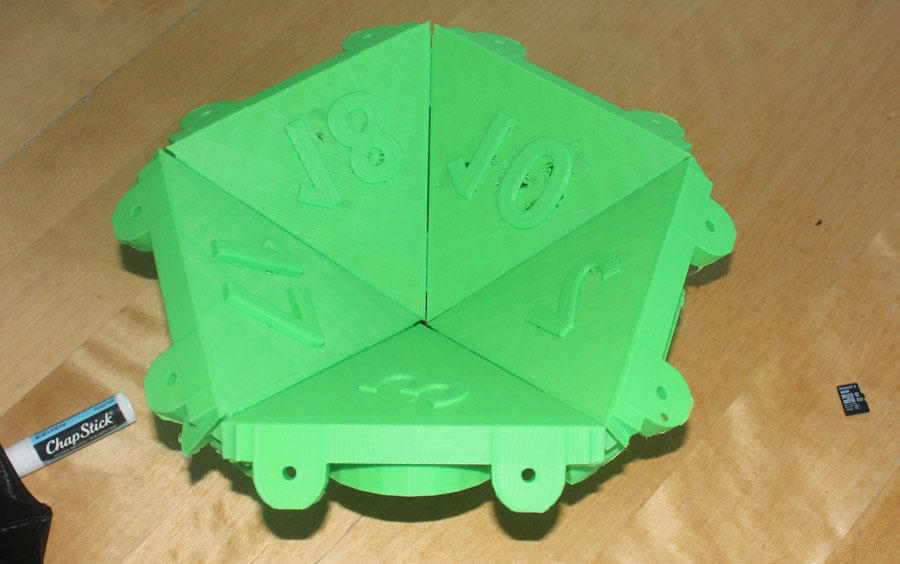
The pieces looked good! They matched up to one another. The PLA plastic is a little brittle, but I figured it would be tough enough to hold a load of cement.
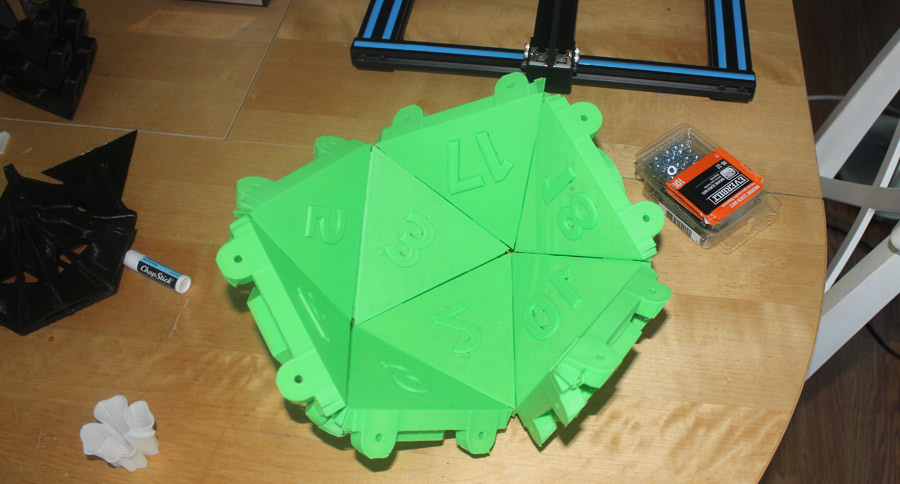
Almost half of the facets. I bolted them together with machine screws. There were cracks between the pieces. I used caulking to patch them up. I probably could have re-engineered them with a tongue and groove or something, but didn't get around to it.
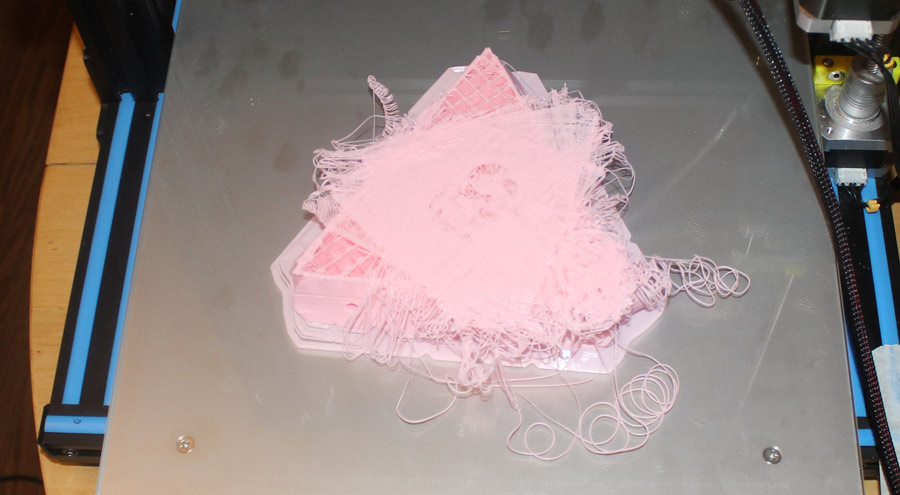
Sometimes the 3D printing breaks free of the printing surface and starts sliding around with the print head. This is easy to clean up, but it can be heartbreaking when it happens halfway through a 4 hour print job.
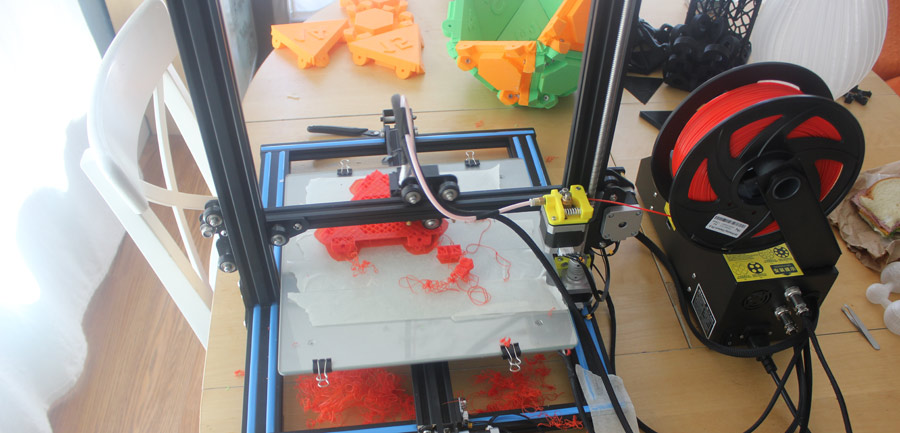
Another ruined triangle. Each triangle ended up being about 80 grams, or about $1 worth of plastic.
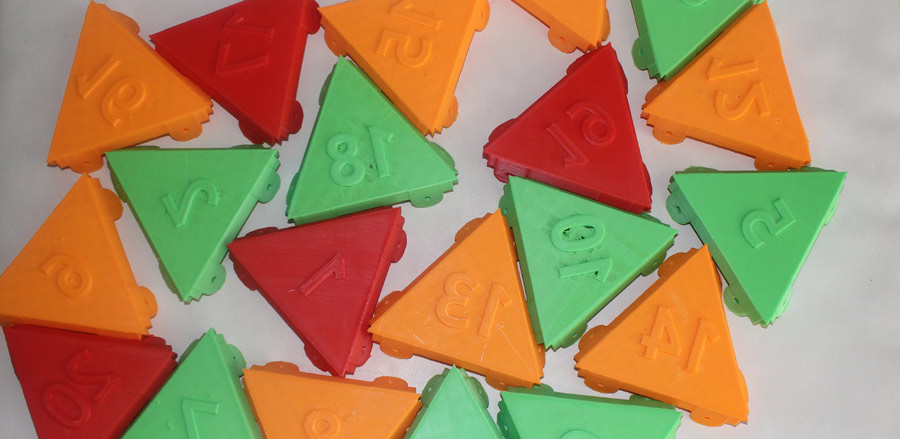
Twenty finished triangles, ready to be bolted together.
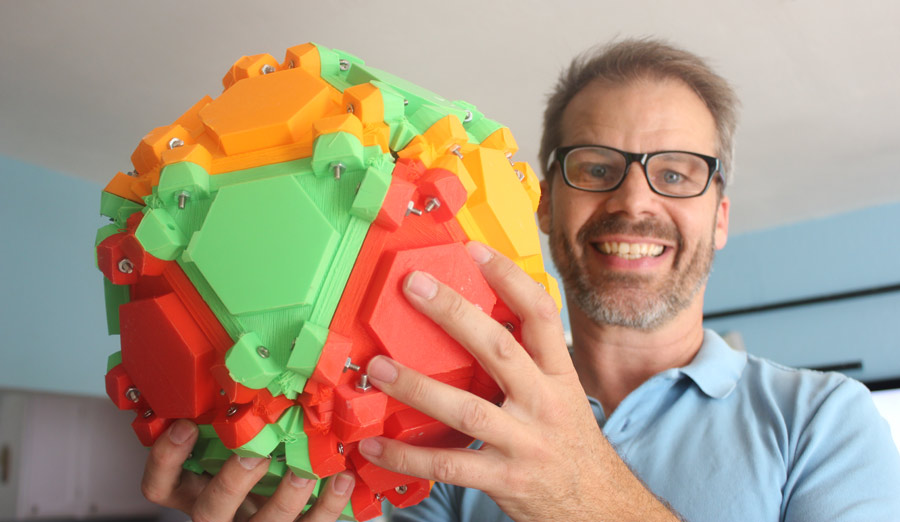
Look at this beauty! It looks like a model for a nuclear reactor.
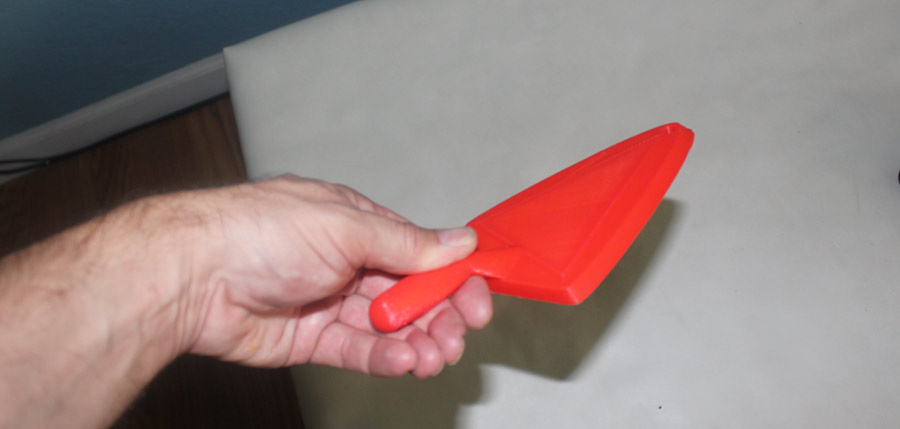
I didn't have a cement trowel, so I printed one of those.
Do not recommend.
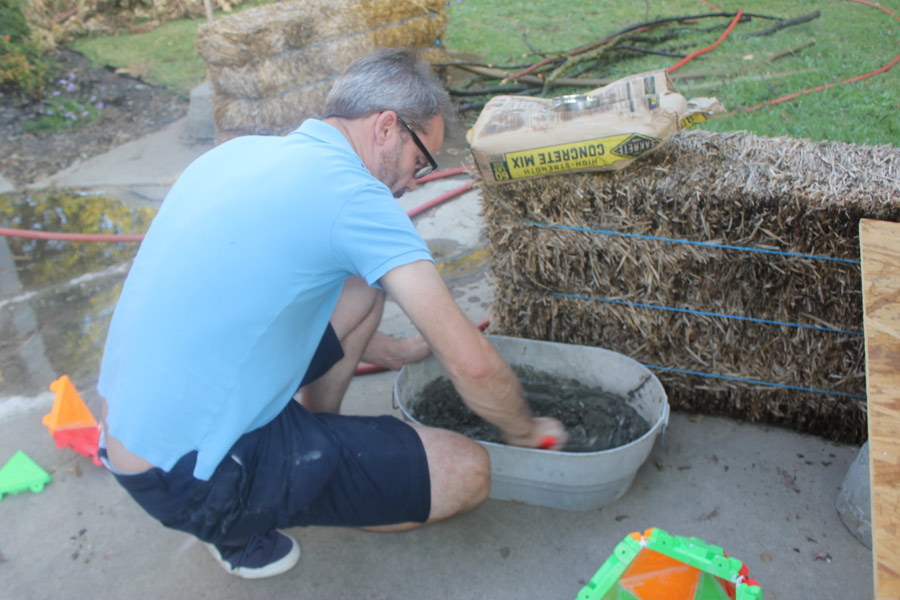
After about a week of facet printing, it was time to mix up some concrete and see how the mold worked! I sprayed the inside with some cooking spray and ripped open a bag of "fence post" cement mix.
I also prepared a chunk of styrofoam to lodge in the center of the die. This would make the finished product a little lighter.
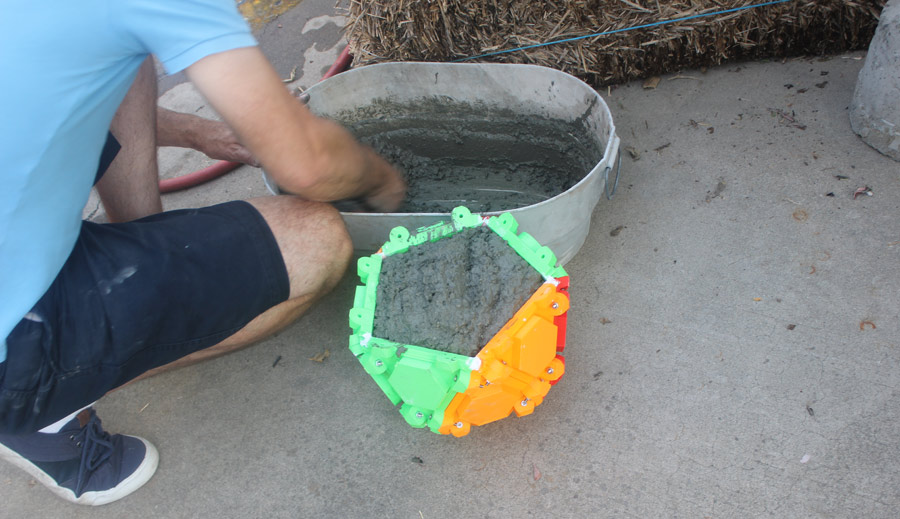
2/3rds full. I left one triangle out so I'd have a little portal to add more concrete.

When the mold was packed full, I patted the sides aggresively to shake the cement into the curves and corners of the numbers inside.
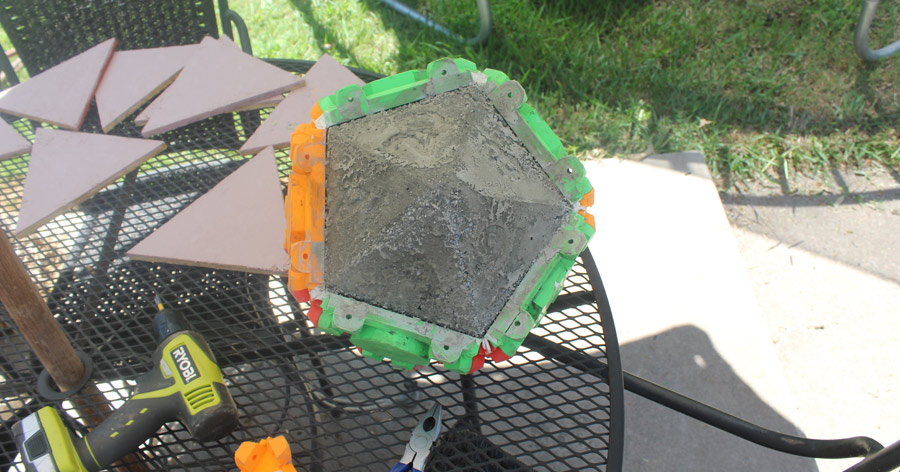
The next day I cracked open the mold! It was not a great result.
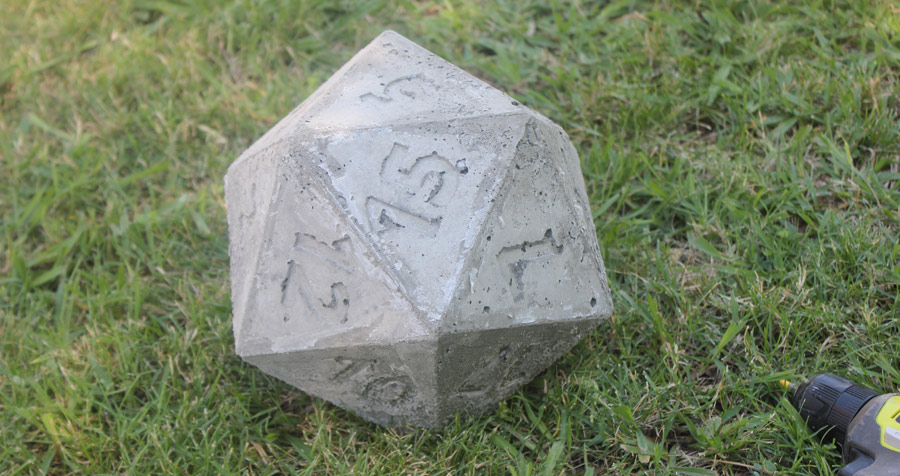
I had defintely made an isocahedron, but the numbers were poorly defined and pitted. The styrofoam block had floated up to the top of the mold and was poking out of the rock.
The worst thing was that a bunch of the plastic mold pieces were broken. The flanges had broken off.
The finished die was 21 lbs. (10 Kg).
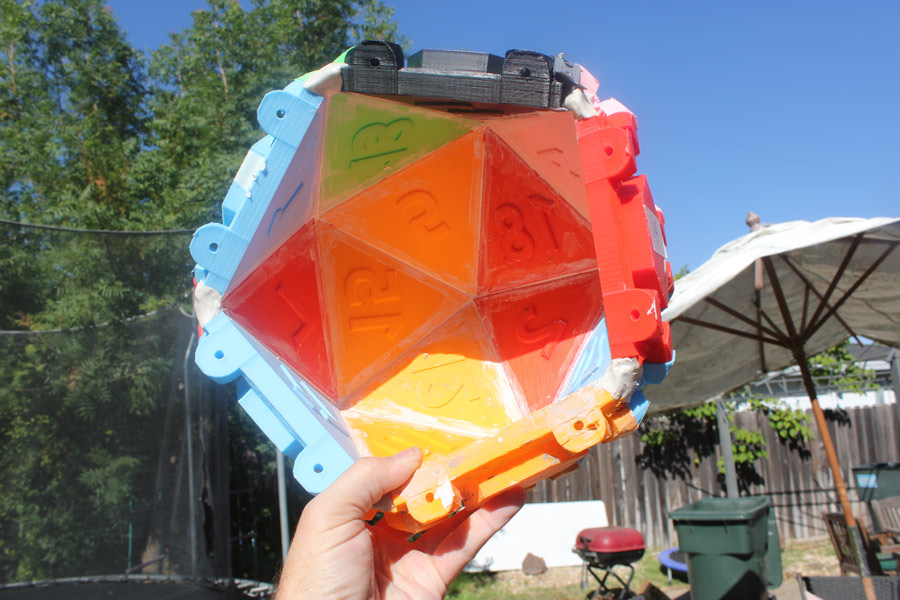
I didn't change much for the second mold. I ditched the styrofoam and switched from concrete to cement. Cement is smoother; it doesn't have rocks and pebbles in it.
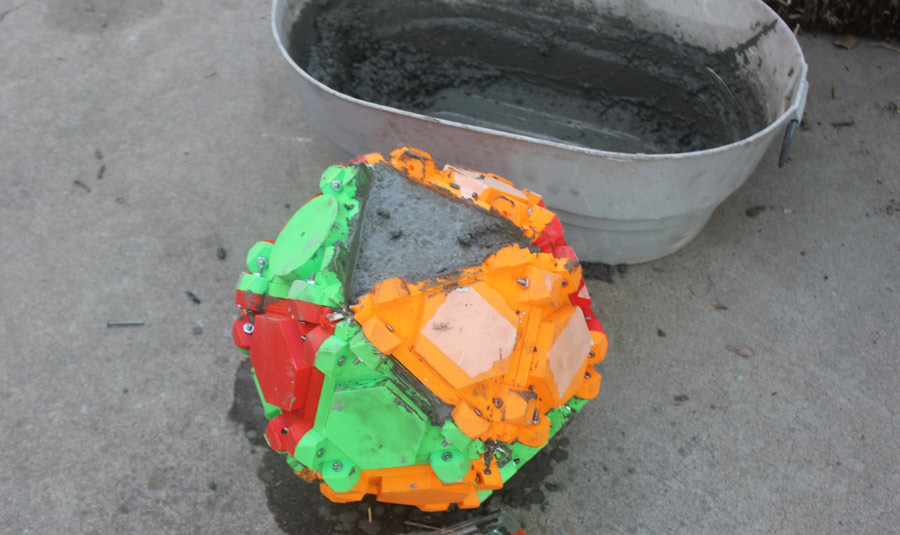
The second one turned out a little worse.

The third one was a disaster, because I forgot to spray it with mold release.
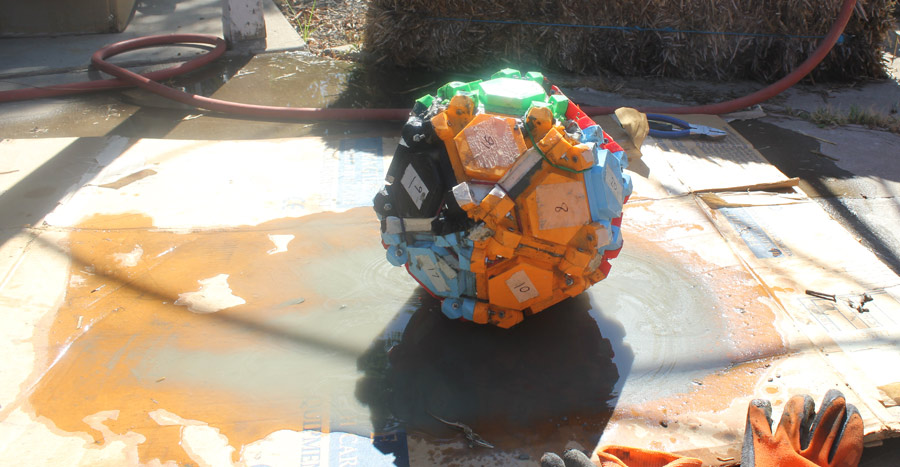
The cement settled into the mold, so it was tough to fill it precisely to the top, allowing enough room for the final "6" plate to push a number into the wet cement, and it was hopeless to remove the air bubbles from the top of the mold.
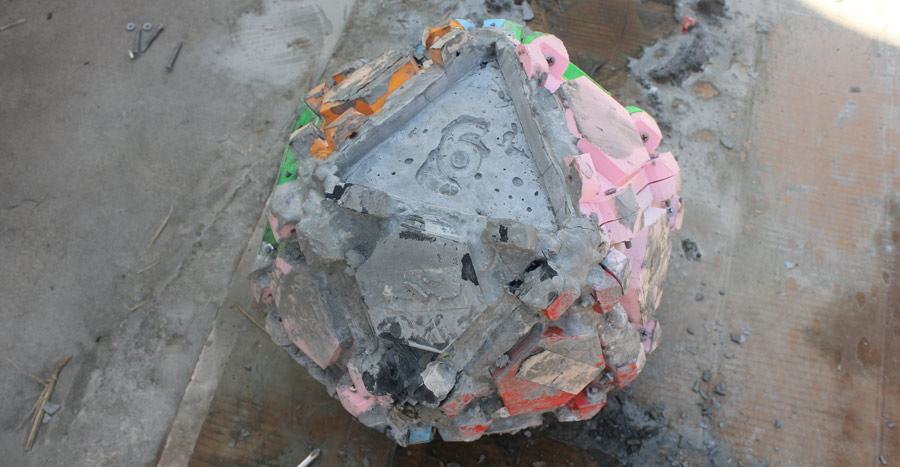
The next one was pretty sloppy. I needed to make stronger plates and stronger flanges.
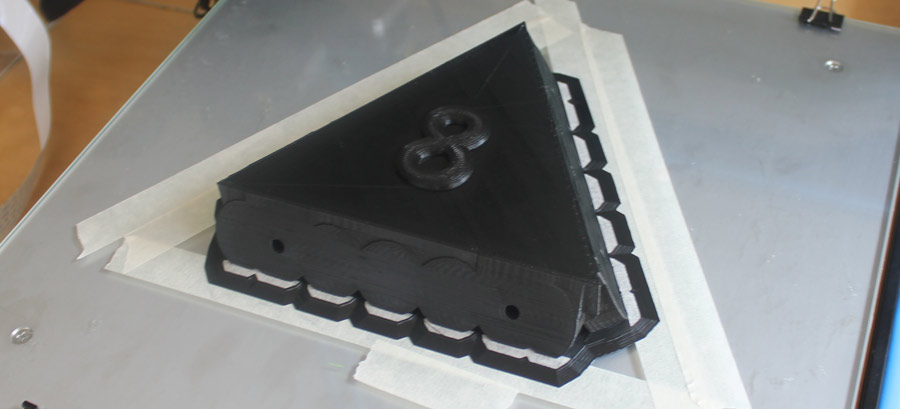
A redesigned plate with a continuous row of flange down the side. This wouldn't break off!
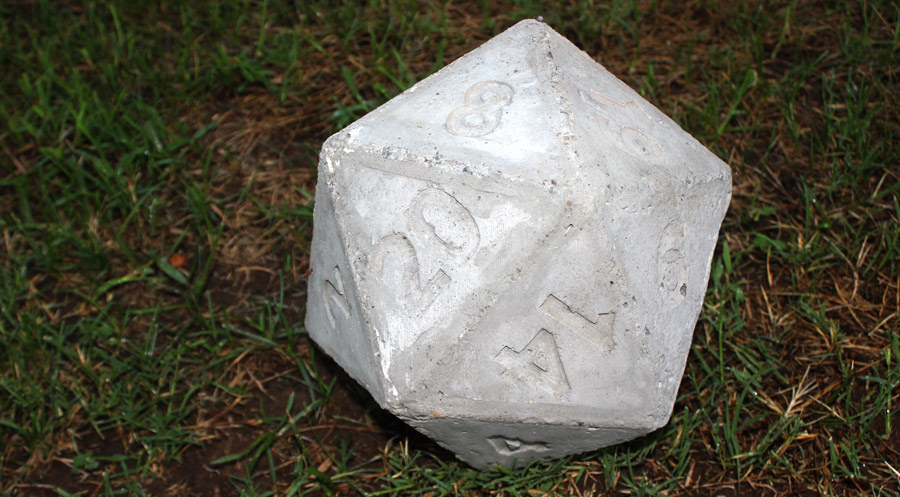
With a new batch of triangles for the mold, I could finally make a real nice 20-sided die out of cement! This one weighed 29 lbs.! (13 Kg).
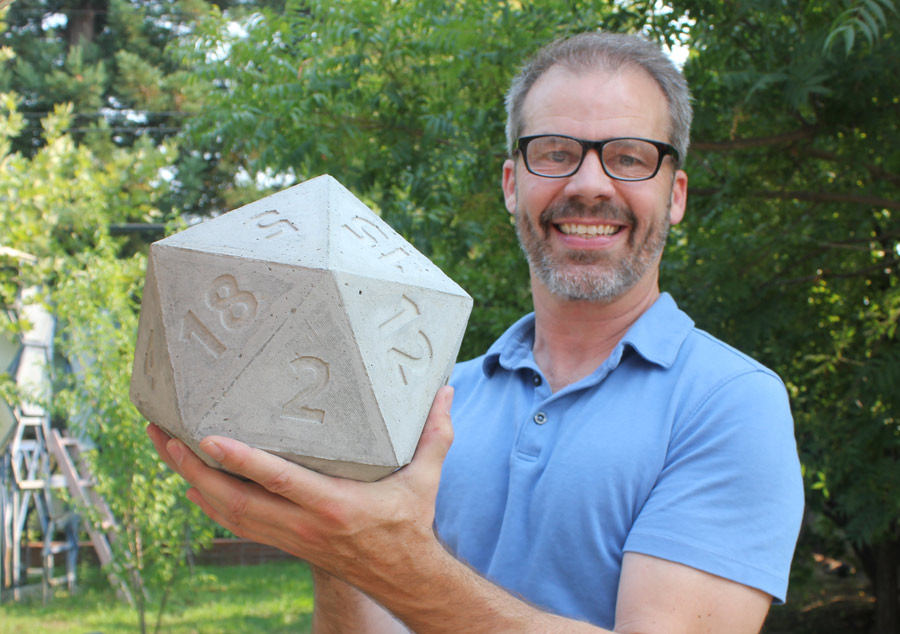
They weren't in the same class as the monster balls outside of Target stores, but I think they look great in my backyard!
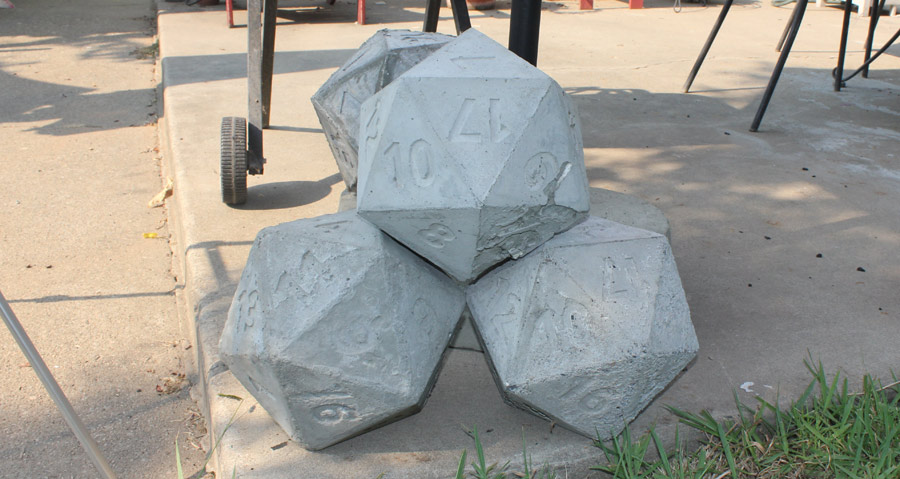
Now if you'll excuse me I've got to try a saving throw against these garden gnomes.