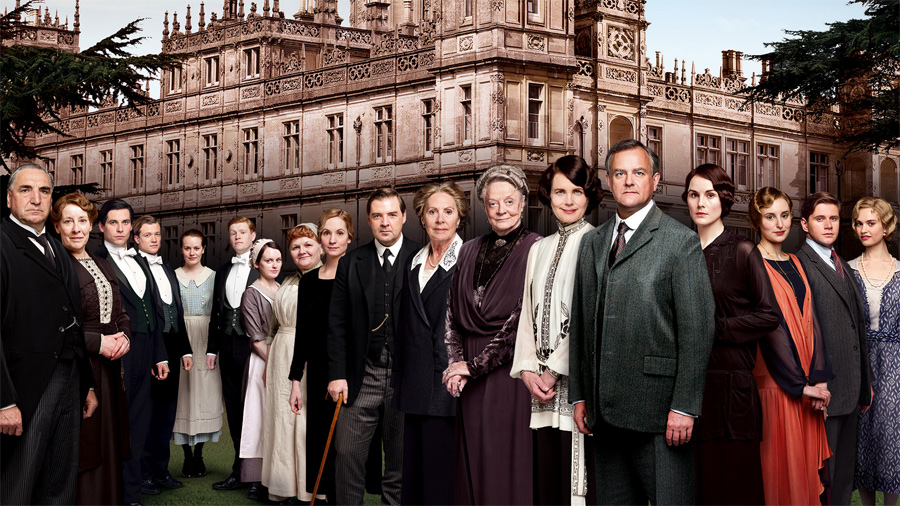
Due to a gross misunderstanding of the term "Costume Drama", I put together a Downton Abbey castle for halloween this year.

Downton Abbey is about the complex social interplay of the rich nobles and poor servants of a 1920s English estate.
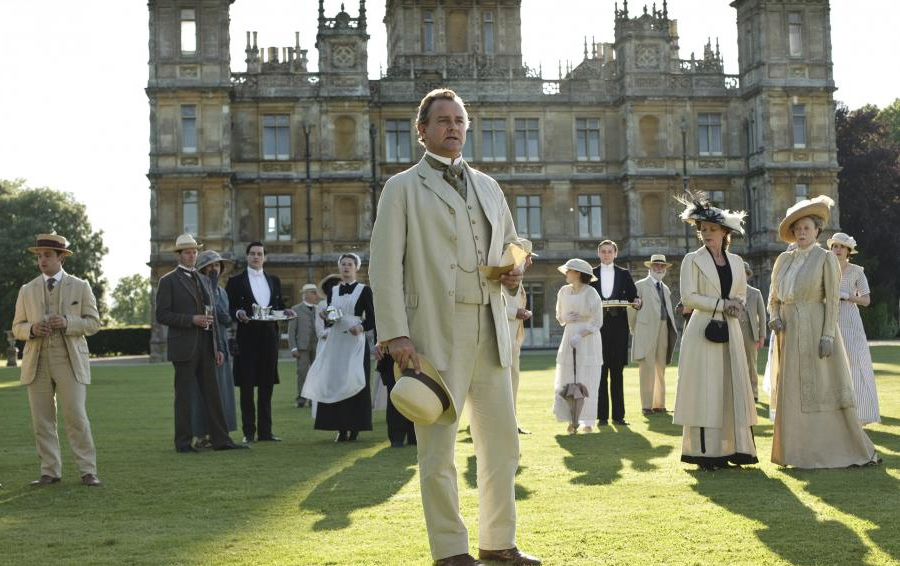
The house itself is Downton Abbey. The producers shoehorn images of the castle into the show at every opportunity.
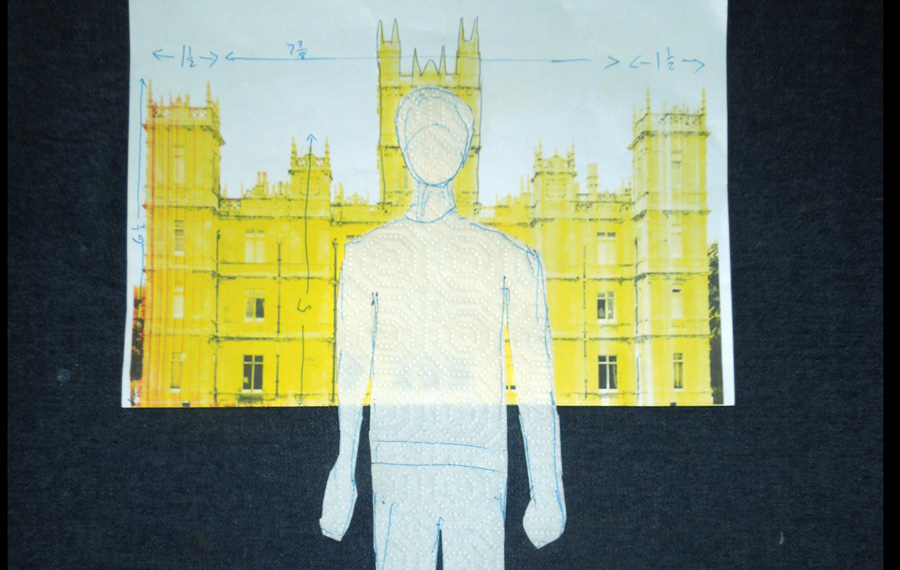
After building a dozen Disneyland rides in foam board last year, the straight walls and square corners of an English castle seemed easy to reproduce in miniature. I mocked up how I thought the building might look sitting on my shoulders.
My head could be hidden in the tall center tower. I might even be able to peek out of the actual windows!
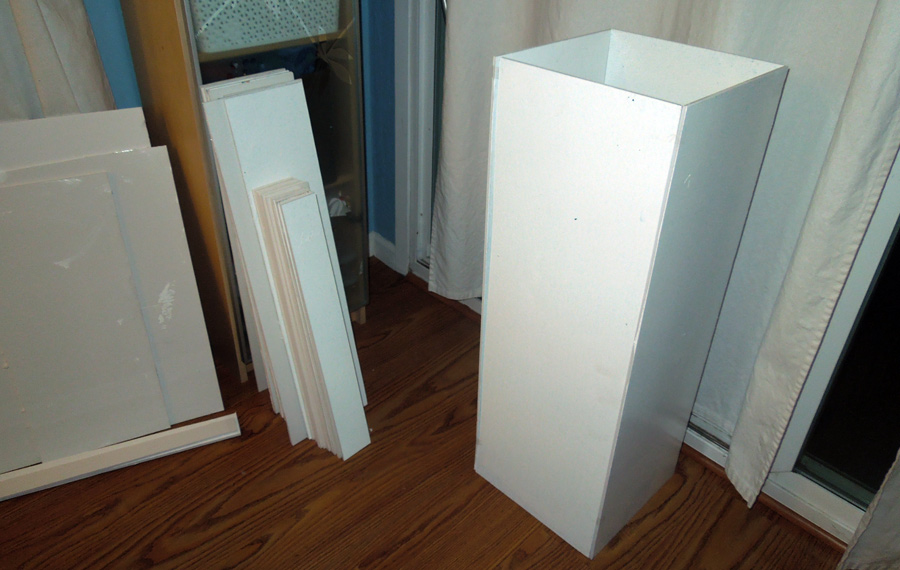
The tallest towers were taller than my typical sheets of dollarstore foam board, but I found some extra large sheets at Blick art supply.
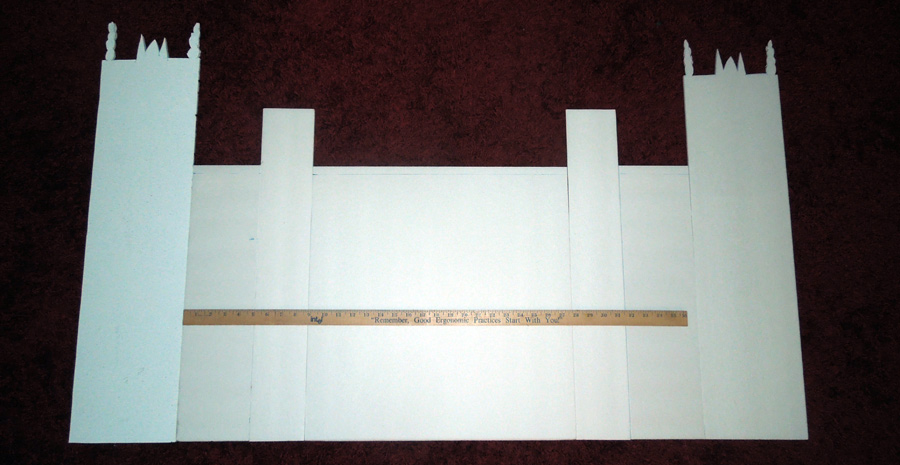
As I began designing the costume, I realized I didn't really have any idea what the different sides of the castle looked like. Did they always show the same side on the show, or were all four sides basically the same?
Luckily, the layout of the building, a real monument named Highclere Castle, is well documented.
Unfortunately, it was a little more complex than I expected. Instead of four flat walls, the castle had protruding columns and towers which formed a complex perimeter.
I was tempted to start hot gluing it together immediately, but I figured that I had better finish the paint job first.
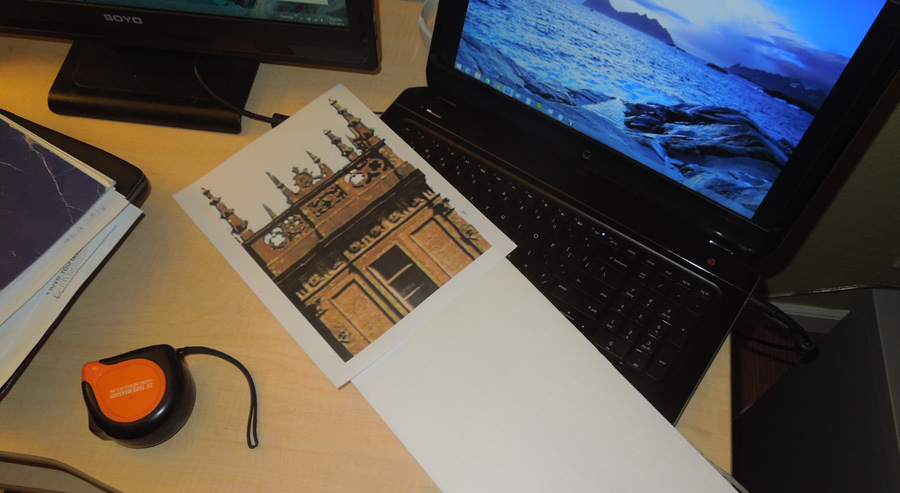
I didn't dare to actually paint it though. To depict the color and texture of the building, I planned to print it out.
There were a lot of walls to reproduce, but the web offered a million high-res production-quality photos of the building . I was confident I could print this thing out in full.
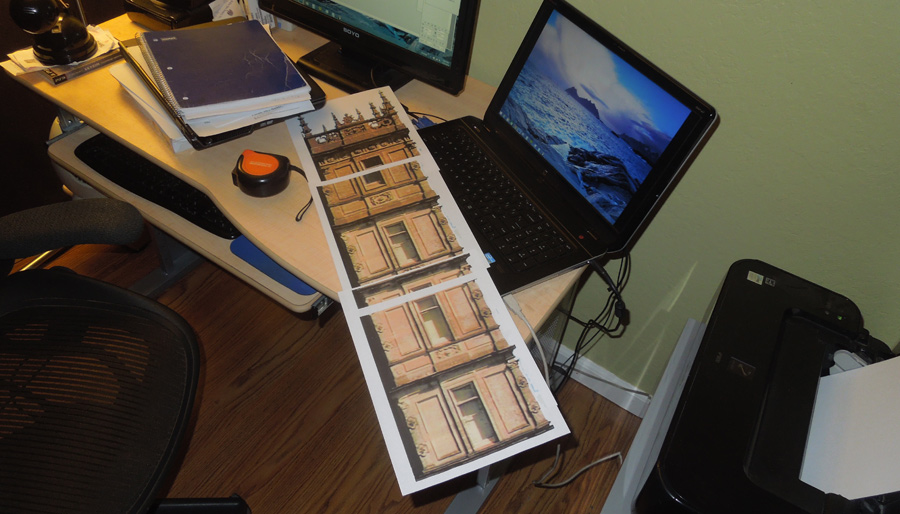
I started with one side of one of the corner towers. It took three sheets of paper to reproduce the wall, but when I was finished, it looked pretty damn good! I was making a castle!
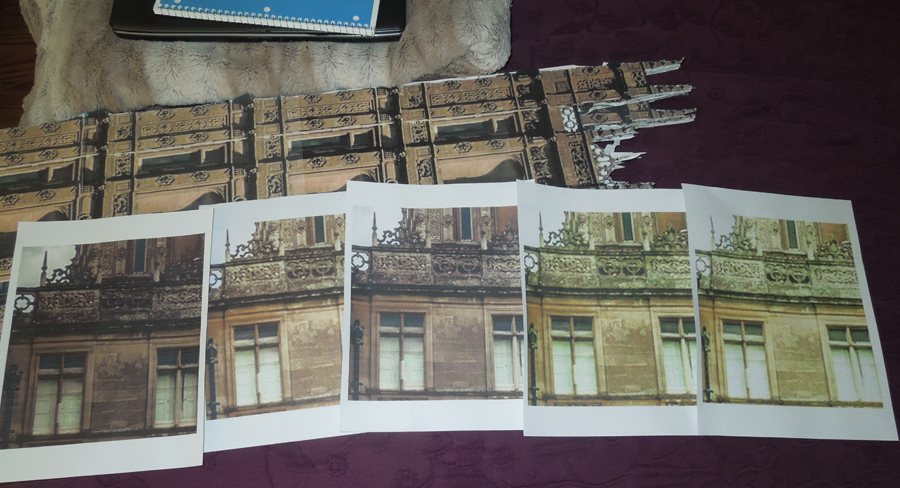
Although I could find plenty of photos, no two photos captured the building in the exact same light. I had to do some color-correcting to get four sides that matched.
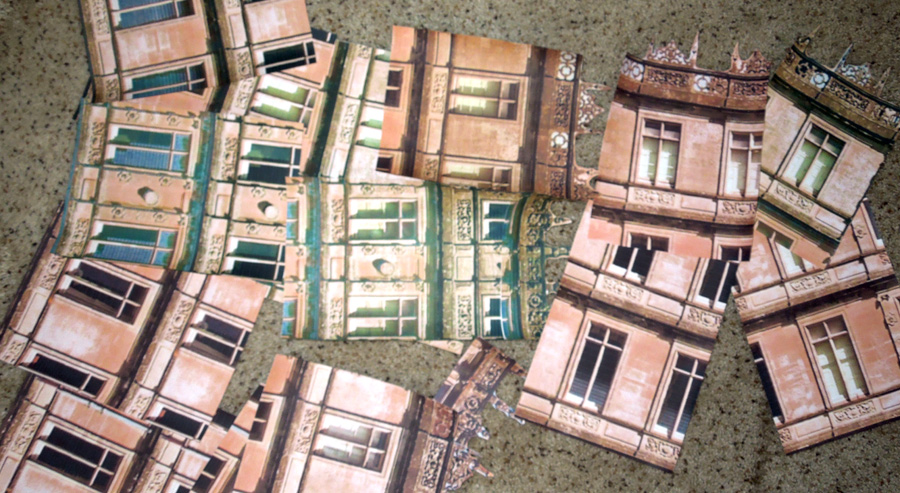
When everything was printed, I stripped off the white parts of the paper and reconstructed the walls. After a while, all these windows and decorations started to look the same.

Once I had an entire wall printed and cut, I used spray glue to stick the printouts in place. I advise that you use spray glue outside only, and black foamboard shows the glue much better than white.
In this photo I'm spraying with the can upside down. this is just to clear glue out of the spray nozzle.
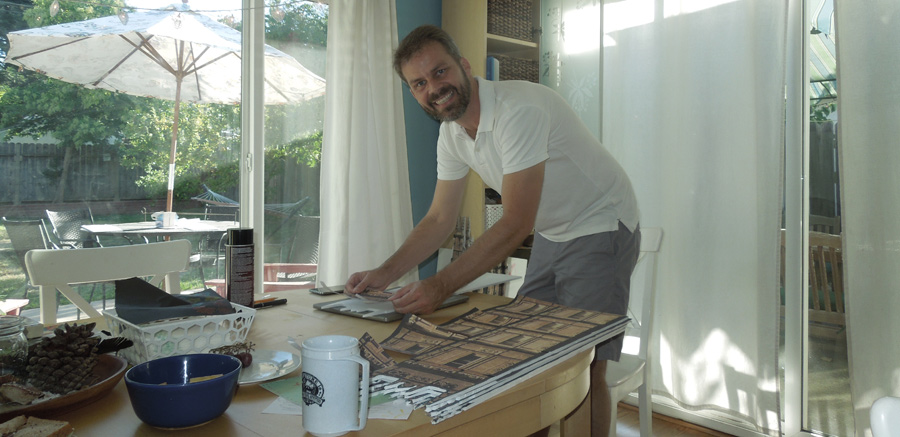
Super 77 is my preferred spray glue.

It is monsterously strong, but it can be unforgiving if the paper goes down in the wrong spot.
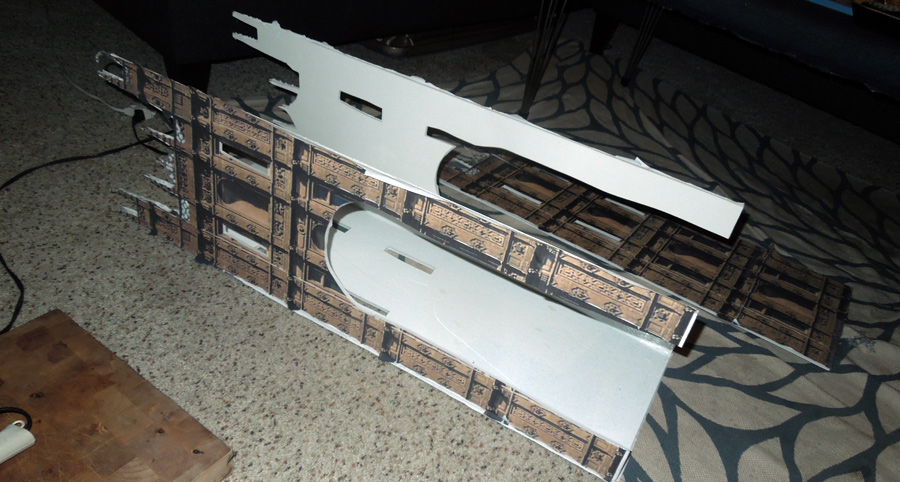
The center tower was big enough for my head, but not my arms. I cut out arch-shaped holes on the sides.
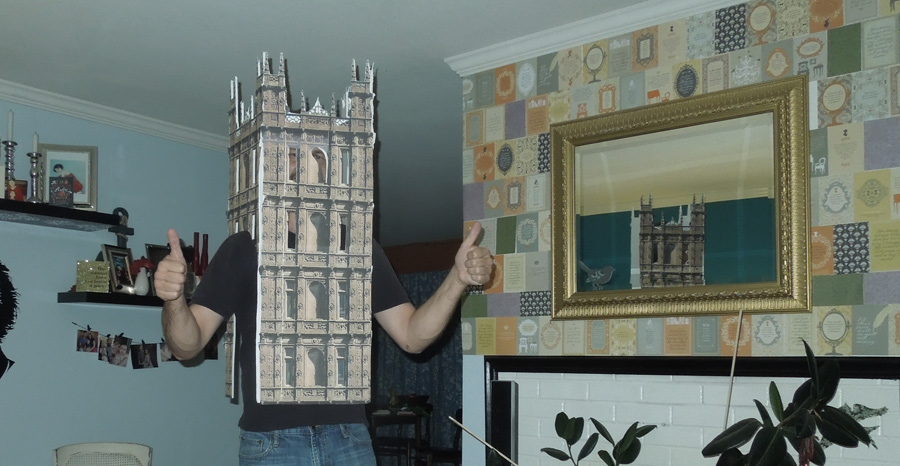
This was my first chance to get an idea of how this costume was going to look. I loved it! It looked super detailed and hilarious, and this was just the beginning!
Please ignore that I look suspiciously similar to the robot that turns into a building in Tom Hanks' Big.
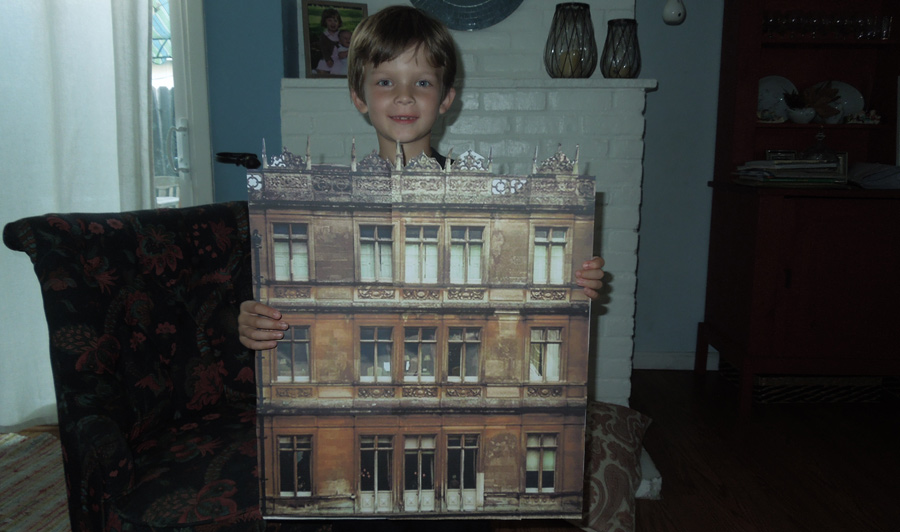
After the printouts were glued to the boards, all the parts started to come together.
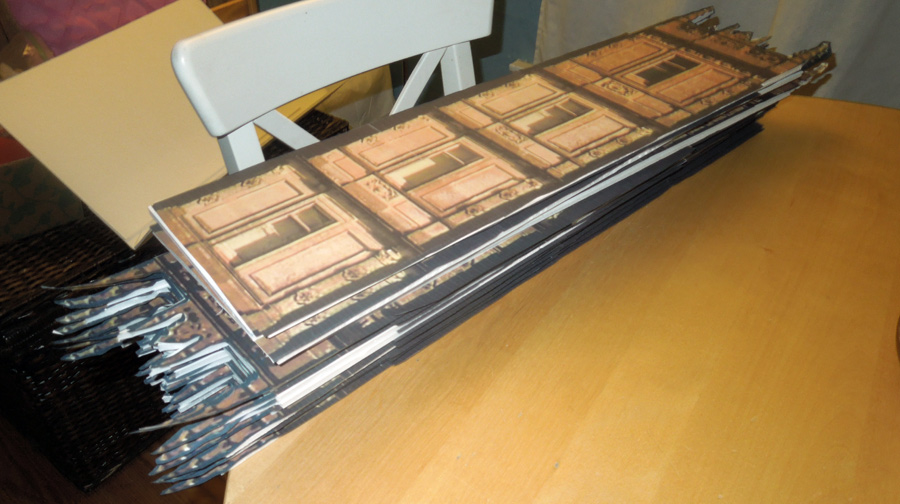
Sixteen sides of four corner towers.
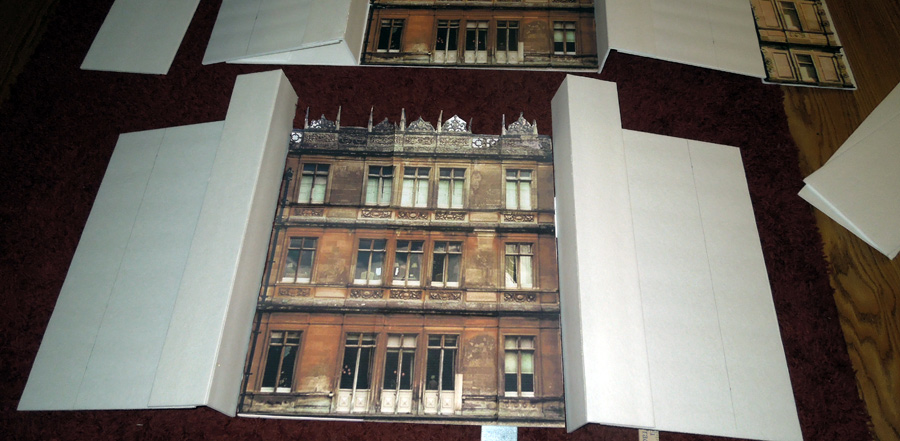
Planning and gluing.
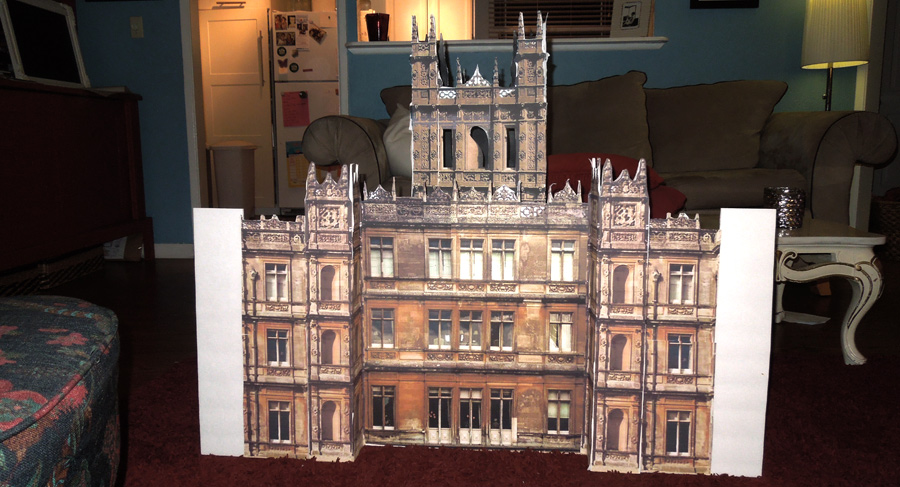
I worried that it was too large, but I was too far along to redesign it now. I think I spent about $36 on paper and ink.
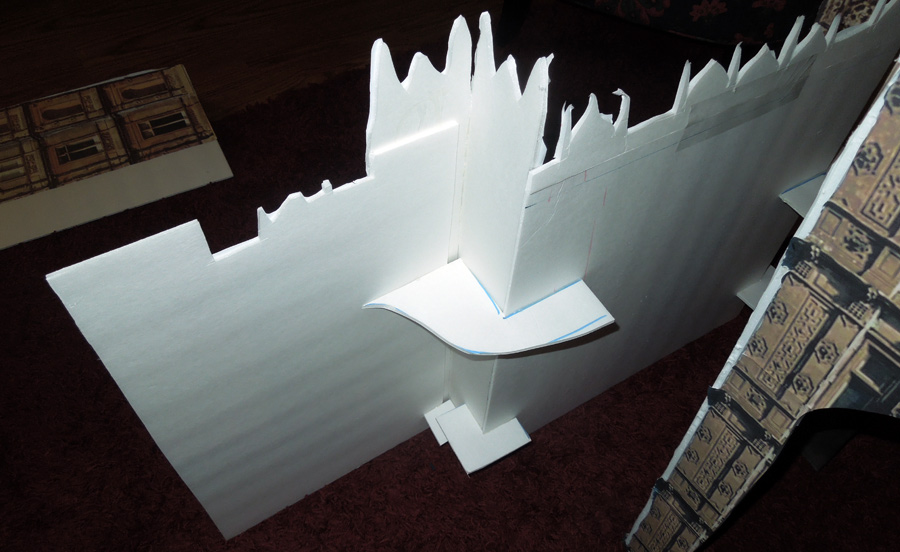
I added a few brackets.
I wonder if anyone else adds quarter-inch foam brackets for strength.
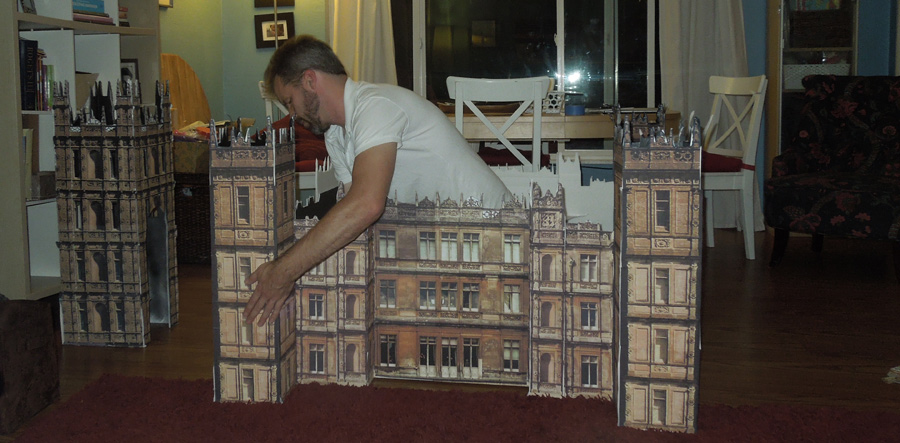
So far the costume was 100% foam and paper.
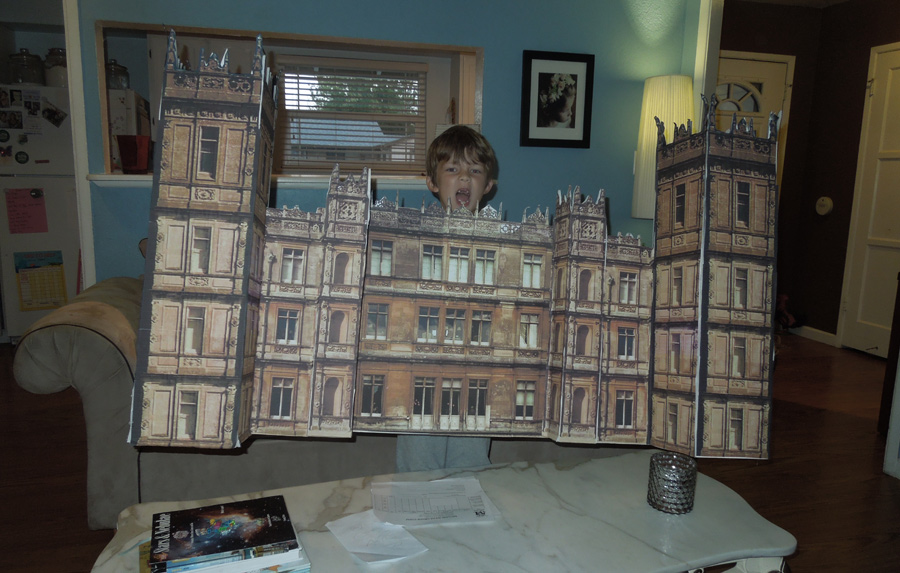
It was a bit fragile, but incredibly lightweight.
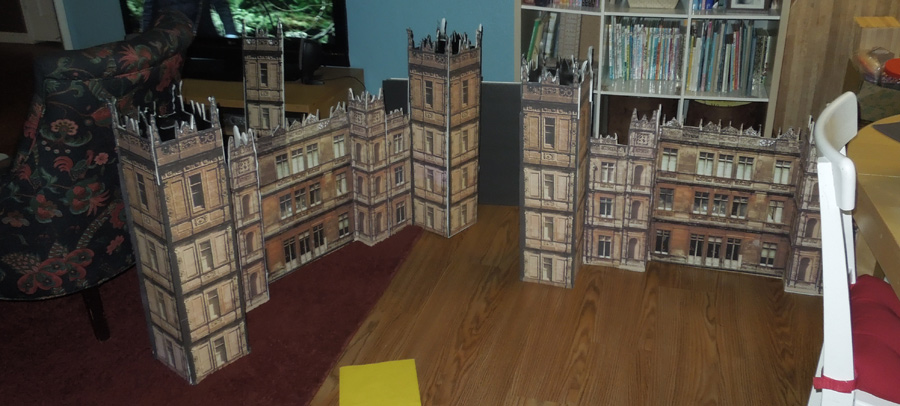
Two complete halves.

Each of the exterior walls was almost four feet across, so I had to figure out a way to get this costume into a vehicle and through doorways. The answer was to assemble the costume with hinges at each corner. This would allow the costume to fold into a long diamond shape.
I considered a few different hinge designs, but settled on the above, a length of corrogated plastic, slit down one side. This material is ideal for hot gluing, and it is super-strong.
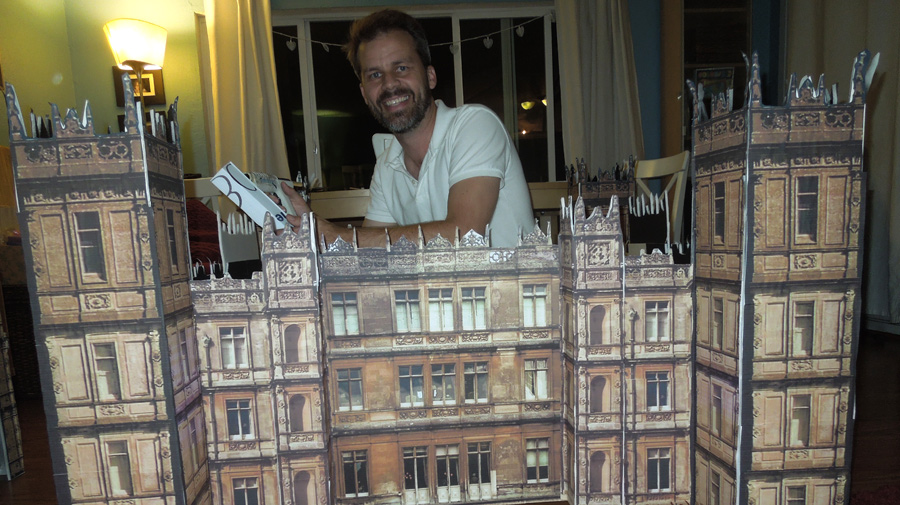
Gluing the first hinge into place.
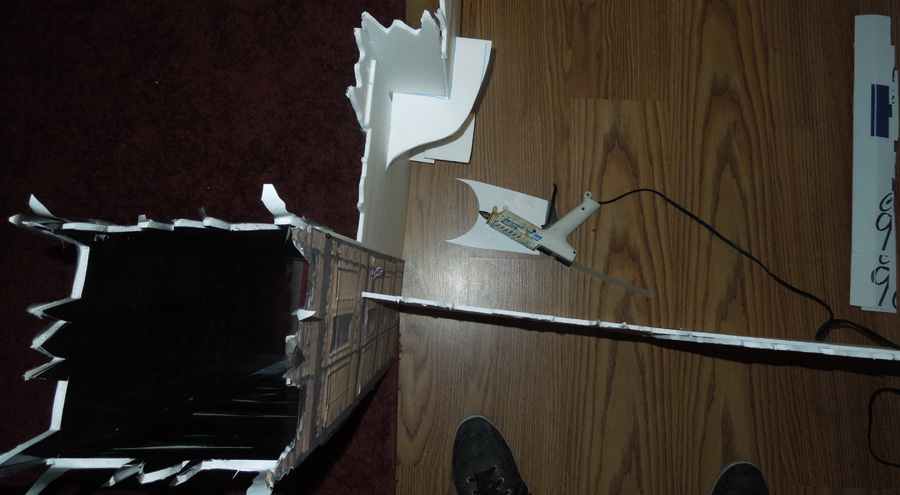
Overhead view of a corner.
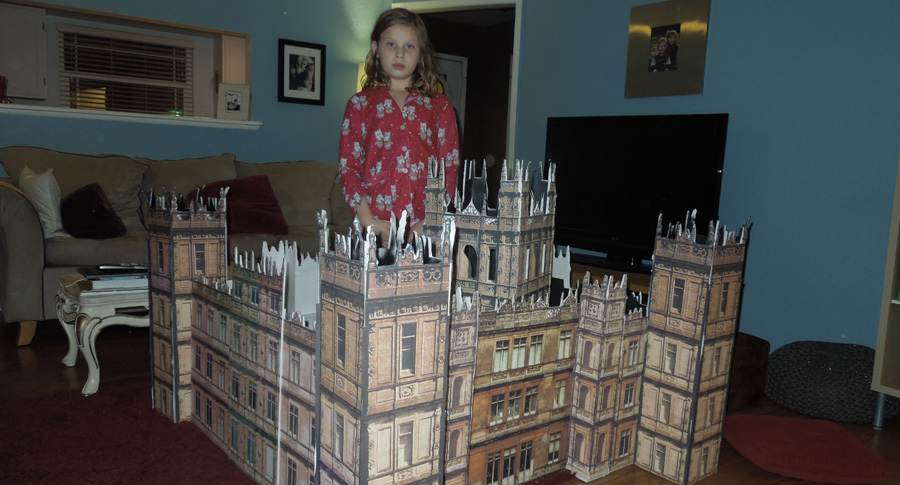
I looked around after the hinges were in place and realized I was finished!
Somehow I convinced my kids to resist vaulting the castle walls.
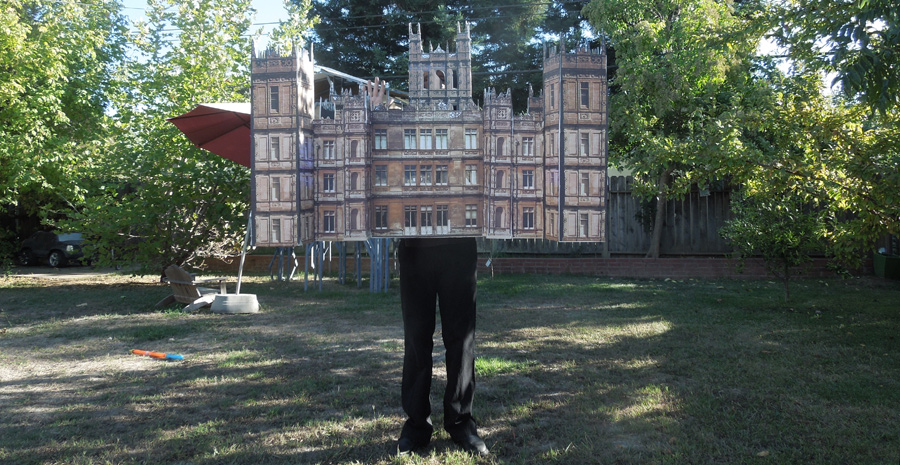
I straightened the top spikes, added a couple of PVC pipe cross-braces and I was done! The Downton Abbey costume was ready to wear!
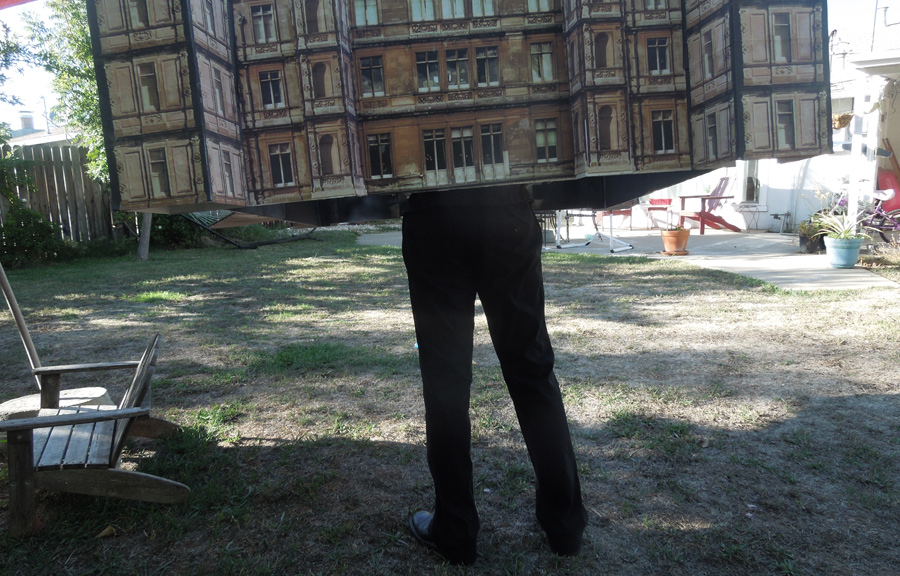
I blacked out the interior wall and added some additional sight holes. I can't believe how lightweight this monster is. There is nothing to it!
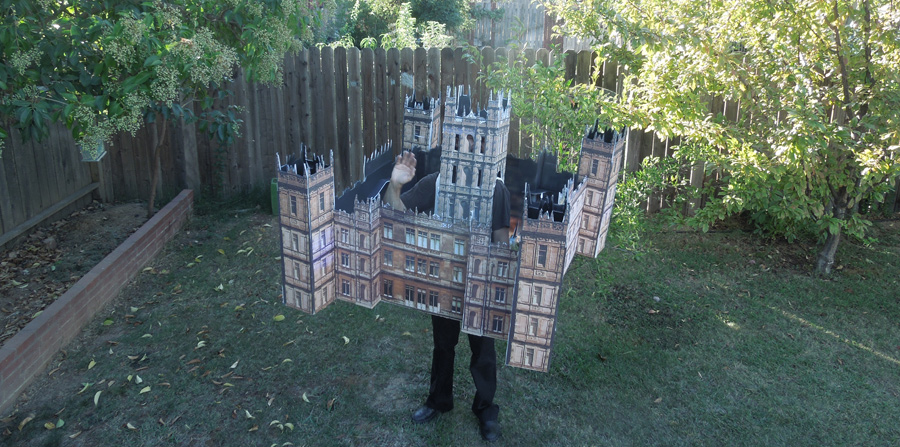
All I need now is a secret door which will allow a cold Irish stout to invade the premises.